
Want to Change the Default Font in Windows? Check out the detailed guide on how to change the default font in Windows 10 computer. If you have been using Windows operating system for a while, then you might know that Windows 10 has removed the option to change the system font. On the previous versions, such as on Windows 7, you’re able to access the personalization option to change the system fonts.
By default, Windows 10 uses the ‘Segoe UI’ font. The font is used everywhere on the Windows operating system including the notepad. Although Windows has removed the feature to change the system fonts, it can be changed by modifying some registry values.
How to Change the Default Font in Windows 10
So, in this article, we have decided to share a working method to change the default system font on Windows 10. The good thing is that you can use any font as your system font on Windows 10. So, let’s check out how to change the default system font on Windows 10 computer.
Step 1. First of all, head to the Control Panel and then select ‘Fonts’
Step 2. Now you will see the Fonts that are available on your Windows 10 computer. You need to note down the exact name of the font that you want to set as System Font.

Step 3. Now open Notepad, copy & paste the following registry code in it.
Windows Registry Editor Version 5.00
[HKEY_LOCAL_MACHINE\SOFTWARE\Microsoft\Windows NT\CurrentVersion\Fonts]
"Segoe UI (TrueType)"=""
"Segoe UI Bold (TrueType)"=""
"Segoe UI Bold Italic (TrueType)"=""
"Segoe UI Italic (TrueType)"=""
"Segoe UI Light (TrueType)"=""
"Segoe UI Semibold (TrueType)"=""
"Segoe UI Symbol (TrueType)"=""
[HKEY_LOCAL_MACHINE\SOFTWARE\Microsoft\Windows NT\CurrentVersion\FontSubstitutes]
"Segoe UI"="ENTER-NEW-FONT-NAME"
Step 6. Once done, replace the ‘ENTER-NEW-FONT-NAME’ with the name of the font that you want to use.
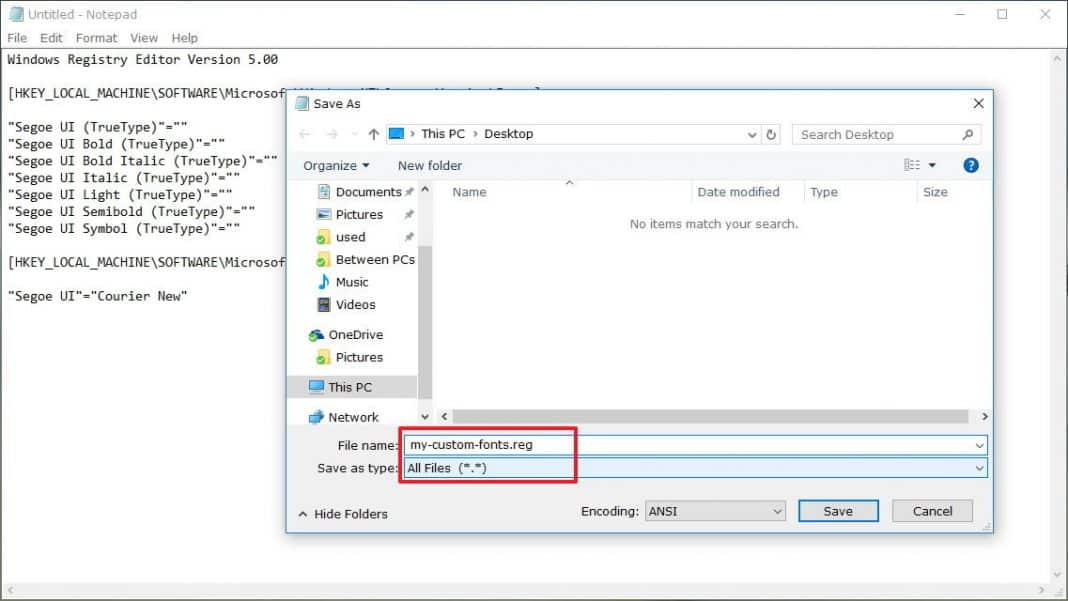
Step 7. Now click on File and select Save As. Now under the ‘Save as type’ make sure to select ‘All Files’ and then name the file anything. Make sure to save the file as .reg extension.
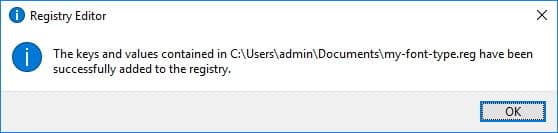
Step 8. Double click on the new registry file and then on the Pop-up box, click ‘Ok’
That’s it, you are done! Now just restart your computer and your new font will be applied to the system.
How To Roll Back To The Previous Fonts?
Well, to rollback to the previous or default fonts on Windows 10 computer, you need to follow some of the simple steps given below.
Step 1. First of all, open Notepad and paste the following code given below.
Windows Registry Editor Version 5.00
[HKEY_LOCAL_MACHINE\SOFTWARE\Microsoft\Windows NT\CurrentVersion\Fonts]
"Segoe UI (TrueType)"="segoeui.ttf"
"Segoe UI Black (TrueType)"="seguibl.ttf"
"Segoe UI Black Italic (TrueType)"="seguibli.ttf"
"Segoe UI Bold (TrueType)"="segoeuib.ttf"
"Segoe UI Bold Italic (TrueType)"="segoeuiz.ttf"
"Segoe UI Emoji (TrueType)"="seguiemj.ttf"
"Segoe UI Historic (TrueType)"="seguihis.ttf"
"Segoe UI Italic (TrueType)"="segoeuii.ttf"
"Segoe UI Light (TrueType)"="segoeuil.ttf"
"Segoe UI Light Italic (TrueType)"="seguili.ttf"
"Segoe UI Semibold (TrueType)"="seguisb.ttf"
"Segoe UI Semibold Italic (TrueType)"="seguisbi.ttf"
"Segoe UI Semilight (TrueType)"="segoeuisl.ttf"
"Segoe UI Semilight Italic (TrueType)"="seguisli.ttf"
"Segoe UI Symbol (TrueType)"="seguisym.ttf"
"Segoe MDL2 Assets (TrueType)"="segmdl2.ttf"
"Segoe Print (TrueType)"="segoepr.ttf"
"Segoe Print Bold (TrueType)"="segoeprb.ttf"
"Segoe Script (TrueType)"="segoesc.ttf"
"Segoe Script Bold (TrueType)"="segoescb.ttf"
[HKEY_LOCAL_MACHINE\SOFTWARE\Microsoft\Windows NT\CurrentVersion\FontSubstitutes]
"Segoe UI"=-
Step 2. Now, click on ‘File’ and select ‘Save As’. Now under the ‘Save as Type’ select ‘All Files’ and name the file anything you with .reg extension. Finally, click on Save.
Step 3. Now, double click on the new reg file to merge it into the registry.
That’s it, you are done! Now, just restart your computer for making the changes to take effect.
So, this article is all about how to change the default font in Windows 10 computers. If you have any doubts related to this, let us know in the comment box below. I hope this article helped you! Share it with your friends also.


")