
Want to Increase Audio Quality of Android? The android operating system lets you alter a few sound settings to maximize the audio output. Below, we have shared a few best methods to Increase Audio Quality on Any Android Device.
If we look around, we will find that Android has easily taken over every other mobile operating system. With each passing day, the mobile operating system is becoming more stable and useful. While selecting an Android smartphone, we consider lots of things like processor, RAM, storage, camera, etc.
However, we often forget about one of the important factors – Audio. Audio is one of the major factors that decide the quality of any smartphone. Without proper Audio output, you can’t even get a proper music experience. Not many would know, but Android does let you increase and enhance the audio quality.
How to Increase Audio Quality on Any Android Device
In this article, we have decided to share a few best working methods to enhance & increase the audio quality on any Android device. Some of the methods require root access. So, let’s check out the best methods to increase audio quality on Android.
Check Your Android Settings
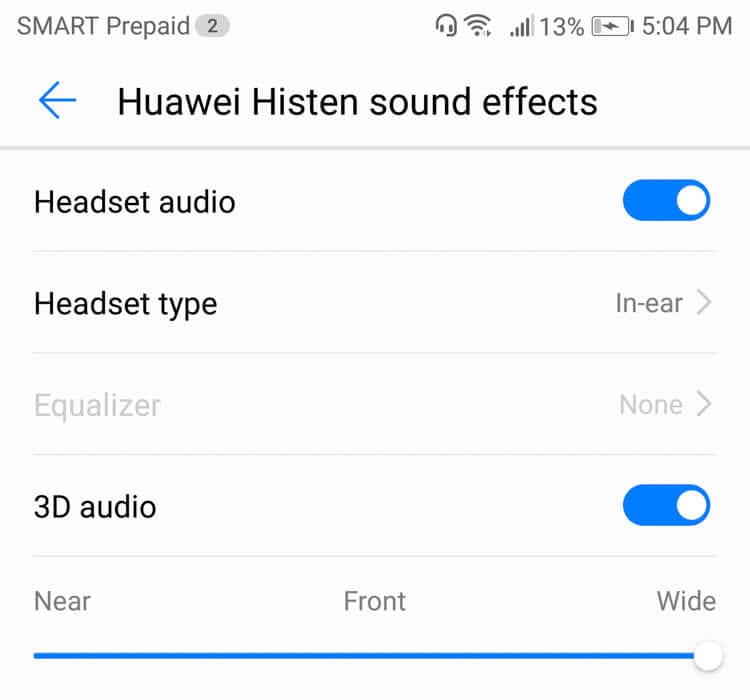
Well, our Android device provides us endless optimization options. Almost every Android smartphone coming nowadays offers users to enhance their Audio Quality. Users just need to head to the Settings > Sounds & Vibration and there you will get lots of options to enhance the audio quality. Not only these, but now Android devices also comes up with an Audio equalizer which works without using the earphones.
Download a Music App
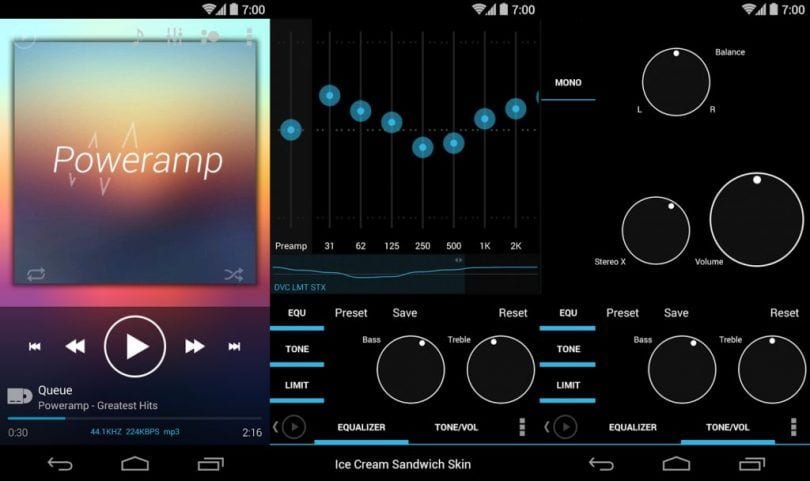
Well, there are lots of third-party music apps available on Android’s Google Play Store. These music apps claim to improve your audio listening experience. You can use Poweramp or Playerpro to tweak your Android’s audio a little bit. You can also use this app to create custom presets, bass boost, and more.
Even, Poweramp offers a 10-band RQ for serious tuning. However, you need to purchase a premium version to access all the best features of Poweramp Music Player. You can take a look at one of our articles where we have discussed a few best Android music apps.
Download an Equalizer app
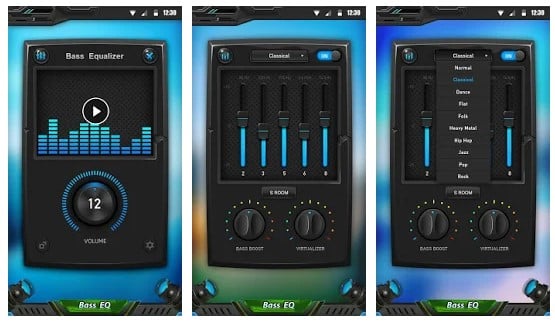
Well, there are tons of Android equalizer apps available in the marketplace. In fact, if you want to have the best ever audio experience, then you need to use a good equalizer app. Equalizer & Bass Booster is one of the great Android equalizer apps which offers lots of audio settings like adjusting bass, treble, etc.
Turn on the Mono Audio Playback
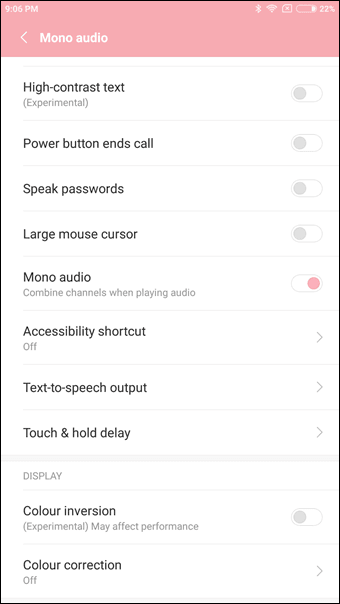
Well, Android Nougat offers users ‘Mono’ audio playback option. Have you ever noticed the difference in volume and quality once you plug out an earphone? Well, the Mono Audio feature solves the issue. Basically, this feature allows users to adjust the audio channel on both left and right earbuds. So, in this way, you can enjoy a song in its full glory. Simply, head to the Settings > Accessibility and turn on the ‘Mono Audio’
Using Ainur Nero
The method which would help to increase the audio quality on the Android device is carried out through utilizing the Ainur NERO mod. This is the advanced audio enhancement app made by the UltraM8s developers.
Step 1. Place the downloaded mod in some specific folder inside your storage.
Step 2. Open the TWRP tool and flash the downloaded mod file. Just locate the location of that mod file and flash it up.
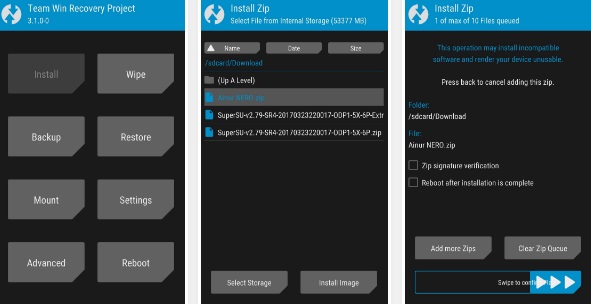
Step 4. The Flash process is all simple, you have to log into the TWRP tool and click on the install button. It would then ask you for the file location so just show it up. Then Confirm the installation after the selection of the file. The Audio quality of your device will boost up and increase immediately after that.
Using Dolby Atmos Surround
Well, you can enjoy the Dolby Atmos surround sound technology on your own Android device. However, you need to have a rooted Android smartphone. So, let’s follow the installation guide.
Step 1. First of all, download and install the Dolby Atmos Surround ZIP file on your Android smartphone from here.
Step 2. Now, you need to enter the Recovery mode. For that, you need to press and hold the Power + Volume Up + Home Button on your Android device.
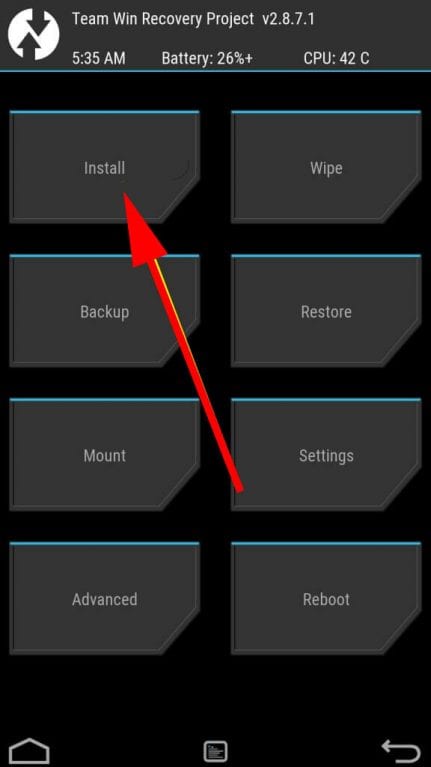
Step 3. Once on Recovery mode, you need to tap on the Install button as shown in the screenshot.
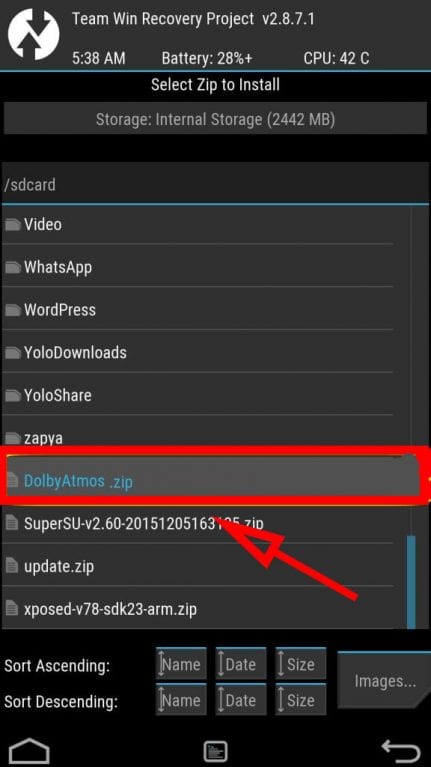
Step 4. Now you need to locate the Dolby Atmos Surround ZIP file on your Android device.
Step 5. Flash the zip file and wait for few seconds until your recovery mode flashes it. Once, done tap on “Reboot System” to restart your device.
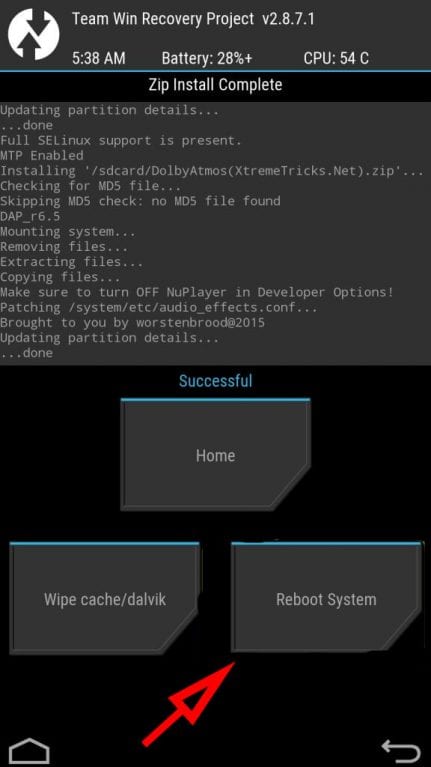
That’s it, you are done! Now you need to open your App drawer and then open the Dolby Audio app and you can alter several sound settings from there. The app will enhance the sound quality of Android for sure.
Using Viper4Android
Viper4Android is another best Android app that you can use to improve the overall sound quality of your Android smartphone. The great thing about Viper4Android is that it can enhance the sound effects without affecting your Android device in any way. So, let’s know how to use Viper4Android to increase the Audio Quality on Any Android device.
Step 1. First of all, download & install Viper4Android on your Android smartphone and store it in a safe location.

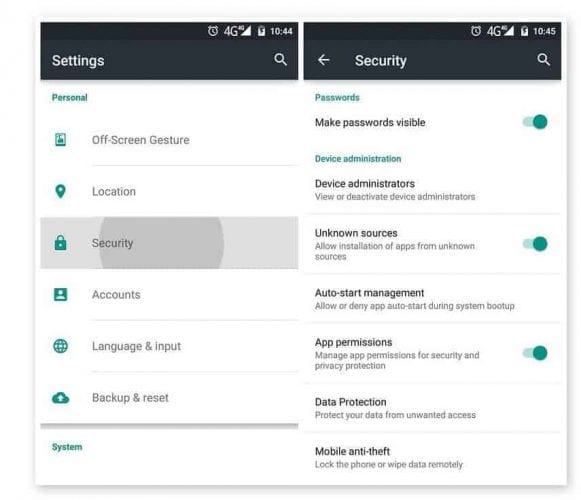
Step 2. Now, head to the Settings > Security > Unknown Sources and enable the ‘Unknown Sources’ from there.
Step 3. In the next step, head to the location where you have saved Viper4Android and install it on your rooted Android device.
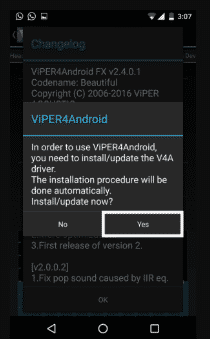
Step 4. Now the app will show you a pop-up where it will ask you to grant permission for installing the updates. Tap on ‘Yes’ and wait until the app installs the updates.
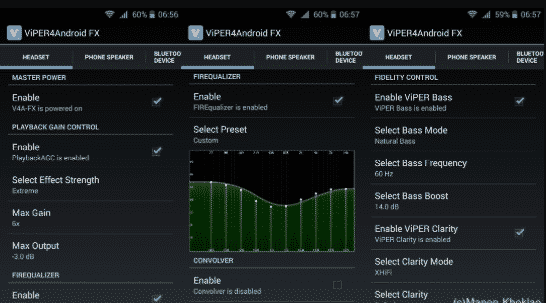
Step 5. Now it will ask root permissions, simply grant the root access and you will see the main interface of the app.
Step 6. Now go through the Settings and make all necessary changes.
That’s it, you are done! Now just restart your Android smartphone for the changes to take effects.
So, these are some of the best methods to increase the audio quality of any Android. I hope this article helped you! Share it with your friends also.


")