
If you use an assembled computer, you might know that some processors have built-in integrated graphics. The integrated graphics are usually powerful enough for basic gaming and photo editing.
Also, sometimes we install dedicated video cards to improve the gaming and video editing performance. If you are using Windows 11, you will be happy to know that the operating system automatically switches between the graphic card depending on the apps you are using.
You can control this option as per your preferences. For example, using Windows 11, you can force an app or game to use a discrete graphics card or integrated graphics.
Generally, the integrated GPU is optimized for power efficiency, whereas the discrete GPU is better for gaming and graphics-demanding applications. If your laptop/PC has both, and if you rarely play games, it’s best to select the integrated GPU for handling daily tasks.
Also Read: How To Remotely Wipe All Data From Lost or Stolen Laptop
Set Preferred GPU for Apps & Games in Windows 11
On the other hand, if you don’t care about battery life or have a gaming PC, it’s best to use the Discrete GPU as the default GPU. So, in this article, we will share a detailed guide on how to set the default GPU for Apps & Games on Windows 11. Let’s check out.
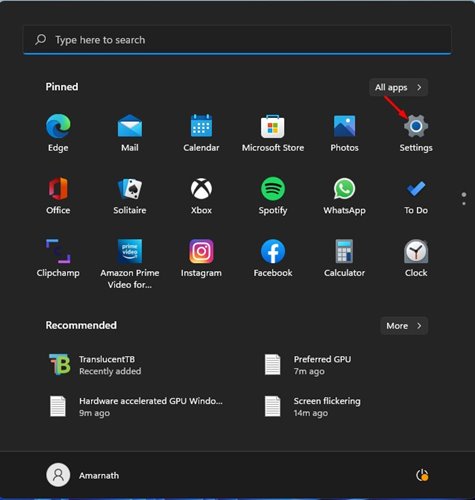
1. First, click on the Windows 11 Start button and click on Settings.
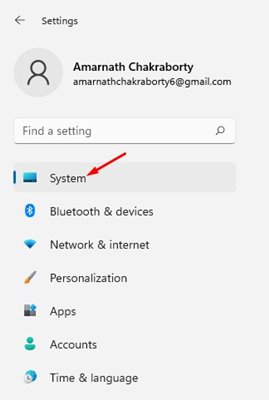
2. On the Settings page, click on the System option, as shown in the screenshot below.
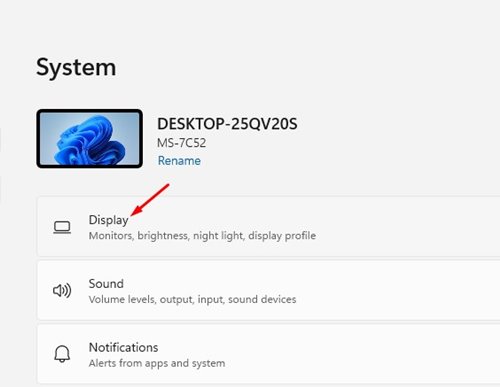
3. On the right pane, click on the Display option as shown in the screenshot below.
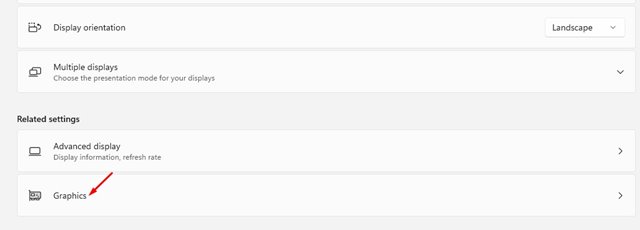
4. On the Display page, scroll down and click on the Graphics option.
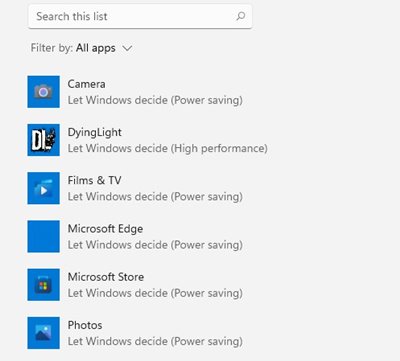
5. Now scroll down, and you will see a list of all installed apps & games.
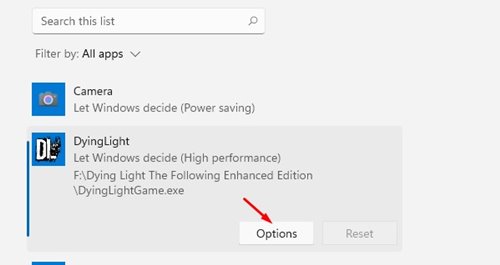
6. Select the App or Game and click on Options.
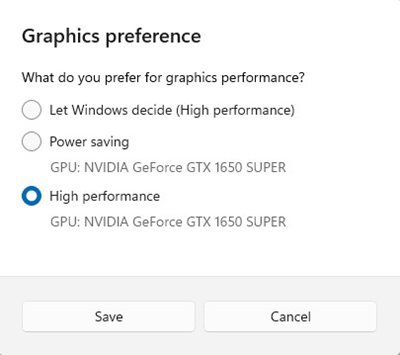
7. Now, you will see the Graphics Preference prompt. You need to select between Power Saving and High Performance. If you want to have the best performance, select the High-Performance option.
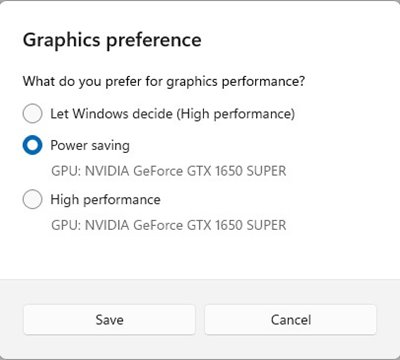
8. If you want to optimize your system for better battery life, select the Power Saving option.
That’s it! You are done. This is how you can set the preferred GPU for apps in Windows 11.
Setting the preferred GPU for Apps & Games in Windows 11 is pretty straightforward. However, it’s best to update the graphic drivers for better gaming performance. I hope this article helped you! Please share it with your friends also. If you have any doubts about this, let us know in the comment box below.


