If Virtualization is enabled, you can use software like VirtualBox to create a virtual environment for running other operating systems. If you are interested in using virtualization tools, you first need to ensure that your PC supports virtualization. Here’s how you can check if virtualization is enabled on your PC.
1. Using Command Prompt
The command-line tool in Windows is great for determining whether Virtualization is enabled on your system.
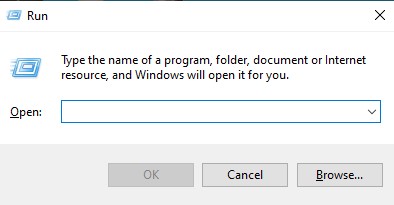
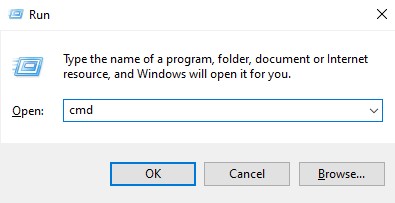
1. Press Windows Key + R on your keyboard. This will open the Run Dialog box.
2. Type cmd and press Enter.
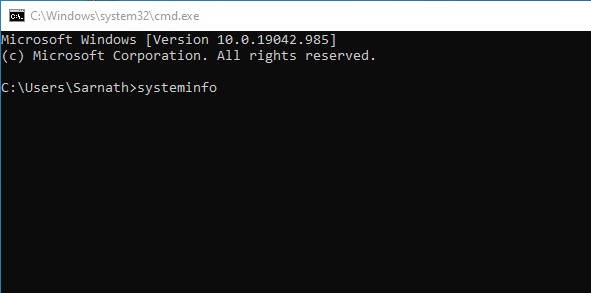
3. Type in systeminfo and press Enter.
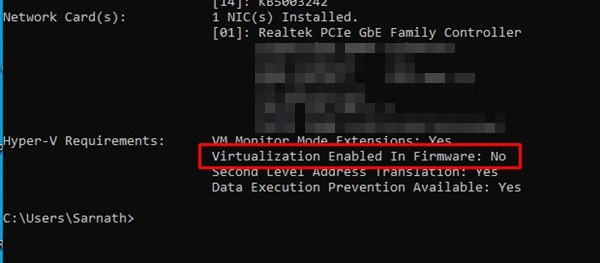
4. Under the Hyper-V requirements, check for the Virtualization Enabled in the Firmware option. If Virtualization is turned off, it will display No. If it’s enabled, it will display Yes
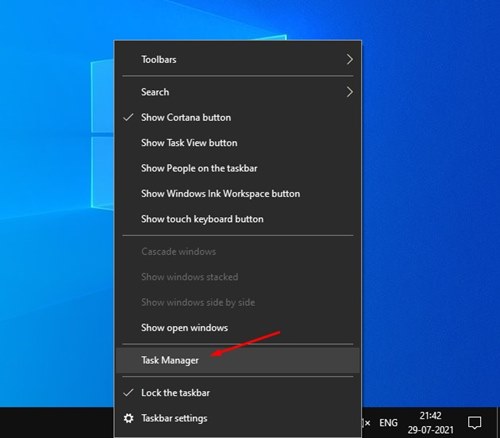
2. Using Task Manager
Windows Task Manager is the easiest way to check whether Virtualization is enabled.
1. Right-click on the Taskbar and select Task Manager.
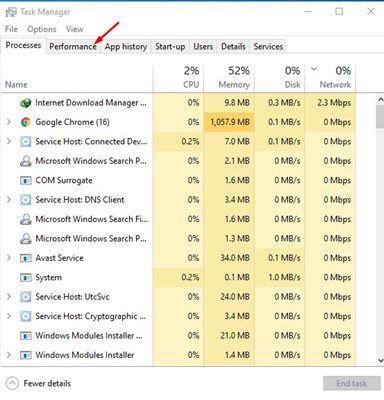
2. Switch to Performance.
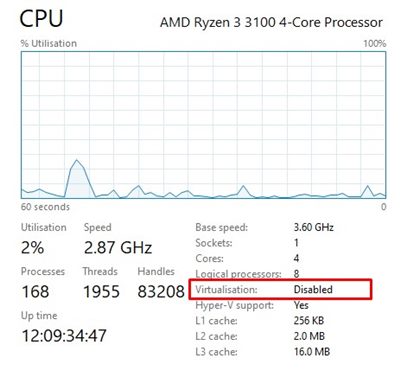
3. Select CPU.
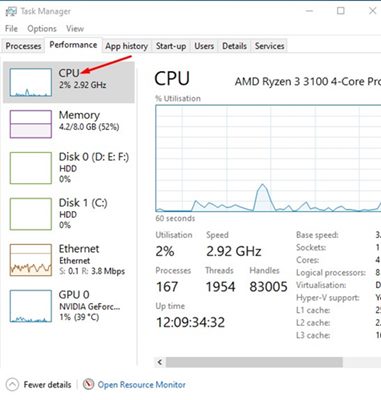
4. Find the Virtualization option. If it shows Disabled, Virtualization is not enabled on your system.
3. Check if Virtualization is Enabled Using PowerShell
You can also use Windows PowerShell to check if Virtualization is enabled on Windows. The command to check the Hyper-V status is different.
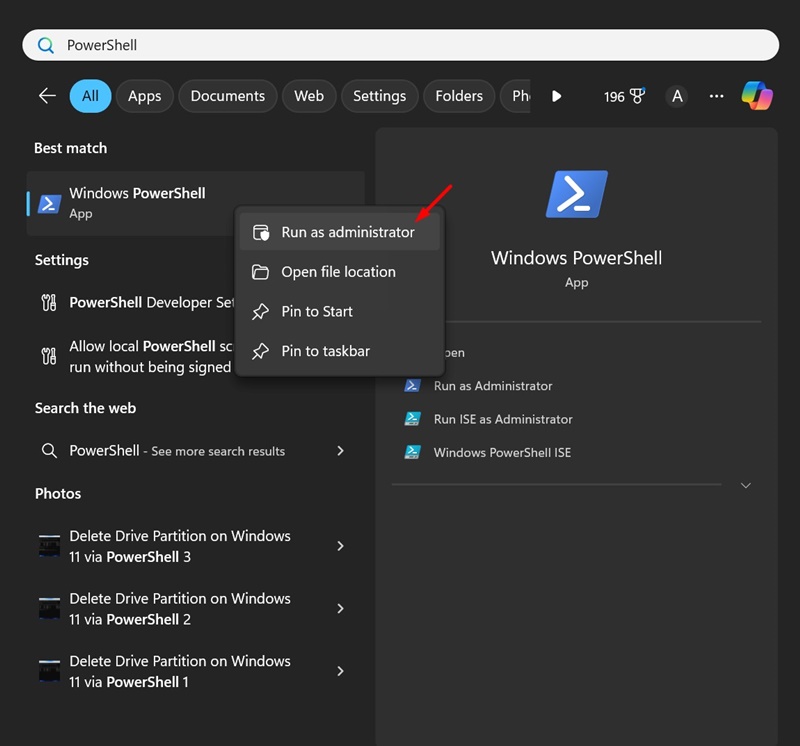
1. Type PowerShell in the Windows Search. Right-click on PowerShell and select Run as Administrator.
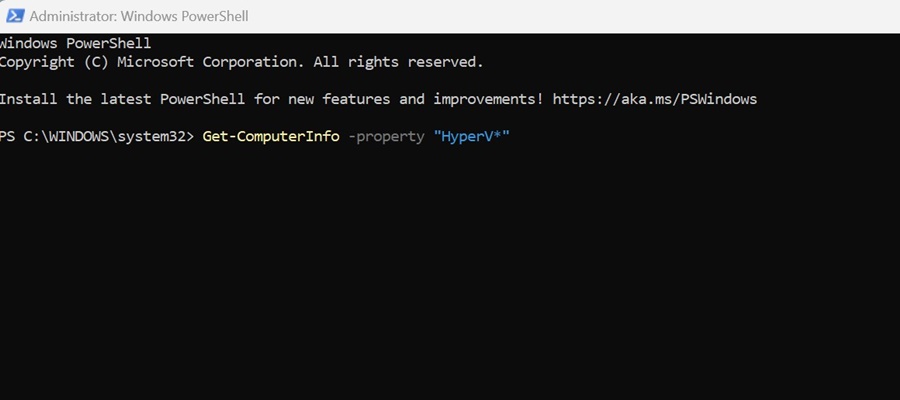
2. Execute the given command:
Get-ComputerInfo -property "HyperV*"
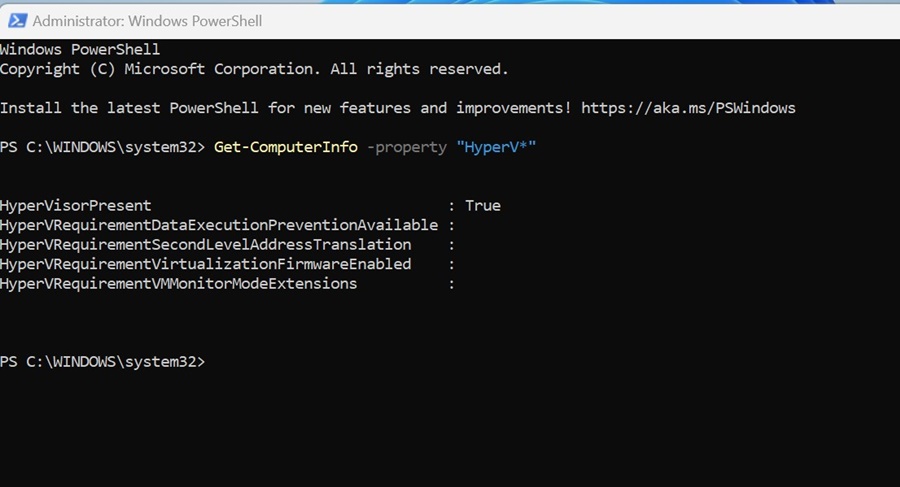
3. You need to look at the status of HyperVisorPresent. If it says True, it means virtualization is enabled. If the status shows ‘False’, Virtualization is disabled on Windows.
If Virtualization is disabled, enter the BIOS settings and check the CPU section. In the CPU section, locate and enable the Virtualization option. Once enabled, you can use Virtual machine programs.
Frequently Asked Questions:
What does Virtualization do?
Virtualization allows your computer to share its hardware resources with other apps. It also provides an isolated environment for testing programs or the operating system.
Does virtualization increase PC performance?
No! The virtualization feature decreases the PC’s performance. This is because your PC’s resources are shared with the sandbox programs.
Is it safe to enable virtualization in Windows?
While it’s completely safe to enable Virtualization in Windows, you should only enable it if you need it.
How much RAM is good for virtualization?
If you plan to run Sandbox programs on your PC, ensure you have at least 4 GB or 8GB of RAM. The more RAM your PC has, the better the virtualization experience you’ll have.
This guide is about checking whether Virtualization is enabled in Windows. I hope this article helped you! Please share it with your friends, too.


