Windows 11 updates are essential, but sometimes we don’t have enough space on our system to install them. Also, the fear of losing system stability after installing an update can’t be ruled out. Therefore, if you don’t prefer installing Windows 11 updates even when they are downloaded, here’s how you can delete them.
1. Delete Windows 11 Downloaded Updates
You can manually delete the downloaded updates that are pending installation.
1. Open the File Explorer on your PC.
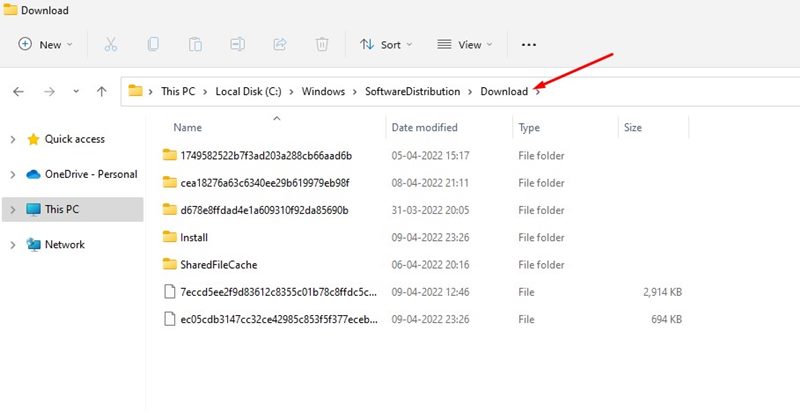
2. Navigate to the C:\Windows\SoftwareDistribution\Download
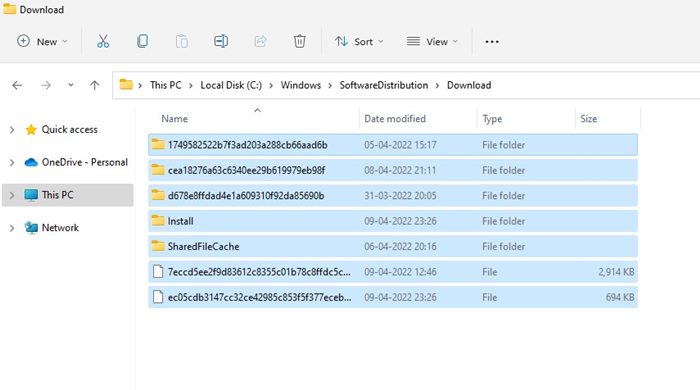
3. Press the CTRL + A button to select all files.
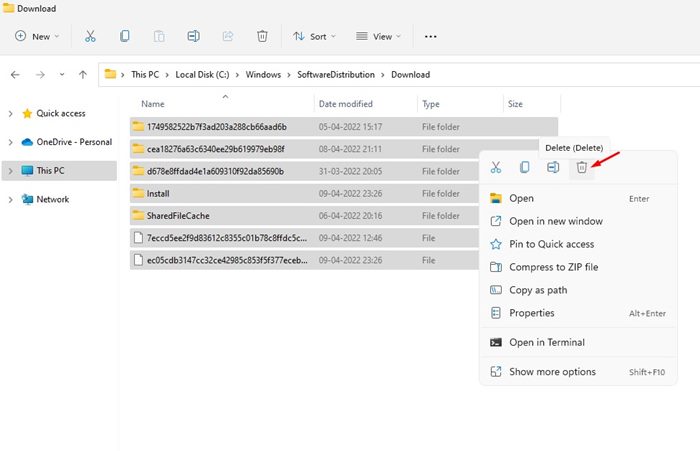
4. Right-click on any files and select Delete.
5. On the confirmation prompt, click on the Delete button again.
2. Delete the Software Distribution Folder
Sometimes, deleting the software distribution folder isn’t enough. In that case, you need to delete the entire software distribution folder to get rid of all pending Windows updates.
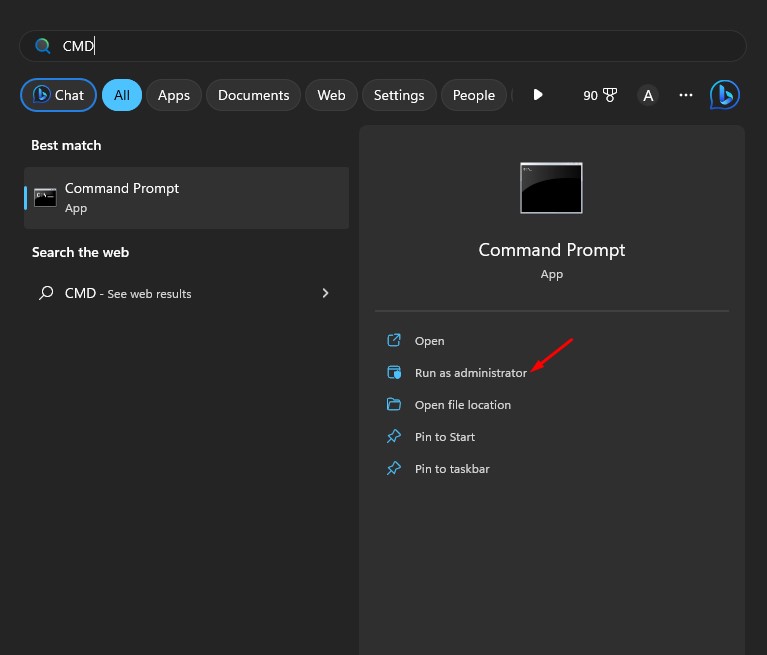
1. Search for Command Prompt on the Windows search. Right-click on the Command Prompt and select Run as administrator.
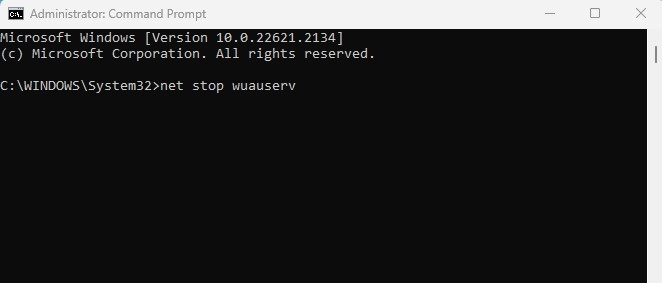
2. Execute these commands one by one.
- net stop wuauserv
- net stop bits
3. Open your file explorer and move to this location C:\Windows\SoftwareDistribution.
4. Delete all files & folders available on the SoftwareDistribution Folder.

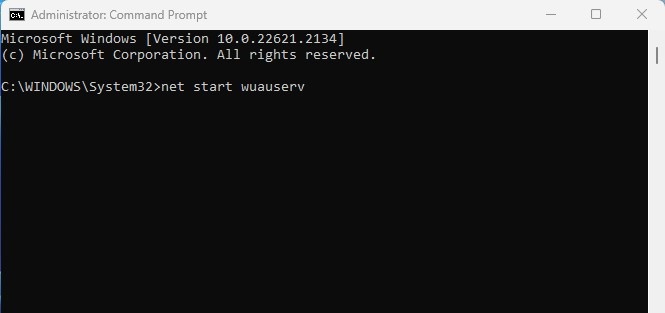
5. Open Command Prompt again and execute these commands one by one:
- net start wuauserv
- net start bits
3. Delete the files stored in the Temporary Folder
The temporary folder has no link with the Windows 11 updates, but you still need to delete the temp files to ensure all downloaded files have been deleted and have no trace left.
1. Press the Windows Key + R button on your Keyboard. This will open the RUN dialog box.
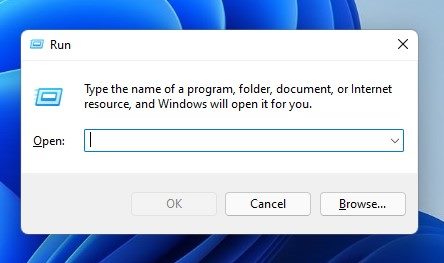
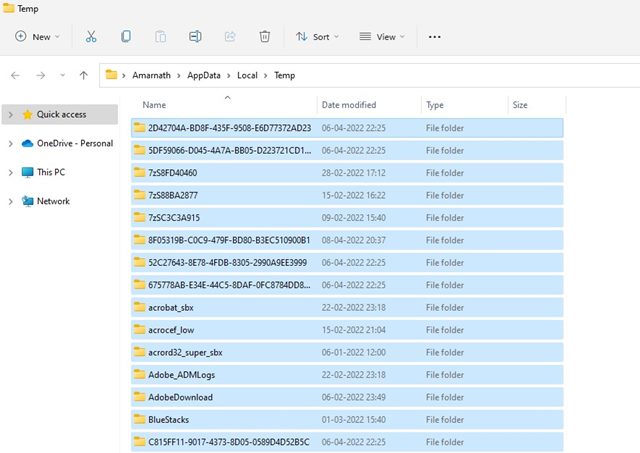
2. Type in %temp% and hit the Enter button.

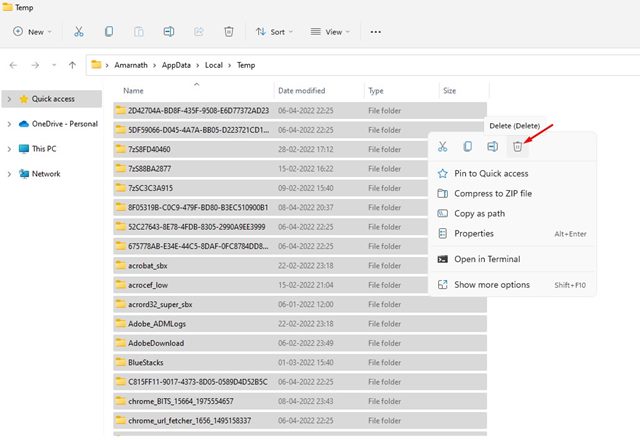
3. This will open your PC’s temp folder. Now press CTRL + A to select all files.
4. Right-click on any selected files and click Delete.
4. Remove the Pending.xml File
The Pending.xml file is automatically created when you download an update and choose another time for installation. Due to this file, Windows 11 asks you to select another time for the update installation; you should delete this file.
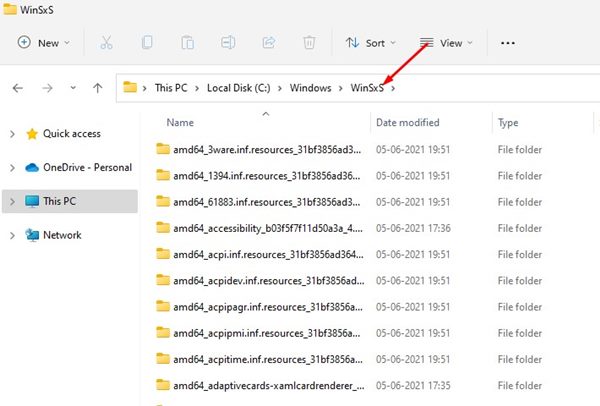
1. Open the File Explorer on your Windows 11 PC.
2. Navigate to the C:\Windows\WinSxS
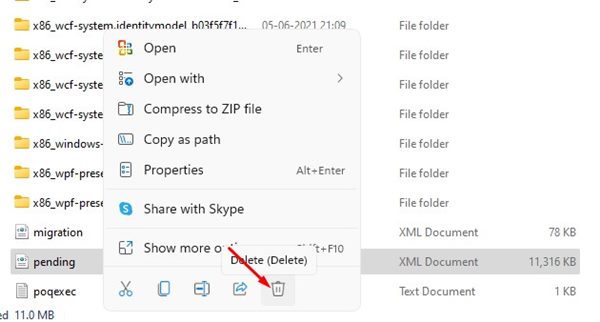
3. In the WinSxS folder, scroll down to the end. You will find a Pending.xml file.
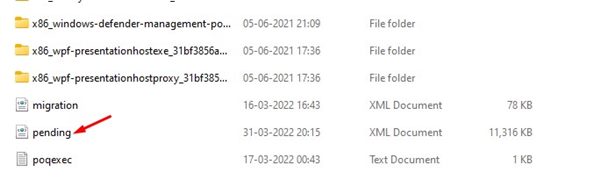
4. Right-click on the Pending.xml file and select Delete.
These are the best ways to delete downloaded, failed, or pending Windows 11 updates. If you have any doubts, let us know in the comment box below.


