With the increasing demand for Android apps & games, PC users are also willing to run mobile apps on their PC. Even you will find many YouTubers playing mobile games on their PC.
There are quite a few Android apps we want to run on a big screen. And if you use a Windows device, you can easily run the Android OS.
AMIDuOS is a virtual machine that boots with stock Android. Unlike Bluestack, which emulates the mobile app on PC, AMIDuOS is a full-fledged virtual machine running stock Android.
Steps To Use AMIDuOS to Run Android On Windows 10
With AMIDuOS, you can get the experience of stock Android. Here’s how to use AMIDuOS to run Android on Windows 10. Let’s get started.
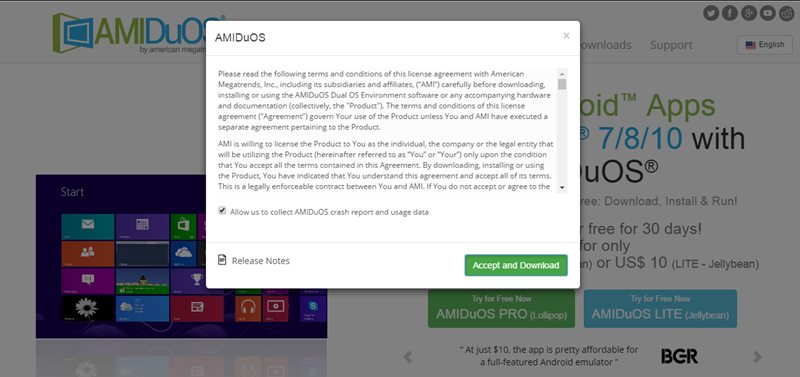
1. First of all, download AMIDuOS on your PC.
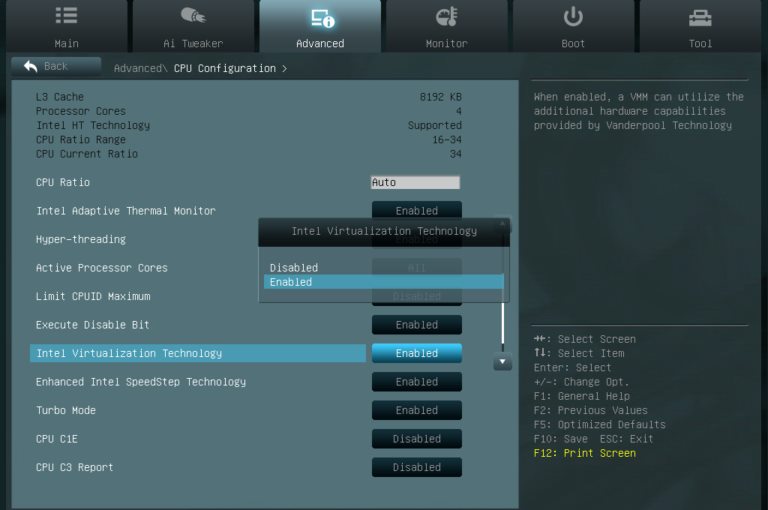
2. Next, check whether your PC processor supports the Virtualization technology; if it doesn’t, you cannot run AMIDuOS. If your processor supports Virtualization, enable it from the BIOS.
3. To set up the AMIDuOS features and functions, you will need to install the secondary program. From the Search Box of your Windows 10, open duets Configuration Tool.
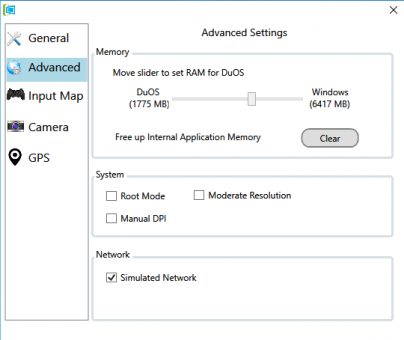
4. Go to the advanced section of the program, and then under the memory tab, increase the amount of RAM allotted to the program by using the slider. Set up other features and options you will require.
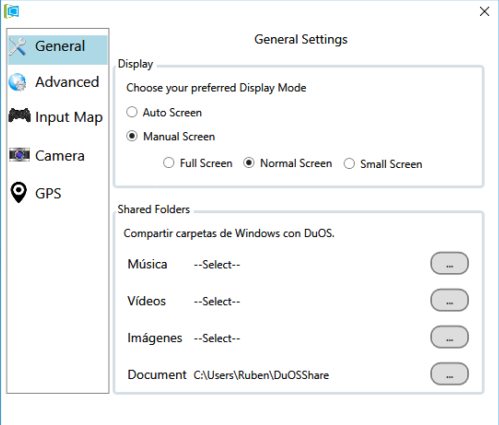
4. Next, on the General Settings, choose your preferred Display Mode and Shared Folders.
5. By default, the AMIDuOS have no Google Apps installed, so you will have to install them. To do that, download the APK file and sideload it on AMIDuOS.
So, these are some simple steps that will let you use AMIDuOS on your Windows 10 computer. If you need more help using AMIDuOS on Windows, let us know in the comments below.


