Tamper Protection is a Windows Security feature that prevents malicious apps from changing Microsoft Defender settings. The feature blocks malicious apps from disabling Windows Security, including real-time and cloud-delivered protection.
If your PC has recently been infected, a malicious program has likely disabled the feature. So, it’s best to turn on the feature manually.
How to Activate Tamper Protection in Windows 11
Tamper protection is a feature that every Windows user should enable. Here’s how to enable it.
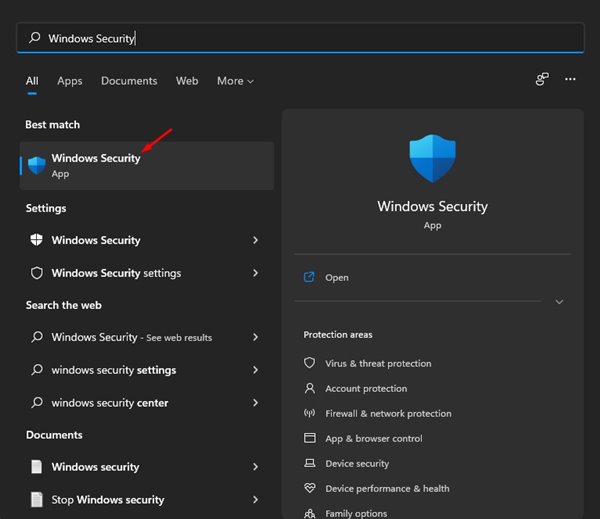
1. Open the Windows Security app from the Windows Search.
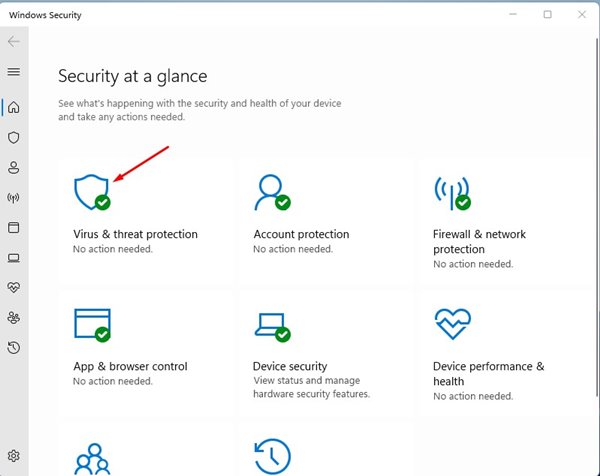
2. Click Virus & Threat Protection.
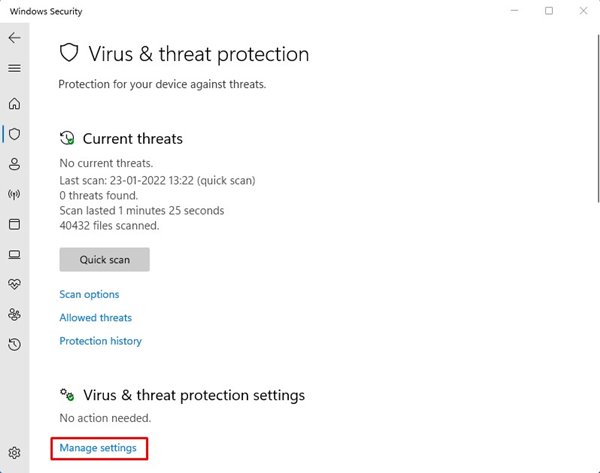
3. Click Manage Settings under the Virus & Threat Protection settings.
4. Find the Tamper Protection option. You need to change the Tamper Protection setting to On.

Tamper Protection Not Turning On?
If Tamper Protection isn’t enabled, some Windows Security or system files may be corrupted.
1. Fix Corrupted System Files
Replacing the corrupt system files will fix the Tamper Protection not turning on feature. Here’s how to fix corrupted system files on Windows 11.
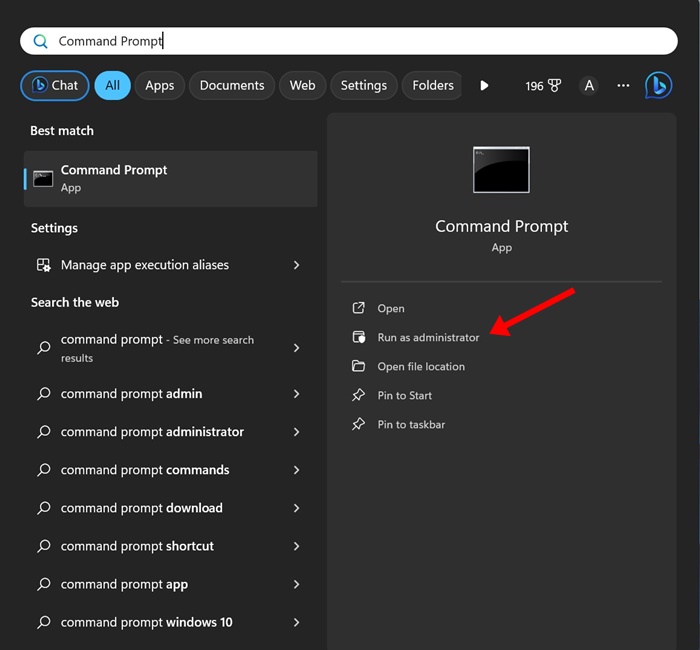
1. Type CMD in Windows 11 Search. Next, right-click on the Command Prompt and select Run as administrator.
2. Execute these commands one by one.
DISM /Online /Cleanup-Image /CheckHealth
DISM /Online /Cleanup-Image /ScanHealth
DISM /Online /Cleanup-Image /RestoreHealth
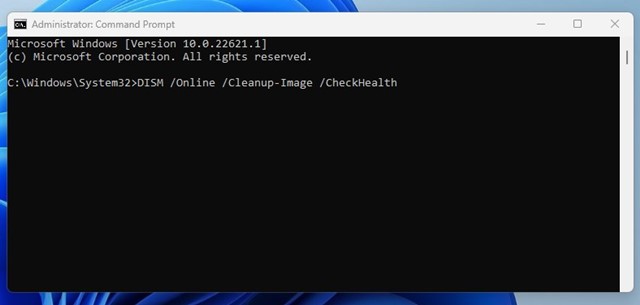
3. Execute this command and press Enter.
sfc /scannow

Once the scan is complete, restart your Windows 11 PC.
2. Reset the Windows Security App
If you still can’t enable the tamper protection, it’s time to reset the Windows Security app.
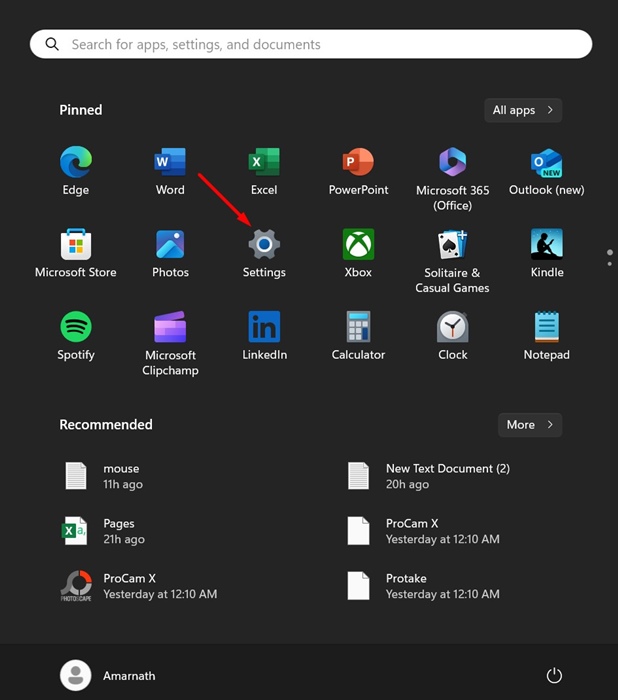
1. Launch the Settings app.
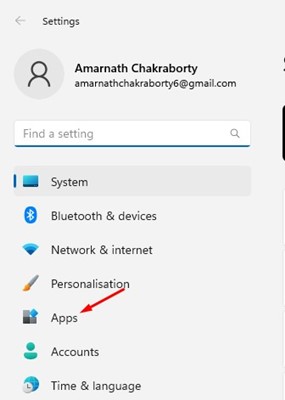
2. Switch to Apps.
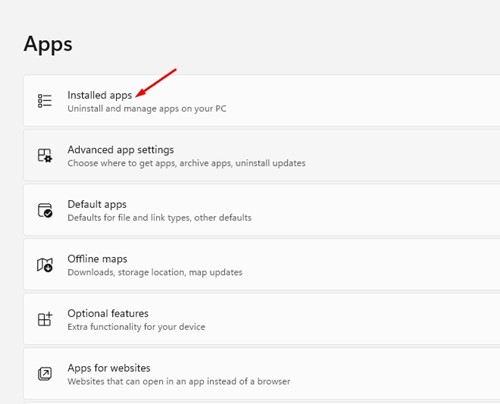
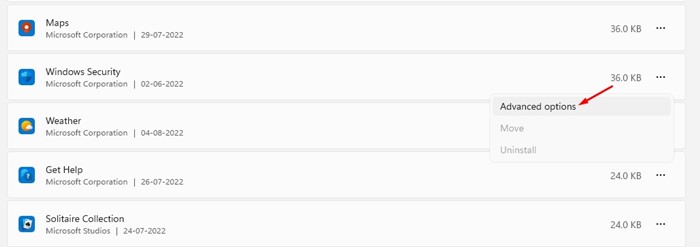
3. Click on Installed Apps.
4. Find Windows Security and click on the three dots next to it. On the menu that appears, select Advanced Options.
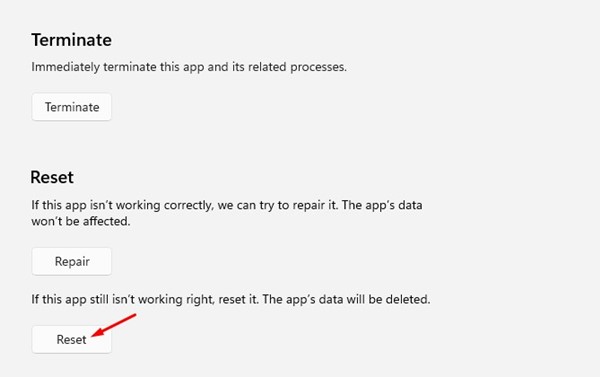
5. Click Reset.
After the process is done, restart your Windows 11 PC.
Tamper Protection On or Off?
When you enable Tamper Protection, the Windows Security app can block malicious apps from disabling it. In the latest Windows 11 builds, the security feature is already enabled. However, if this feature is disabled, you should run a full antivirus or antimalware scan and enable the Tamper Protection feature.
If you use third-party antimalware tools such as Malwarebytes or Norton, you can disable the Tamper Protection feature. However, disabling tamper protection is never recommended, especially if you download & install files from the internet.
This feature is important for preventing your computer from malicious apps.
Enabling or disabling the Tamper Protection is easy, especially on Windows 11. If you have any doubts, let us know in the comment box below.


