If you are using Windows 11, you might have noticed that the Start menu in Windows 11 is quite different from the one you have seen in Windows 10.
Windows 11 introduced a new start menu that feels much less bulky and fluent than its previous counterpart. Also, by default, Windows 11 shows the profile and power menus in the bottom rail.
System folders are disabled by default on the Windows 11 start menu, but they can be enabled via Settings. So, if you want to add or remove system folders on Windows 11 Start menu, you are reading the right article.
Add/Remove System Folders on Windows 11 Start Menu
In this article, we will share a step-by-step guide on how to add or Remove system folders on the Windows 11 Start menu. The process will be very easy; you must implement some of the simple steps below.
Important: Please note that you can only enable system folder icons on the Start menu. Some system folders include Settings, File Explorer, Pictures, Networks, Documents, etc.
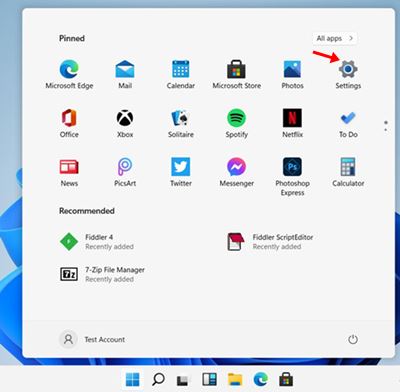
- First, click on the Start button and select the Settings app.

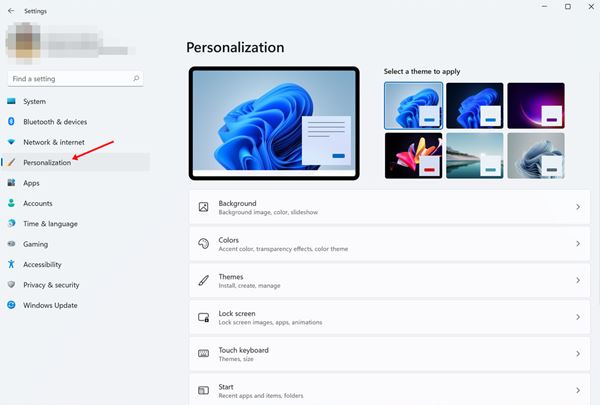
- On the Settings page, click on the Personalization option in the left pane.

- On the Right pane, scroll down and click on Start.
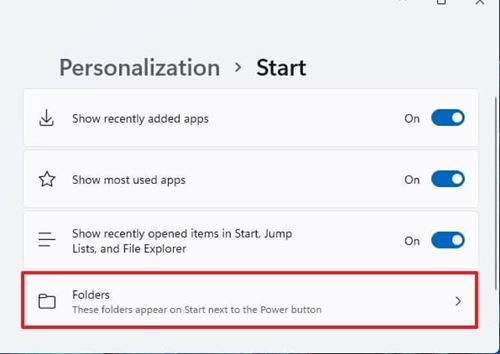
- On the Start menu settings, scroll down and click on the Folders.

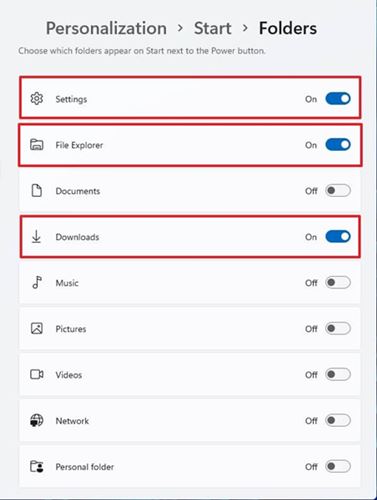
- On the next page, you will see the folder options. Choose the folders that you want to add next to the Power button.
- You need to enable/disable the toggle button behind the System folders to add/remove the folders to the start button.

- That’s it! You are done. This is how you can add or remove folders on the Windows 11 Start menu.
So, this guide is all about adding or removing folders on the Windows 11 Start menu. I hope this article helped you! Please share it with your friends also. If you have any doubts about this, let us know in the comment box below.
")

