If you look at your computer screen all day and have poor eyesight, you might suffer from eyestrain or headaches. Even if your turn on Night Light or use third-party blue light filter apps, you will still have occasional headaches and eyestrain while staring at your computer screen.
Blue light is not the only thing that damages our eyes and causes headaches; other things, such as wrong icon sizes, blurry text in apps, etc., also contribute to eye problems and headaches.
So, if you have poor eyesight and struggle to see the on-screen elements of your PC, you need to adjust the display scale settings on Windows 11. Windows 11 display scaling adjusts the size of text, icons, and navigation elements to make the screen easier for people to see and use.
2 Best Ways to Adjust the Display Scale Settings on Windows 11
It’s a great feature, but many users don’t know how to use it. Therefore, in this article, we will share a step-by-step guide on how to adjust Display scale settings on Windows 11. Let’s check out.
1) Adjust Display Scale Settings
In this section, we will learn how to adjust the display scale settings on the Windows 11 operating system. You just need to follow some of the simple steps we have shared below.
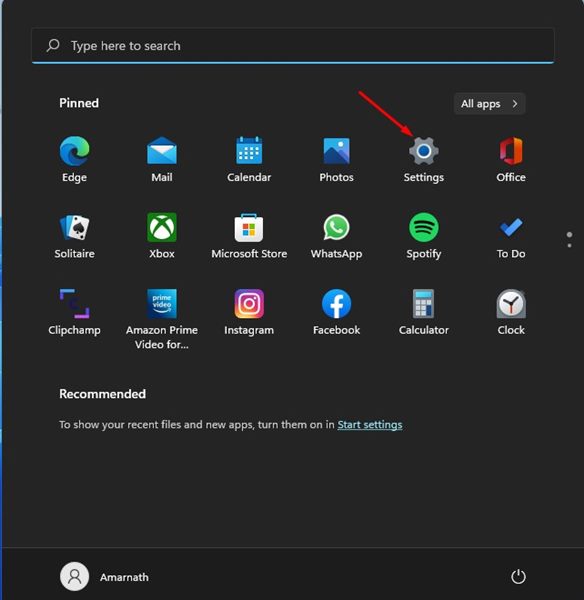
1. First of all, click on the Windows 11 Start button and select Settings.
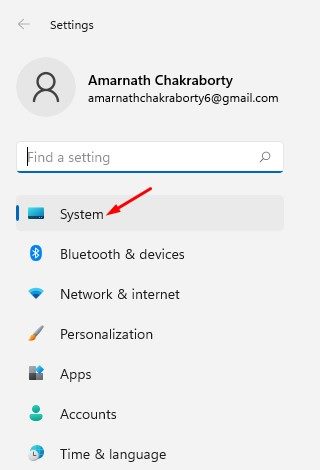
2. On the Settings app, click on the System option, as shown in the screenshot below.
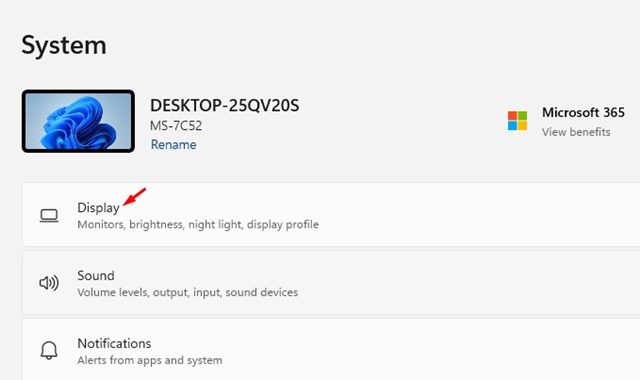
3. On the right pane, click on the Display option as shown below.
4. Now, on the Display screen, look at the Scale & Layout section.
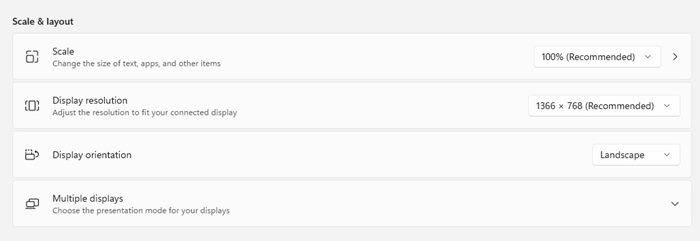
5. Now click on the dropdown menu beside the Scale option and choose the option you want to use.
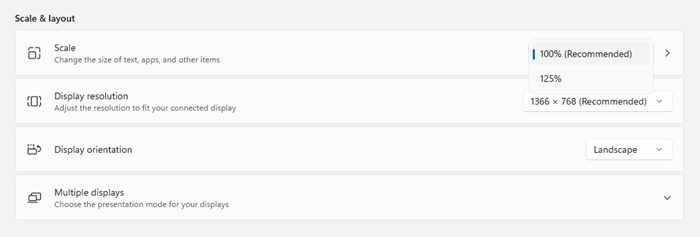
Important: The percentage choices for Scale might vary between machines based on hardware and monitor.
6. The new scale settings should be applied right away. If you wish to reset the display scale, simply select 100% on the Scale option.
That’s it! You are done. This is how you can adjust display scale settings on the new Windows 11 operating system.
2) How to Set Custom Display Scale on Windows 11
Windows 11 even allows you to use custom display scaling. So, if you don’t like the default scaling option, you can use your own custom option. Here’s how to do it.
1. First of all, click on the Windows 11 Start button and select Settings.
2. On the Settings app, click on the System option, as shown in the screenshot below.
3. On the right pane, click on the Display option as shown below.
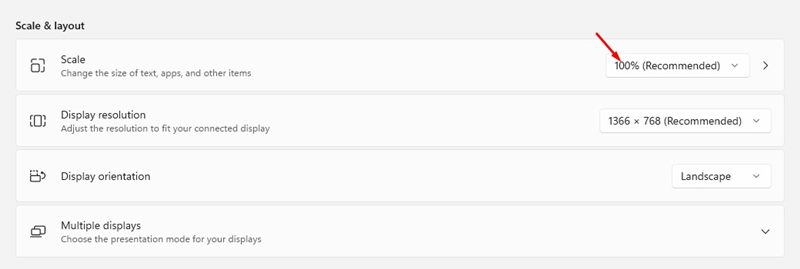
4. Now, on the Display screen, look at the Scale & Layout section.
5. Now, you need to click on the arrow button on the Scale section.

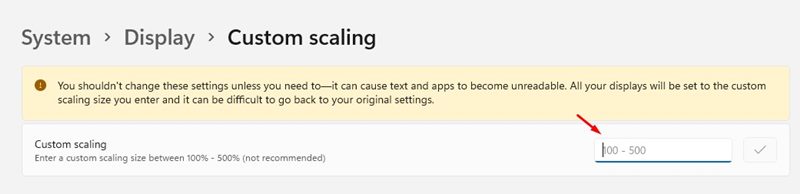
6. On the next screen, under Custom Scaling, type the value anywhere between 100% to 500%.
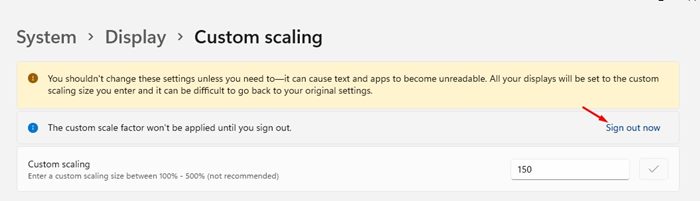
7. To apply the changes, click on the Sign out now button, as shown below.
That’s it! You are done. This is how you can set custom display scaling on Windows 11.
Also Read: How to Change the Display Refresh Rate on Windows 11
Display Scale Settings offered by Windows 11 will benefit you a lot, especially if you stare at your computer screen all day. I hope this article helped you! Please share it with your friends also. If you have any doubts related to this, let us know in the comment box below.


