Disabling the Microsoft Store on Windows 11 is good if you never use it. This way, Microsoft Store will never run in the background and won’t use RAM or internet data.
There are two different ways to allow or block access to the Microsoft Store in Windows 11. Below, we have shared both of them.
Allow or Block Access to the Microsoft Store in Windows 11
We will use the Local Group Policy Editor to enable or disable access to the Microsoft Store.
1. Open Local Group Policy Editor from the Windows Search.

2. Navigate to the following path:
Computer Configuration > Administrative Templates > Windows Components > Store
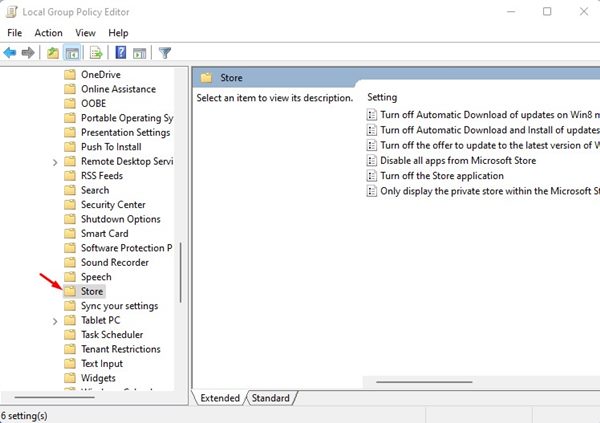
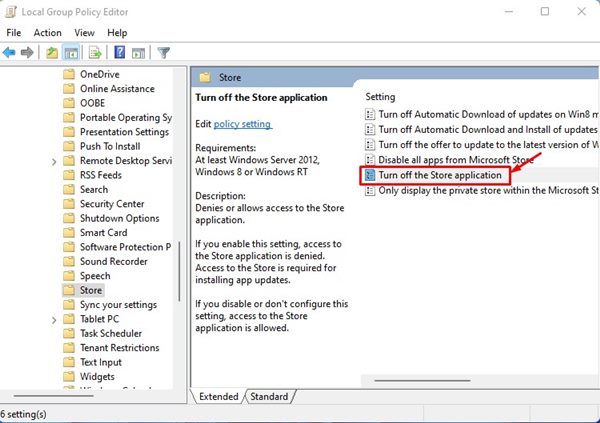
3. Find and double-click the Turn off the Store application policy.
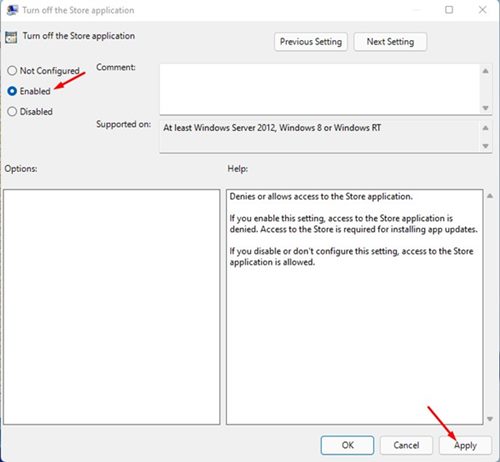
4. Select Enabled to turn off access to the Microsoft Store. Once you’ve done this, click Apply.
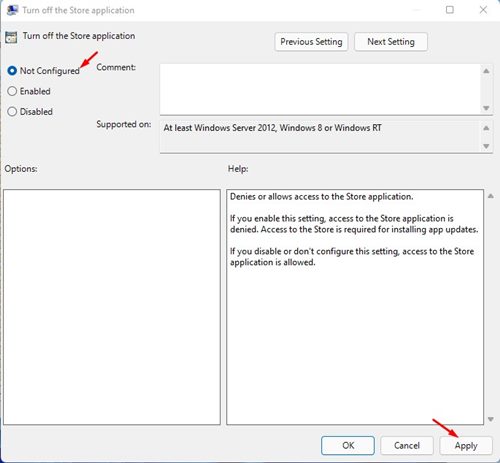
5. If you wish to enable the Microsoft Store again, select not configured on the above step and click Apply.
Allow or Block Access to Microsoft Store via Registry Editor
You can even use the Registry Editor to allow or block access to the Microsoft Store.
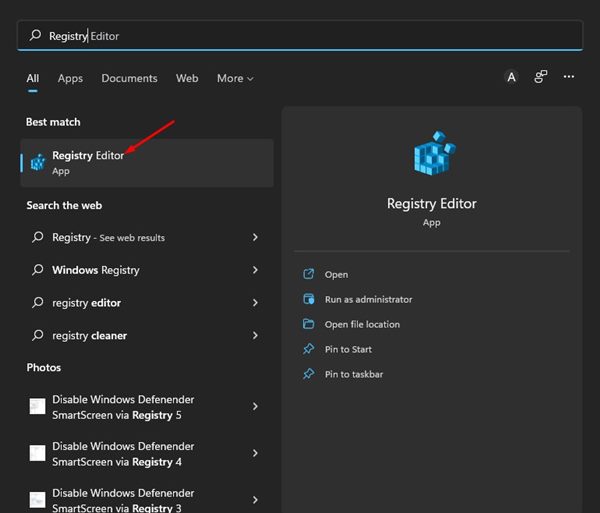
1. Click on the Windows 11 search and type in Registry. Open the Registry Editor from the list of matching results.
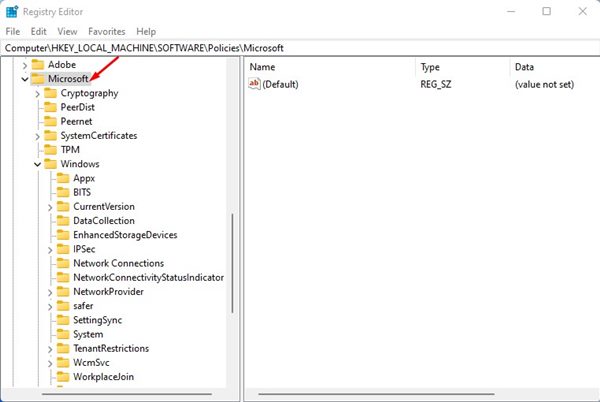
2. Navigate to the following path:
HKEY_LOCAL_MACHINE\SOFTWARE\Policies\Microsoft
3. Right-click on the Microsoft Folder and select New > Key.
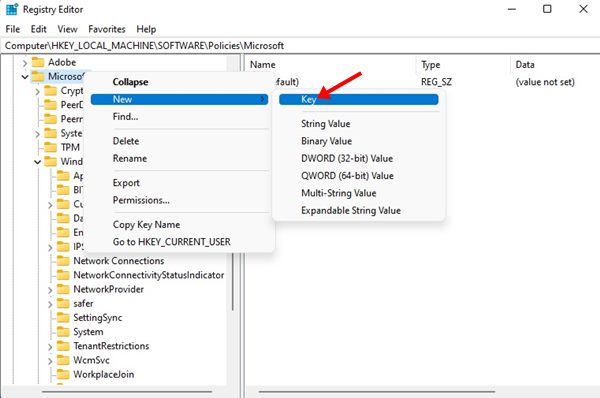
4. Name the new key as WindowsStore.
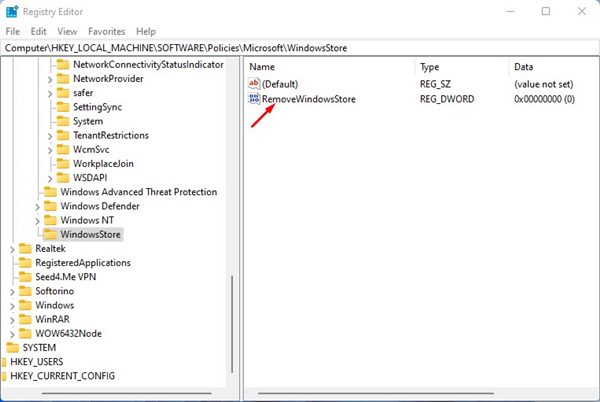
5. Right-click on the Windows Store and select New > DWORD (32-bit) Value.
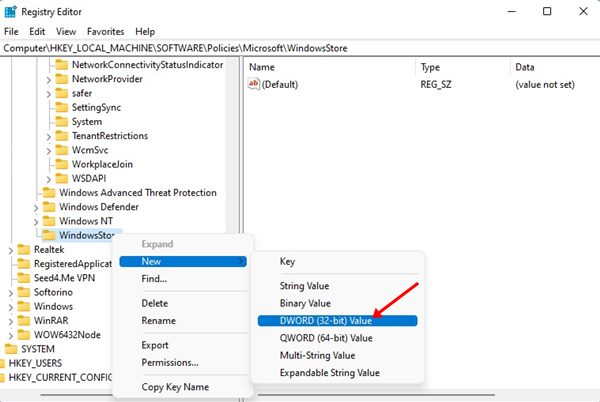
6. Name the new REG-DWORD key as RemoveWindowsStore.
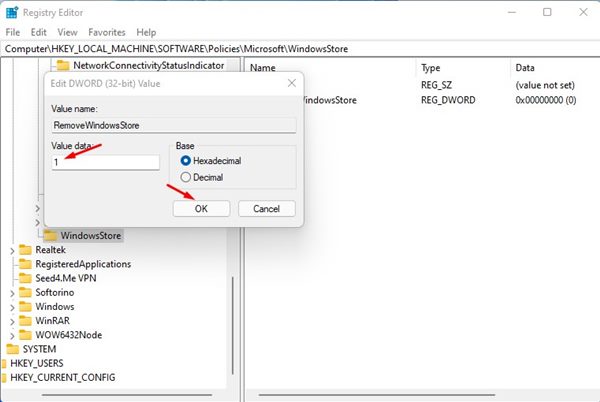
7. Double-click on the RemoveWindowsStore. On the Value data field, enter 1 to disable the Microsoft Store. Once done, click on Ok.
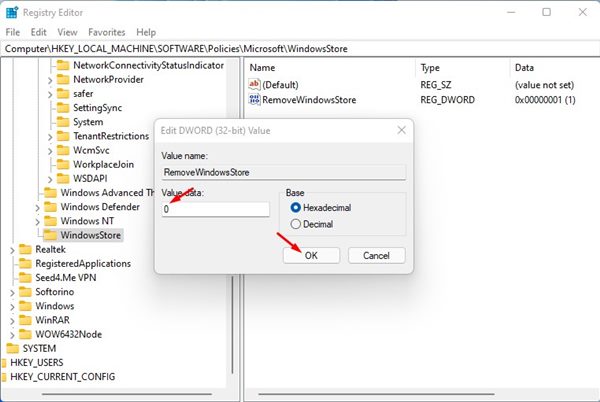
8. To allow access to the Microsoft Store, enter 0 in the Value data field of RemoveWindowsStore.
If you don’t use the Microsoft Store and want to prevent unwanted or unauthorized app installation on your Windows 11, you should block access to the Microsoft Store.


