Blocking websites usually requires installing softwares or browser extensions, but what if you want to install a website without any third-party tool? To do so, you need to make some changes to the Firewall. Here’s how you can block websites using the Firewall.
1. Find the IP Address of the Website
The first step is to find the IP Addresses of the sites you want to block. Here’s how to find it.
1. Visit IPVOID from your web browser.
2. Enter the website name in the text field and click on the Find Website IP button.
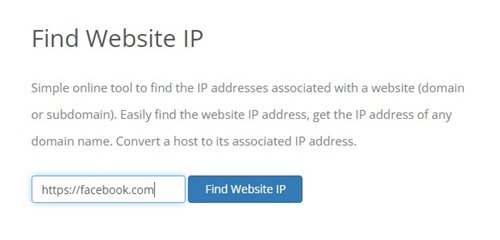
3. The site will list the IP Address. You need to note down the IP address.

2. Creating a Firewall Rule to Block Websites
Once you get the IP Address, you need to create a Firewall rule to block websites.
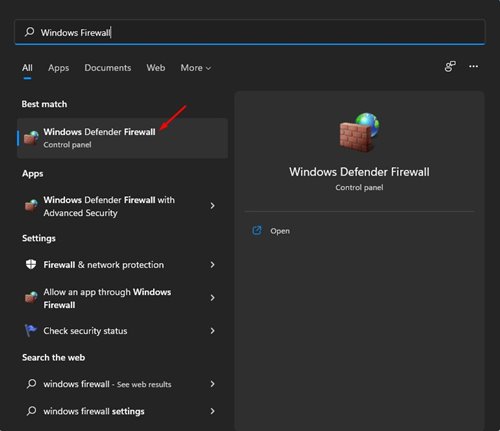
1. Open Windows Defender Firewall from the Windows Search.
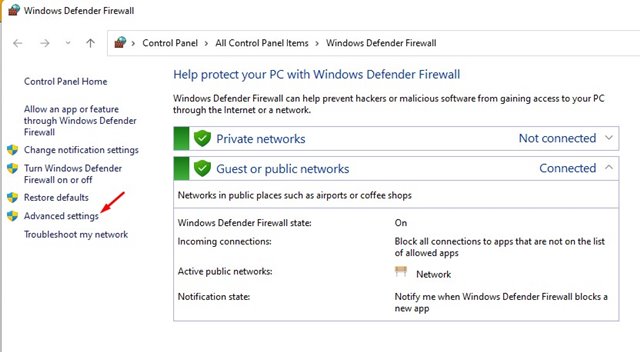
2. Click on Advanced Settings.
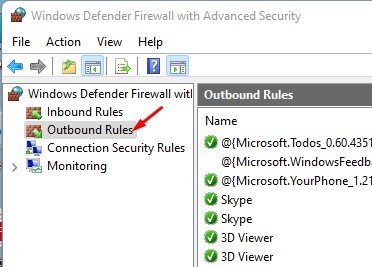
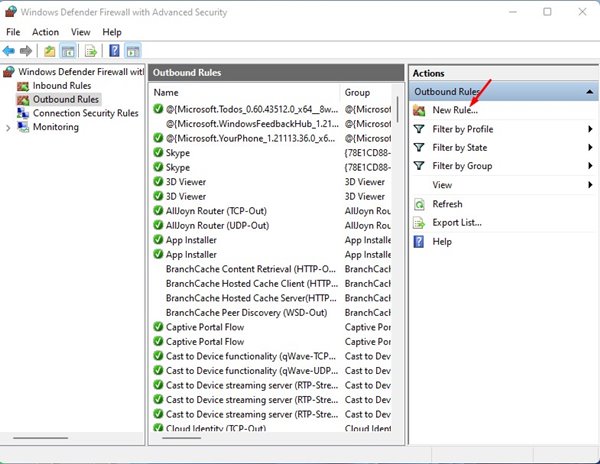
3. Click on Outbound Rules.
4. Click on New Rule.
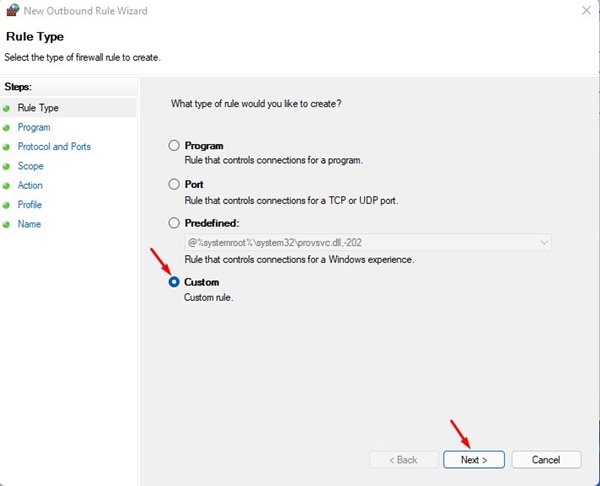
5. Select Custom and click on Next.
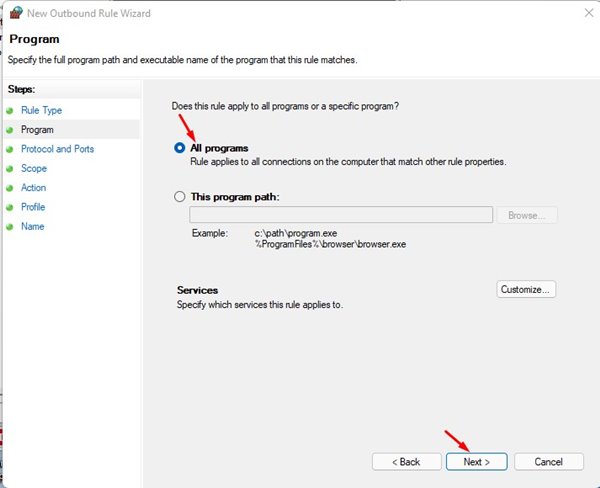
6. Select all programs and click on the Next button on the next page.
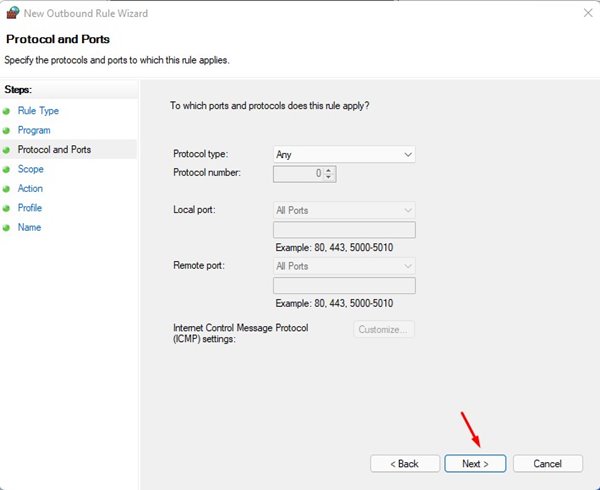
7. Don’t make any changes to the Protocol and Ports option. Just click Next.
8. On the Remote IP Addresses field, select the These IP Addresses checkbox.
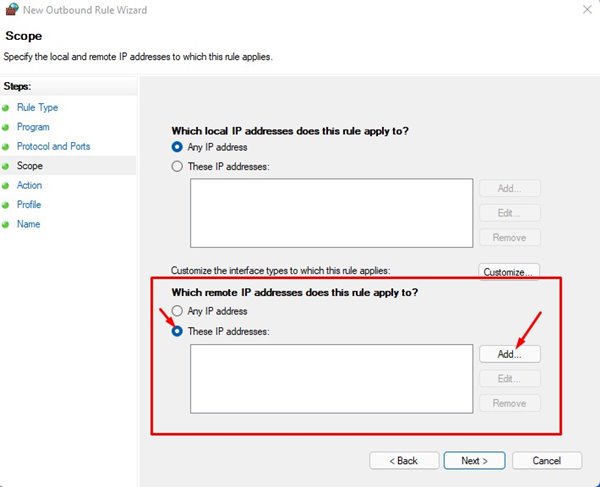
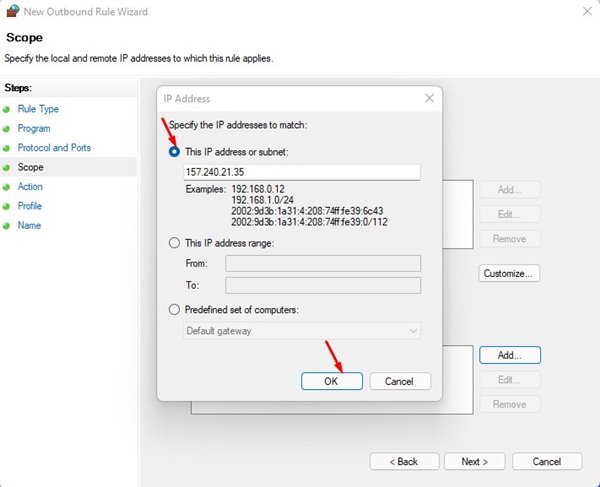
9. Click on the Add button and add the IP Addresses you have copied. You need to enter every IP Address. Once you have done this, click Next.
10. Select Block the Connection and click Next.

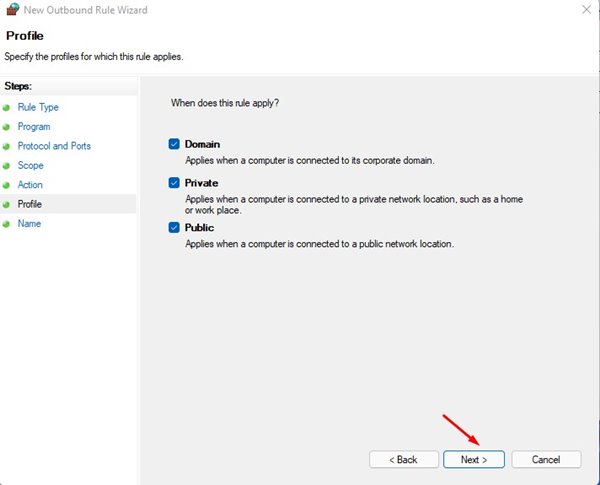
11. Select all three options and click Next.
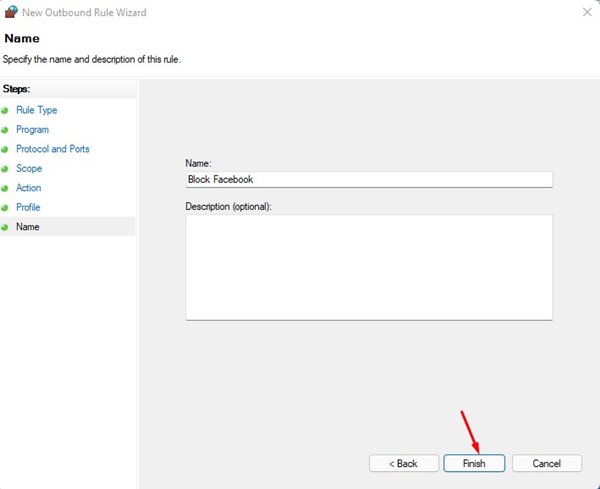
12. Enter the name & description of the new rule and click Finish.
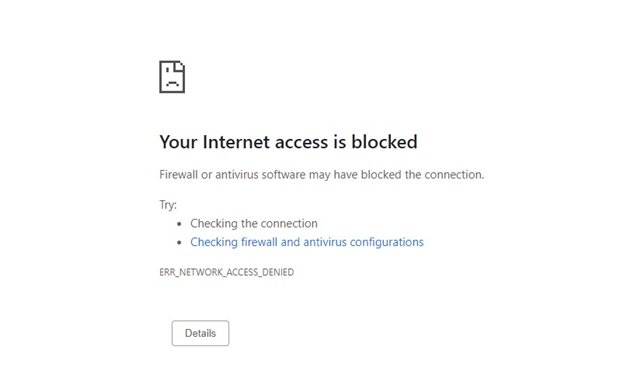
If you try to access the blocked website, you will see a page like this.
How to Disable the Rule?
It’s pretty easy to disable the rule on Windows Defender Firewall.
1. Open Windows Defender Firewall and click on the Advanced Settings.
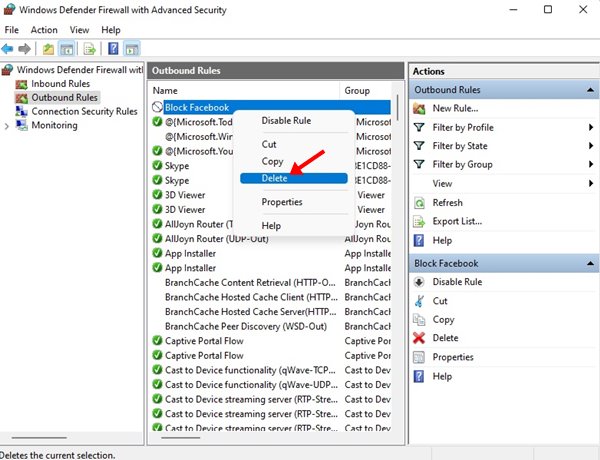
2. Select Outbound Rules on the left pane.
3. Right-click on the Rule and select the Disable Rule.
This will disable the rule. Now, you will be able to access the blocked websites.
Other Ways to Block Websites on Windows 11?
If you use the Google Chrome web browser, you can use several extensions to block websites. Extensions like Block Site, StayFocusd, etc., work great in blocking distracting websites. Alternatively, you can edit the Hosts file on Windows 11 to block the sites that you never want to visit.
If you want a detailed guide on how to block a website using the Hosts file and how to use the website blocker extensions, check out this guide – Block a Website in Chrome.
The process might look lengthy, but it’s easy to follow. If you have any doubts related to this, let us know in the comment box below.


