Windows 10 is now powering almost every level of personal computers, from affordable machines to desktop servers to monster gaming computers. Even those who choose to assemble their computer prefers to install the latest version of Microsoft’s operating system.
The hardware that’s powering the OS can make a big difference in performance, especially the graphics hardware. Graphics hardware handles everything from drawing your desktop to rendering demanding computer games. Most of the desktop computers arriving these days uses GPUs made by Nvidia, Intel, or AMD.
It’s not that CPU and RAM are not crucial, but GPUs are given more priority these days due to the trend of gaming. Some computers have onboard or integrated graphics, while others have dedicated or discrete graphics card installed.
Check Graphics Card Model and Details In Windows
So, in case, if you don’t know what graphics card (GPU) is installed on your PC, then here we have shared two best methods that could help you to see what graphics hardware your PC is using. So, in this article, we are going to share the two best methods to check your GPU information and usage details.
1. Task Manager
Well, the default Task Manager is enough to gather information about the CPU, RAM, GPU, and Disk usage. Through the Task Manager, you can not only check your GPU information, but you can also track its usage in real-time. Here’s how to use Task Manager to check your GPU information and usage details.
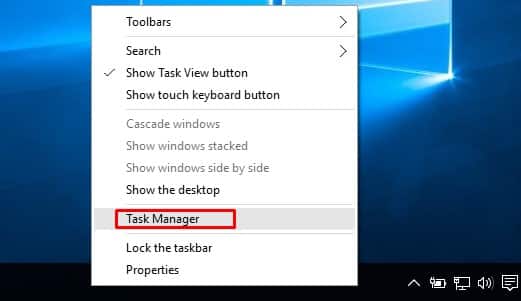
Step 1. First of all, right-click on the taskbar and select ‘Task Manager’
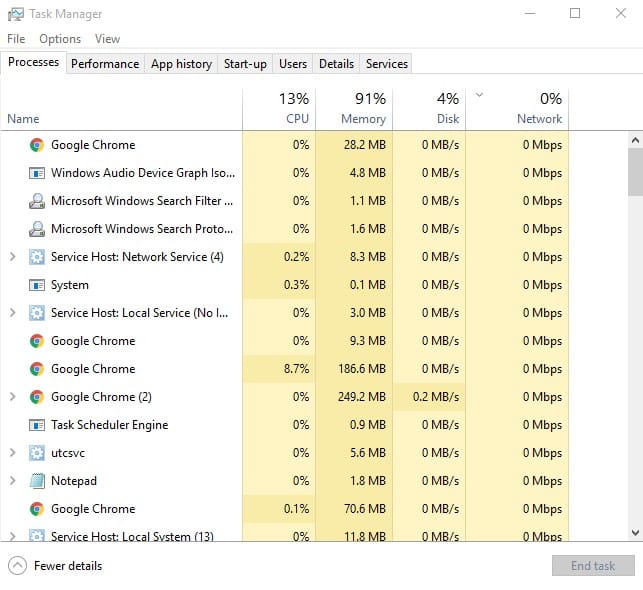
Step 2. Now, you will see the Windows 10 Task Manager.
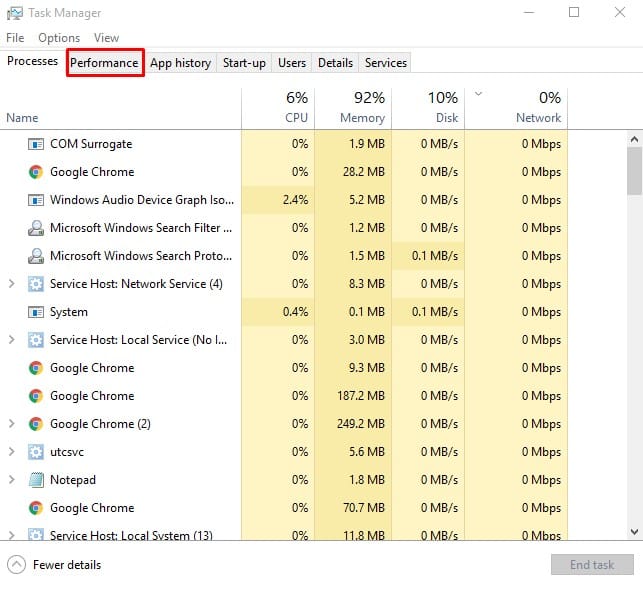
Step 3. You need to click on the ‘Performance’ Tab.
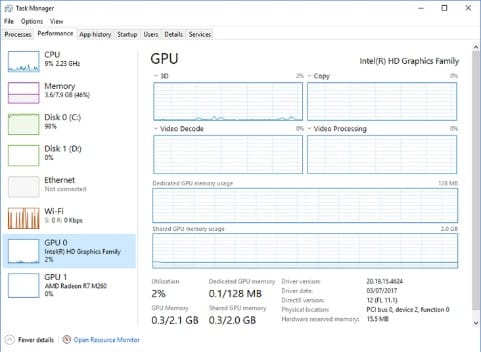
Step 4. On the Performance tab, you need to select the ‘GPU’ tab. The GPU’s manufacturer and model name will be displayed at the top right corner.
That’s it, you are done! This is how you can use the task manager to check your GPU information and usage details on Windows 10.
2. Using Run Command
Well, if you are running an older build of Windows 10, then you might not see the ‘GPU’ Tab on the Task Manager. In that situation, you need to utilize the RUN dialog box to check the GPU information. Here’s how to check GPU information through RUN command.
Step 1. First of all, press Windows Key + R on the keyboard. It will open the Run Dialog box.

Step 2. On the Run Dialog box, enter dxdiag and hit Enter.
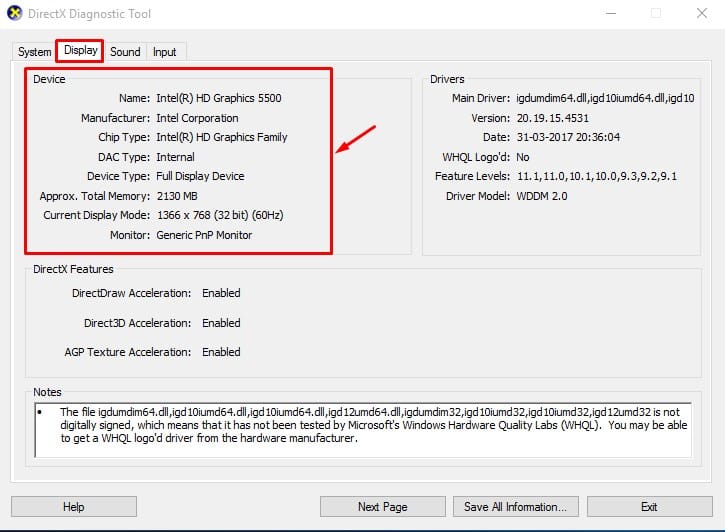
Step 3. Now you will see the DirectX Diagnostic Tool.

Step 4. You need to select the ‘Display’ tab. On the Display tab, check the GPU information.
That’s it, you are done! This is how you can use the Run command to check GPU information of Windows 10 computer.
3. Using The System Information App
Microsoft’s Windows operating system offers you different ways to check graphic card model and details. In this method, you need to use the System Information app to check the graphic card model and details in Windows 10.
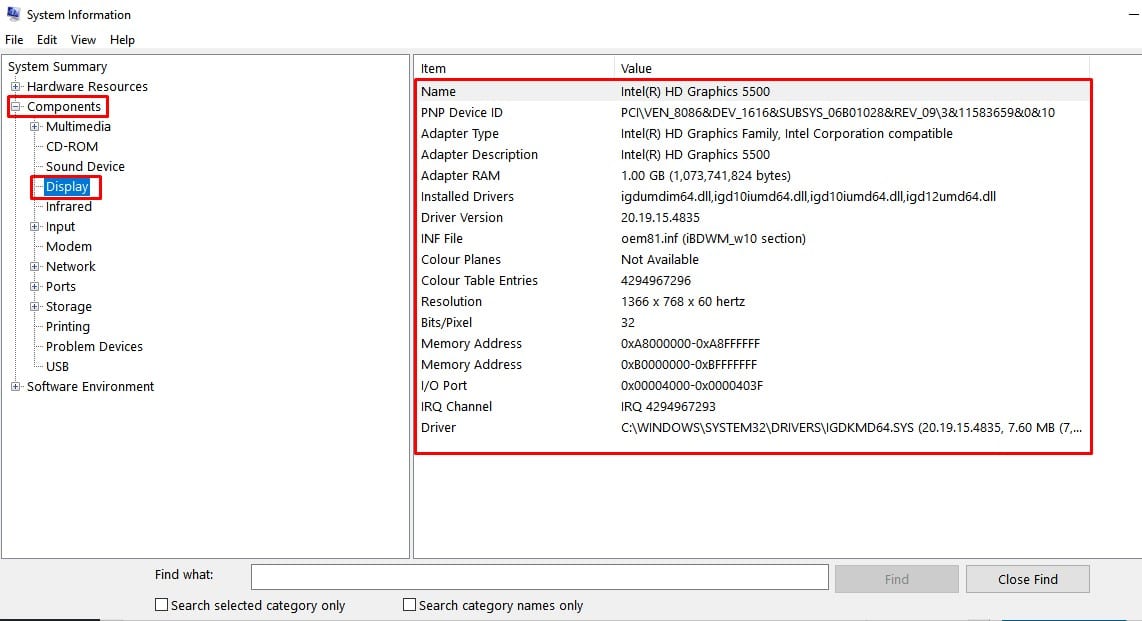
Just open the Start Menu, and search for ‘System Information’. Open the first option from the available options. Once done, head to the Components > Display. The panel will list all details of graphics including the installed driver, current driver version, etc.
So, these are the two best methods to check what graphics card is in your PC. If you know any other method to check the installed graphics card, let us know in the comment box below.


