There are multiple ways to check the WiFi signal strength in Windows 11. In this guide, I will show you some of them. Here are the best ways to check WiFi signal strength on Windows 11.
1. Check WiFi Signal Strength from the Taskbar
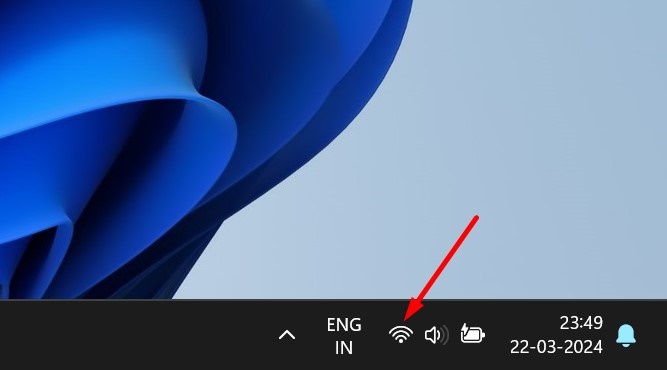
You can quickly check the WiFi signal strength on Windows 11 via the Action Center.
1. Click the Network Icon in the bottom right corner of the screen.
2. Click on the arrow icon beside the WiFi networks.
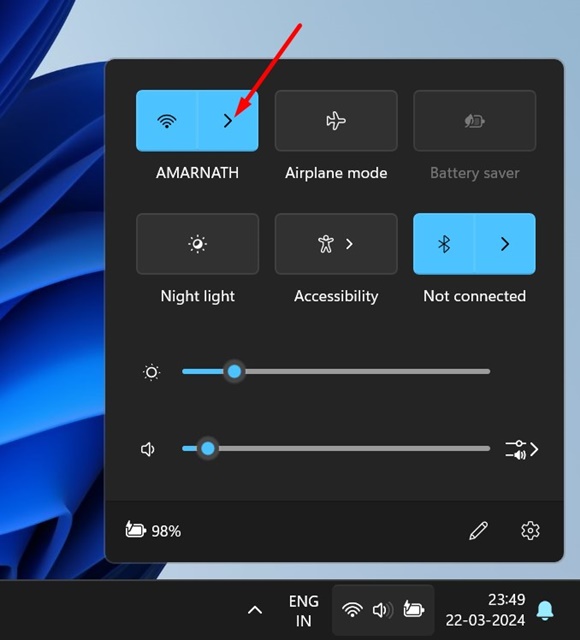
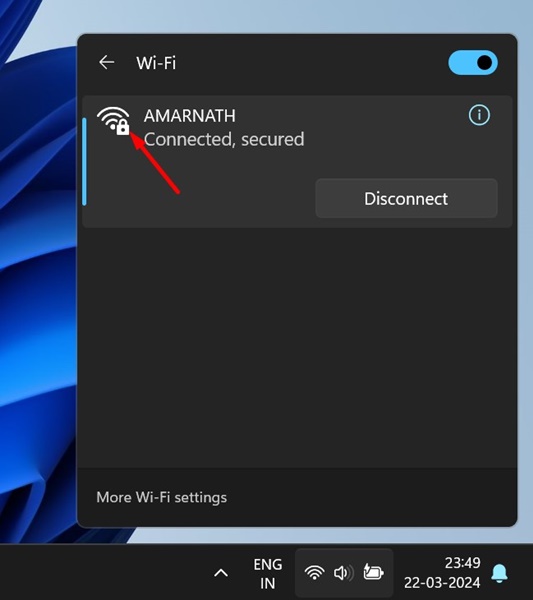
3. You can check the signal strength by looking at the number of bars beside the WiFi network you’re connected to.
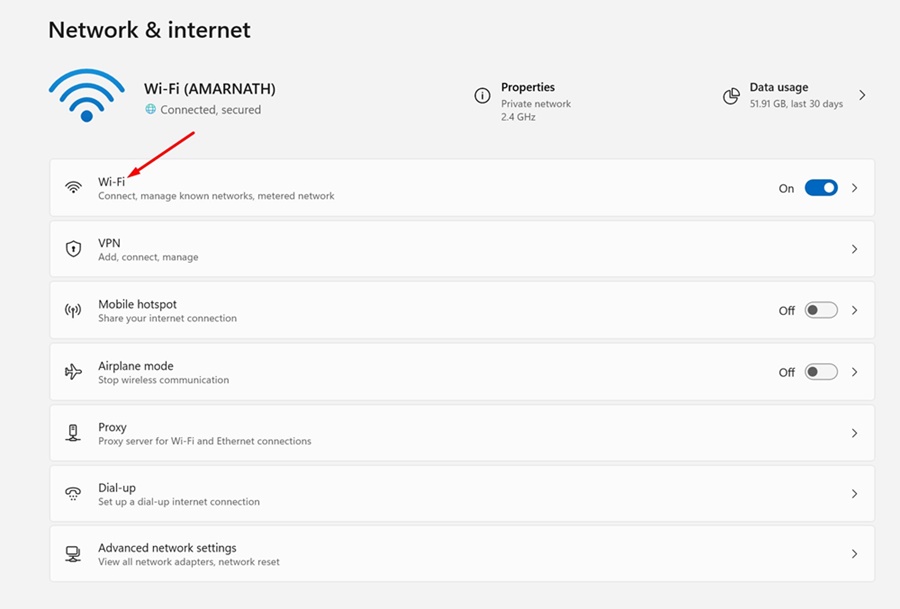
2. How to Check WiFi Signal Strength from Settings
You can find out the WiFi Signal Strength from the Settings app as well.
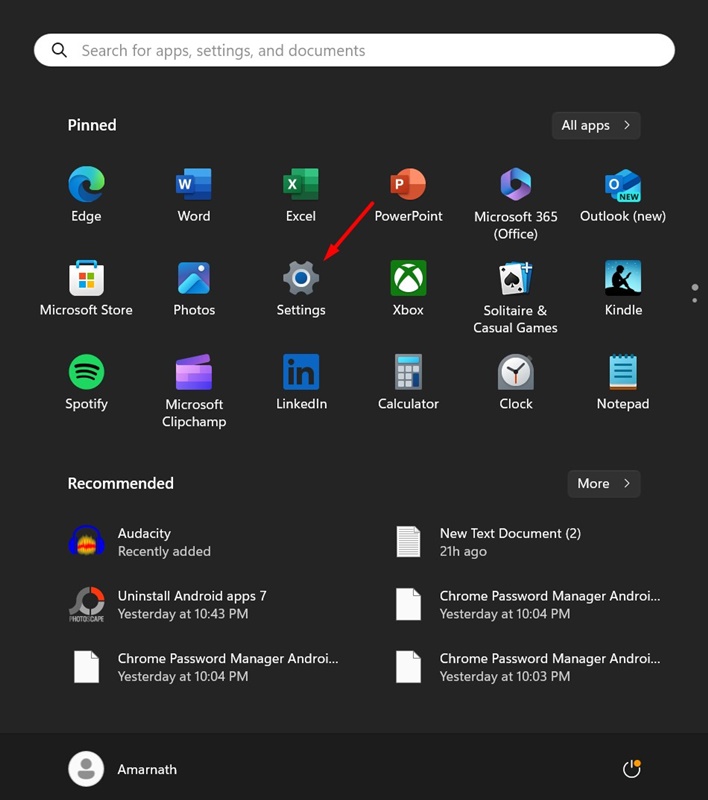
1. Click on the Windows 11 Start button and select Settings.
2. Switch to Network & Internet.

3. Click WiFi.
4. Check the number of signal bars that appear next to the WiFi network you’re currently connected to.
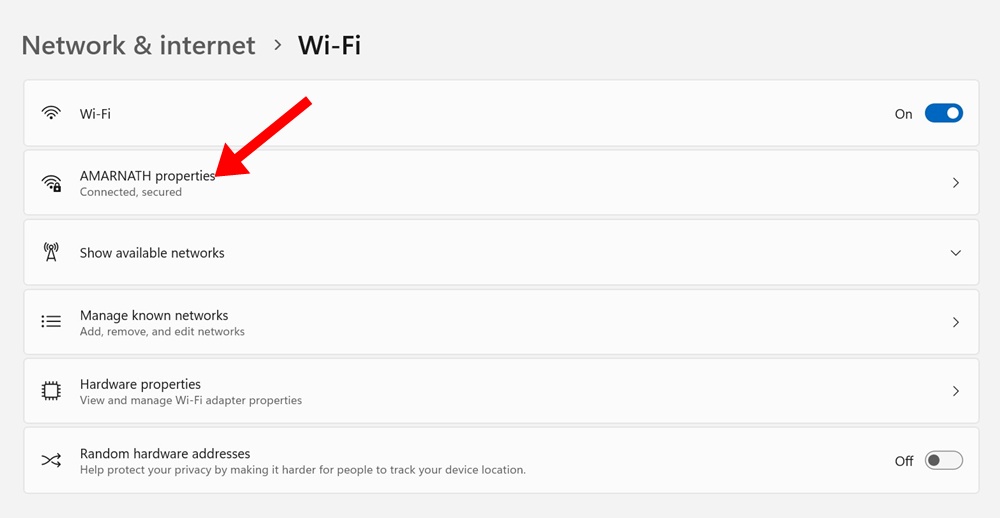
If you have fewer than four bars, it means the WiFi signal strength is poor. All four bars mean the signal strength is excellent.
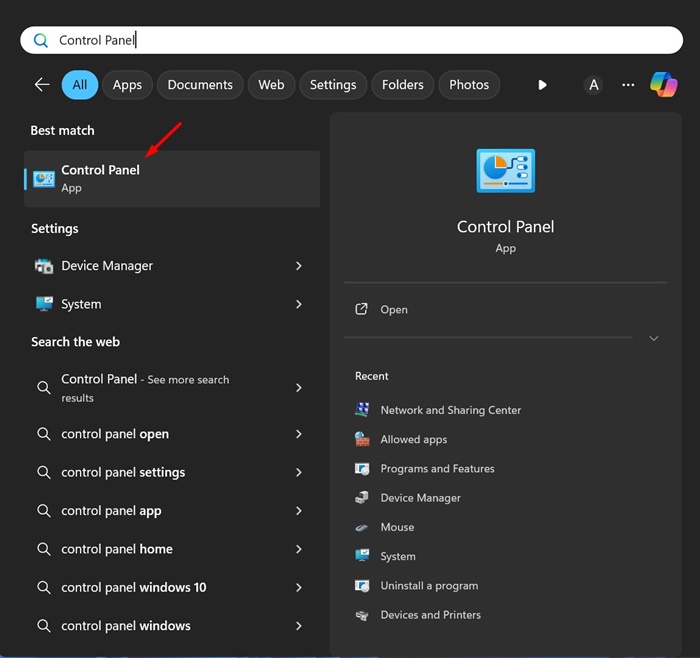
3. Check WiFi Signal Strength from the Control Panel
If you cannot access the Action Center or Settings, you can check the WiFi quality from the Control Panel.
1. Open the Control Panel app.
2. Click on Network and Sharing Center.

3. You can see the WiFi network you’re currently connected to.

4. The WiFi Signal Strength will appear next to your connected network.
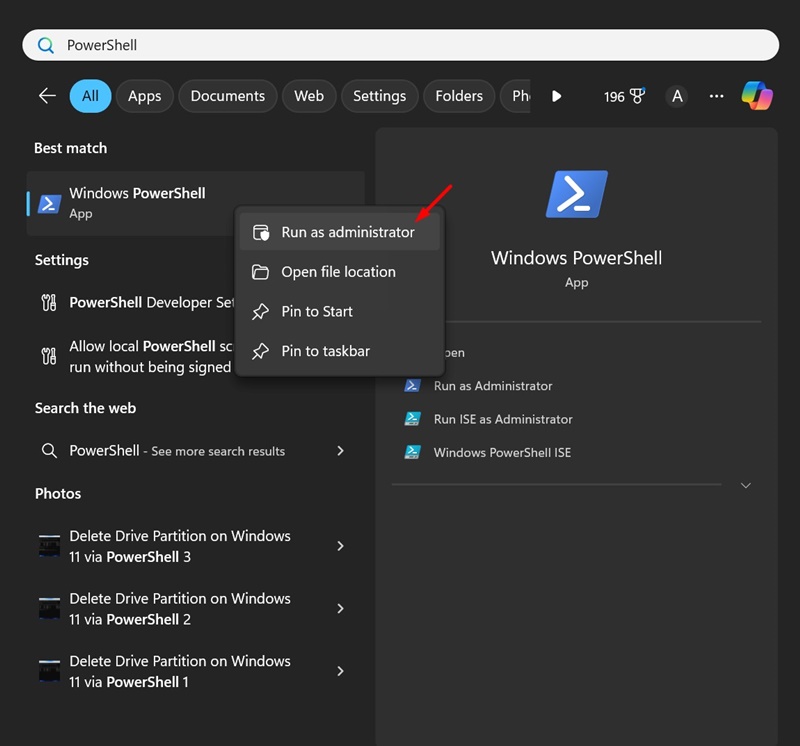
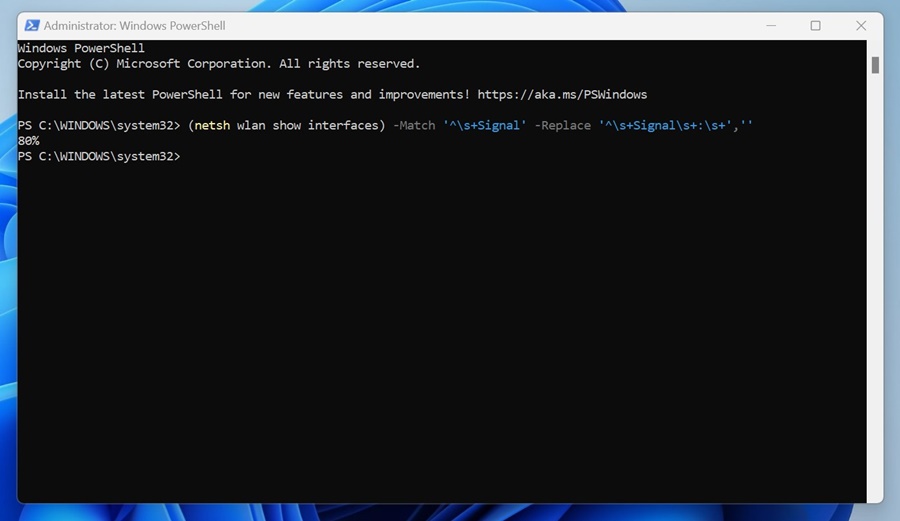
4. Check WiFi Signal Strength via PowerShell
PowerShell utility can also be used to find the percentage of the WiFi signal strength.
1. Type PowerShell in the Windows 11 Search. Next, right-click on Windows PowerShell and select Run as administrator.
2. Execute this command:
(netsh wlan show interfaces) -Match '^\s+Signal' -Replace '^\s+Signal\s+:\s+',''

3. The command will show you a percentage from 0 to 100. The 0 percent means no signal, and the 100 percent means the WiFi Signal Strength is excellent.
These are some simple methods to check the Wi-Fi signal strength on Windows 11. Let us know if you need more help with this topic.


