We all know very well that one of the fastest and easiest ways to recover the filled space from the internal memory of Android smartphones and tablets is to clear the cache memory which is stored by the several apps that are installed on our device.
Basically, this is a process that all of us have ever done, especially when the smartphones had low storage capacities, and at that time we all know, that there are very few smartphones that had offered the possibility of expanding internal memory through microSD cards.
What is cache?
The cache is an extremely fast access memory that simply stores all the copies or essential elements of an app so that we can have very fast access to them. Basically, Android holds an amount of memory to cache the data of each application.
Each of the apps that are installed on an Android device has a small amount of available cache memory, while some apps even allow the user to choose how much maximum cache memory can be stored.
Since generating content like thumbnail images, graphics or other multimedia files that are integrated into the app will require the use of system resources like CPU cycles or battery mAh, at that time apps simply decide to store this type of content in the cache of which they have.
In this way, even if the app is closed, when the user executes it again, this content will not have to be generated again, as it will be enough to access the cache to simply recover it.
How to Clear the Cache on Android (4 Methods)
Now after knowing about the cache on Android apps, the most logical thing that you would be thinking right now is to never delete this stored data (cache), as if we will do so, then obviously we won’t be able to access applications as fast as possible.
However, when it is not possible to delete other data stored on the device and you need to free up storage space urgently, then at that time clearing the cache of the app can be a useful enough solution, though it will be temporary. Now many of you might be thinking that how to do this? Don’t worry about this, as here we will show some easy ways to do it.
1. Clearing all Cached data
This will batch delete all cached data stored on your Android smartphone. Follow some of the simple steps given below.
Step 1. First of all, open Settings on your Android smartphone and select ‘Storage’
Step 2. Next, tap on the ‘Junk files’ this includes the cache files.
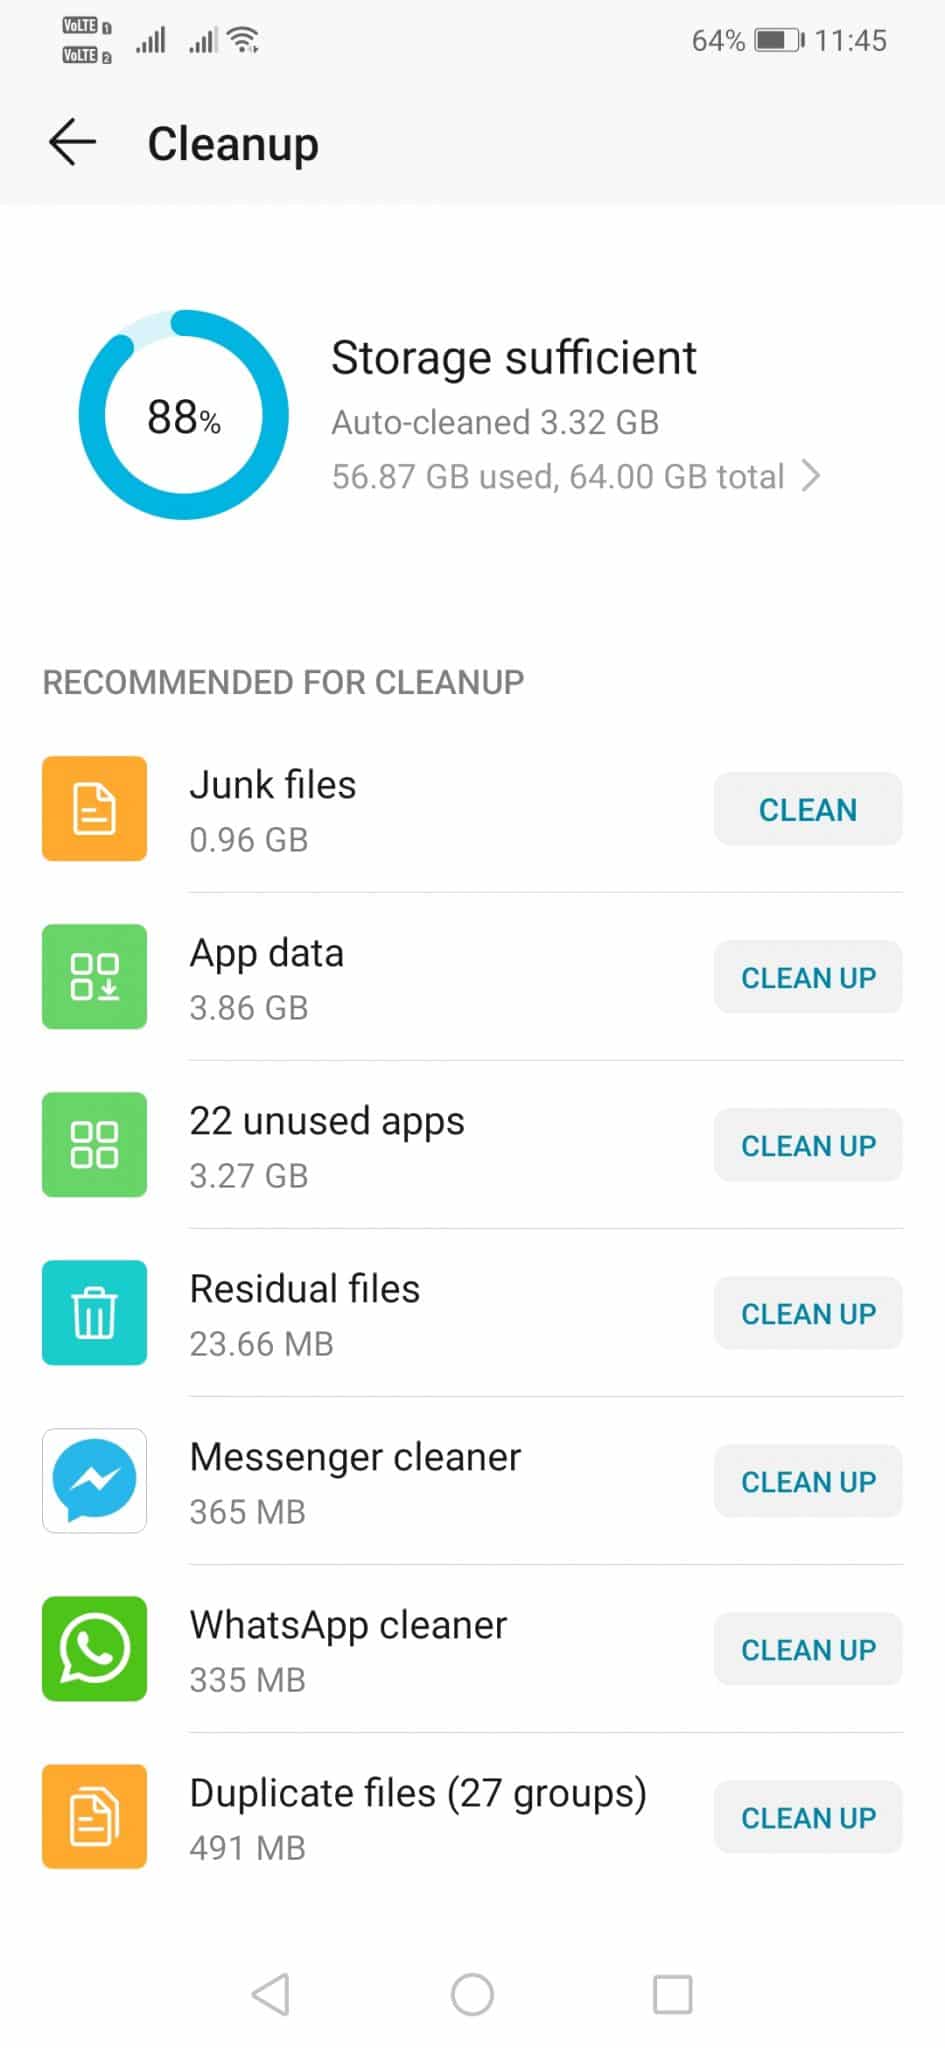
Step 3. Now, tap on the ‘Clear data’ or ‘Delete’

That’s it! You are done. The settings may vary according to the device. So, this is how you can batch delete all cached data on your device.
2. Clear Cached Data Per App
If you want to clear the cached data per-app basis, then follow some of the simple steps given below.
Step 1. First of all, open Settings and then on the ‘Apps’
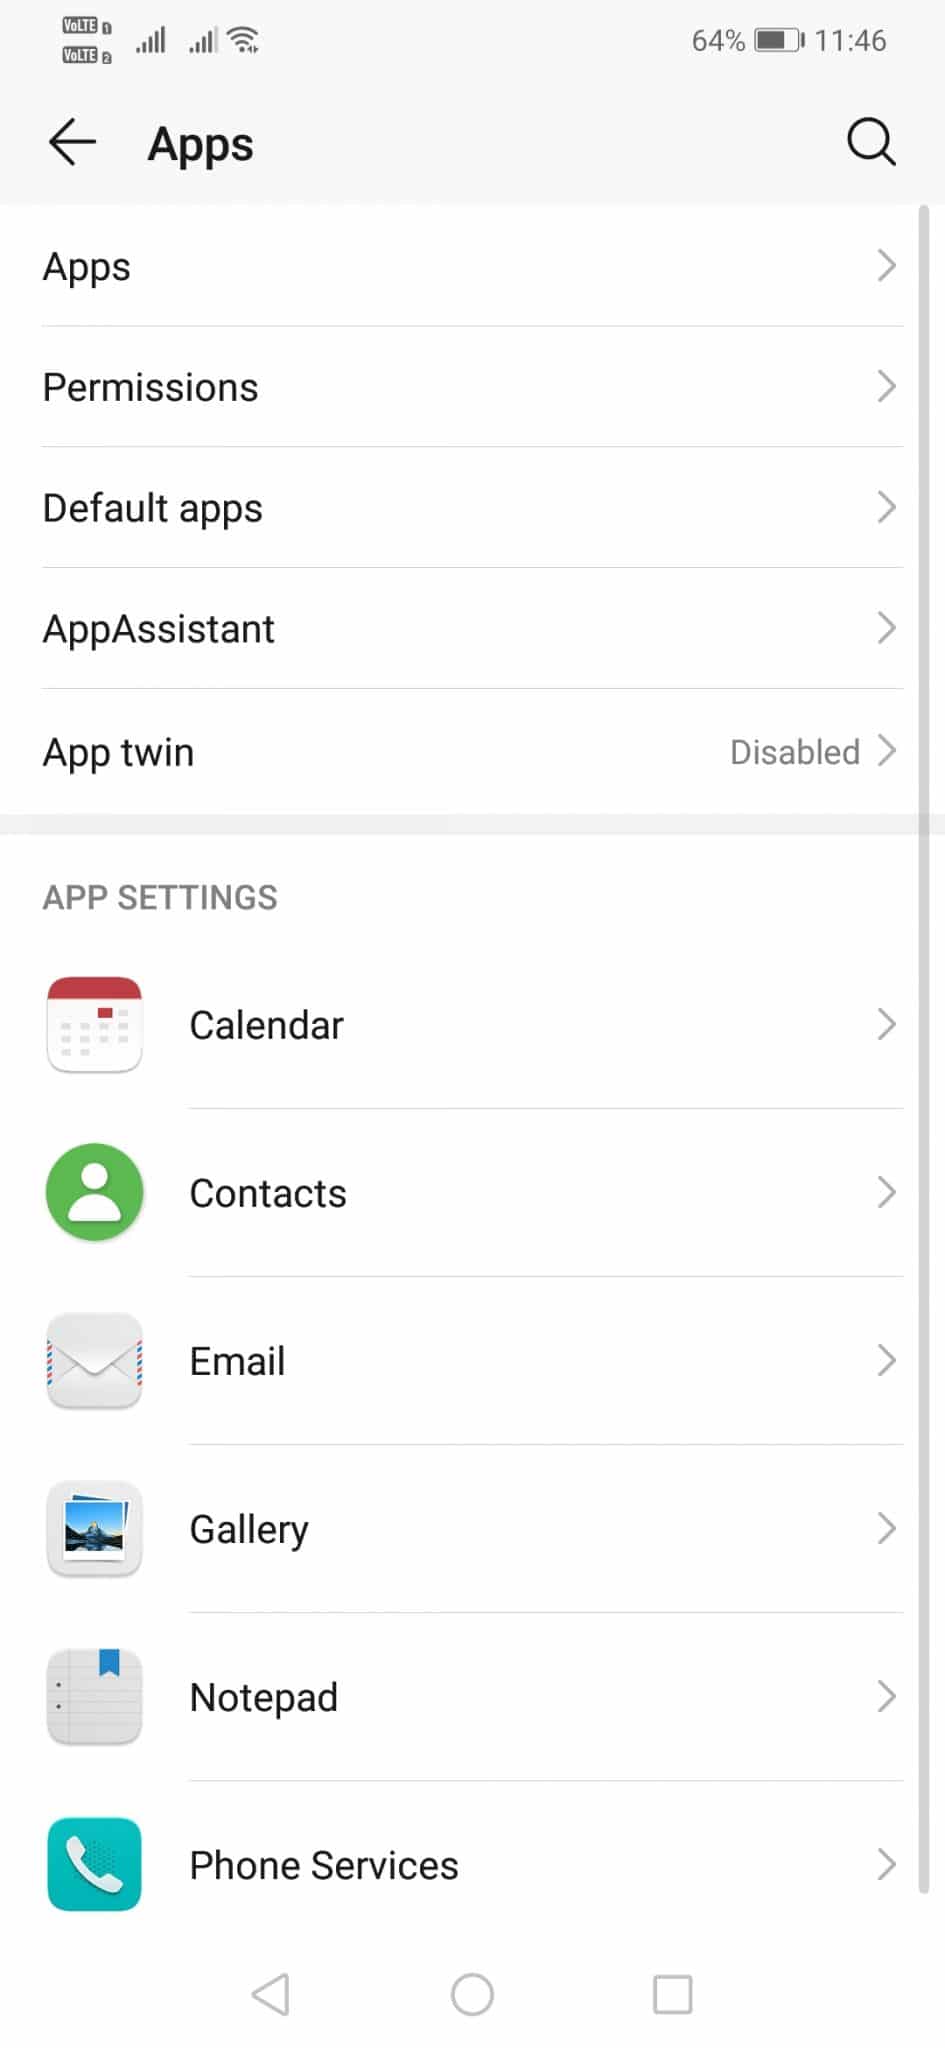
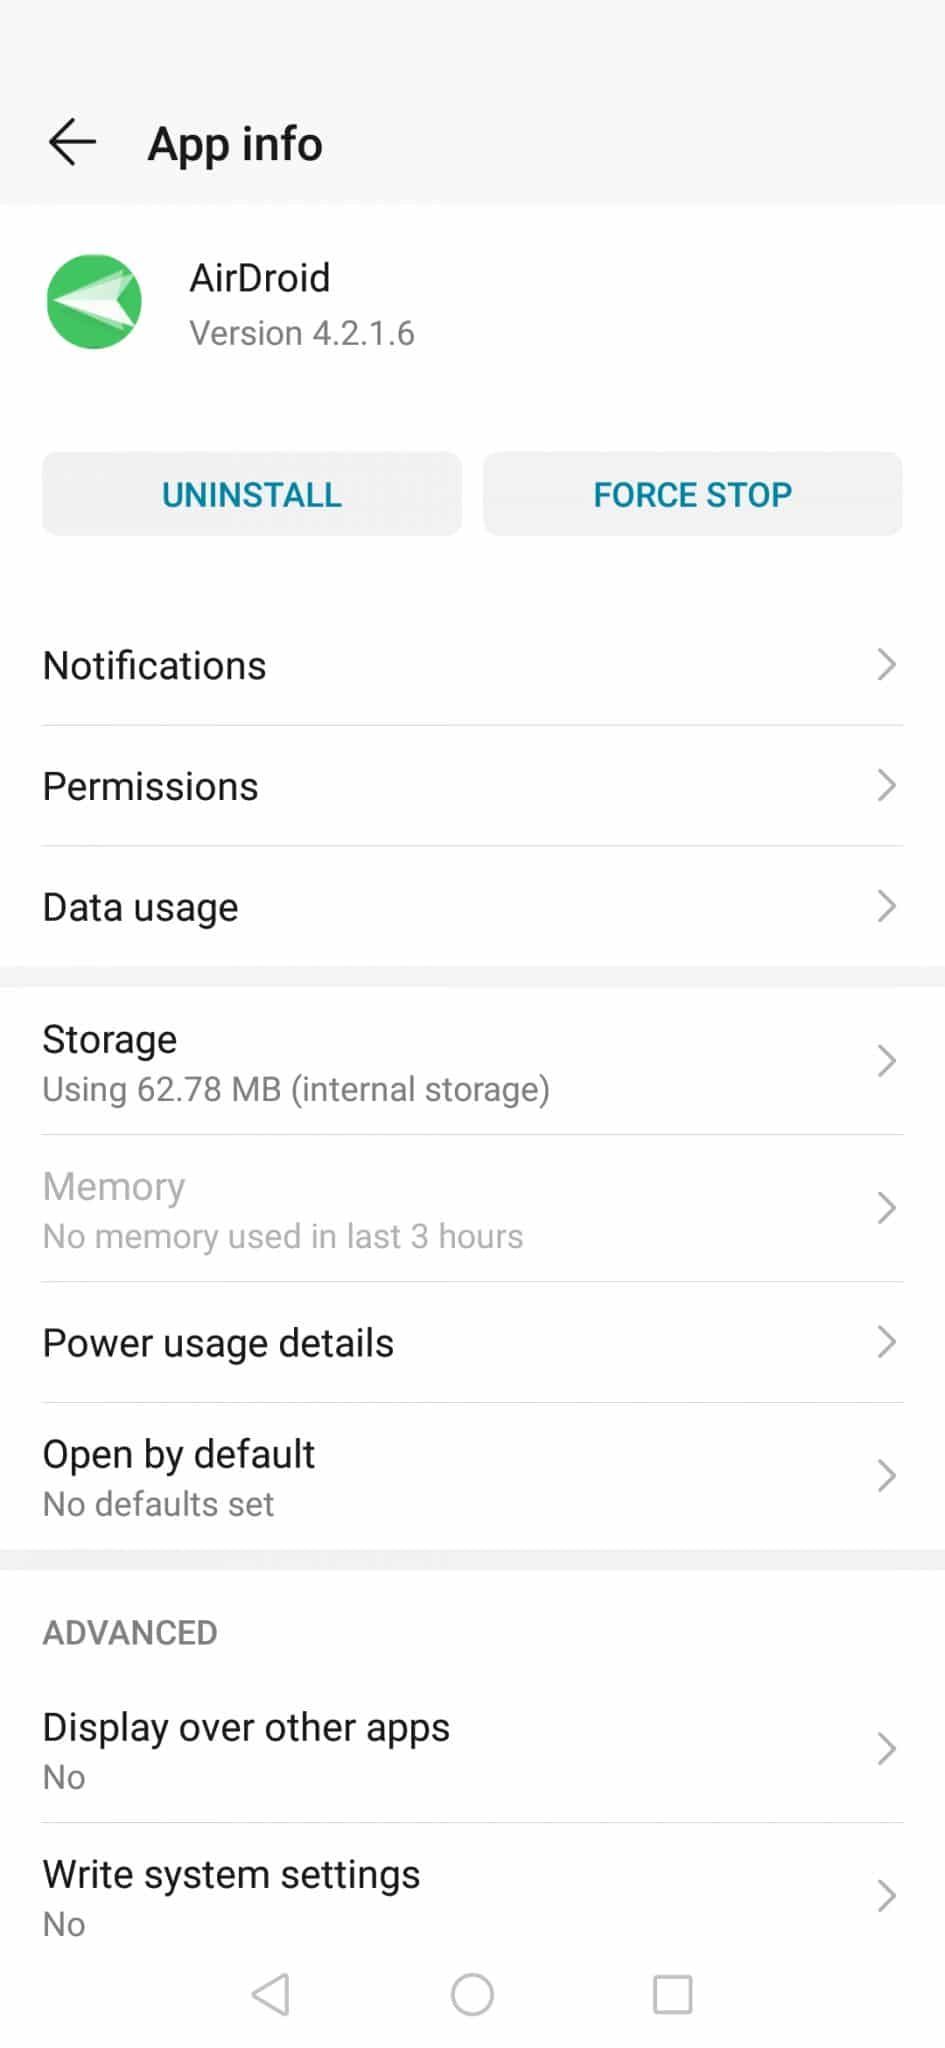
Step 2. In the next step, select the app whose cache you want to delete.
Step 3. Next, tap on the ‘Storage’
Step 4. Finally, clear on the ‘Clear Cache’ button.
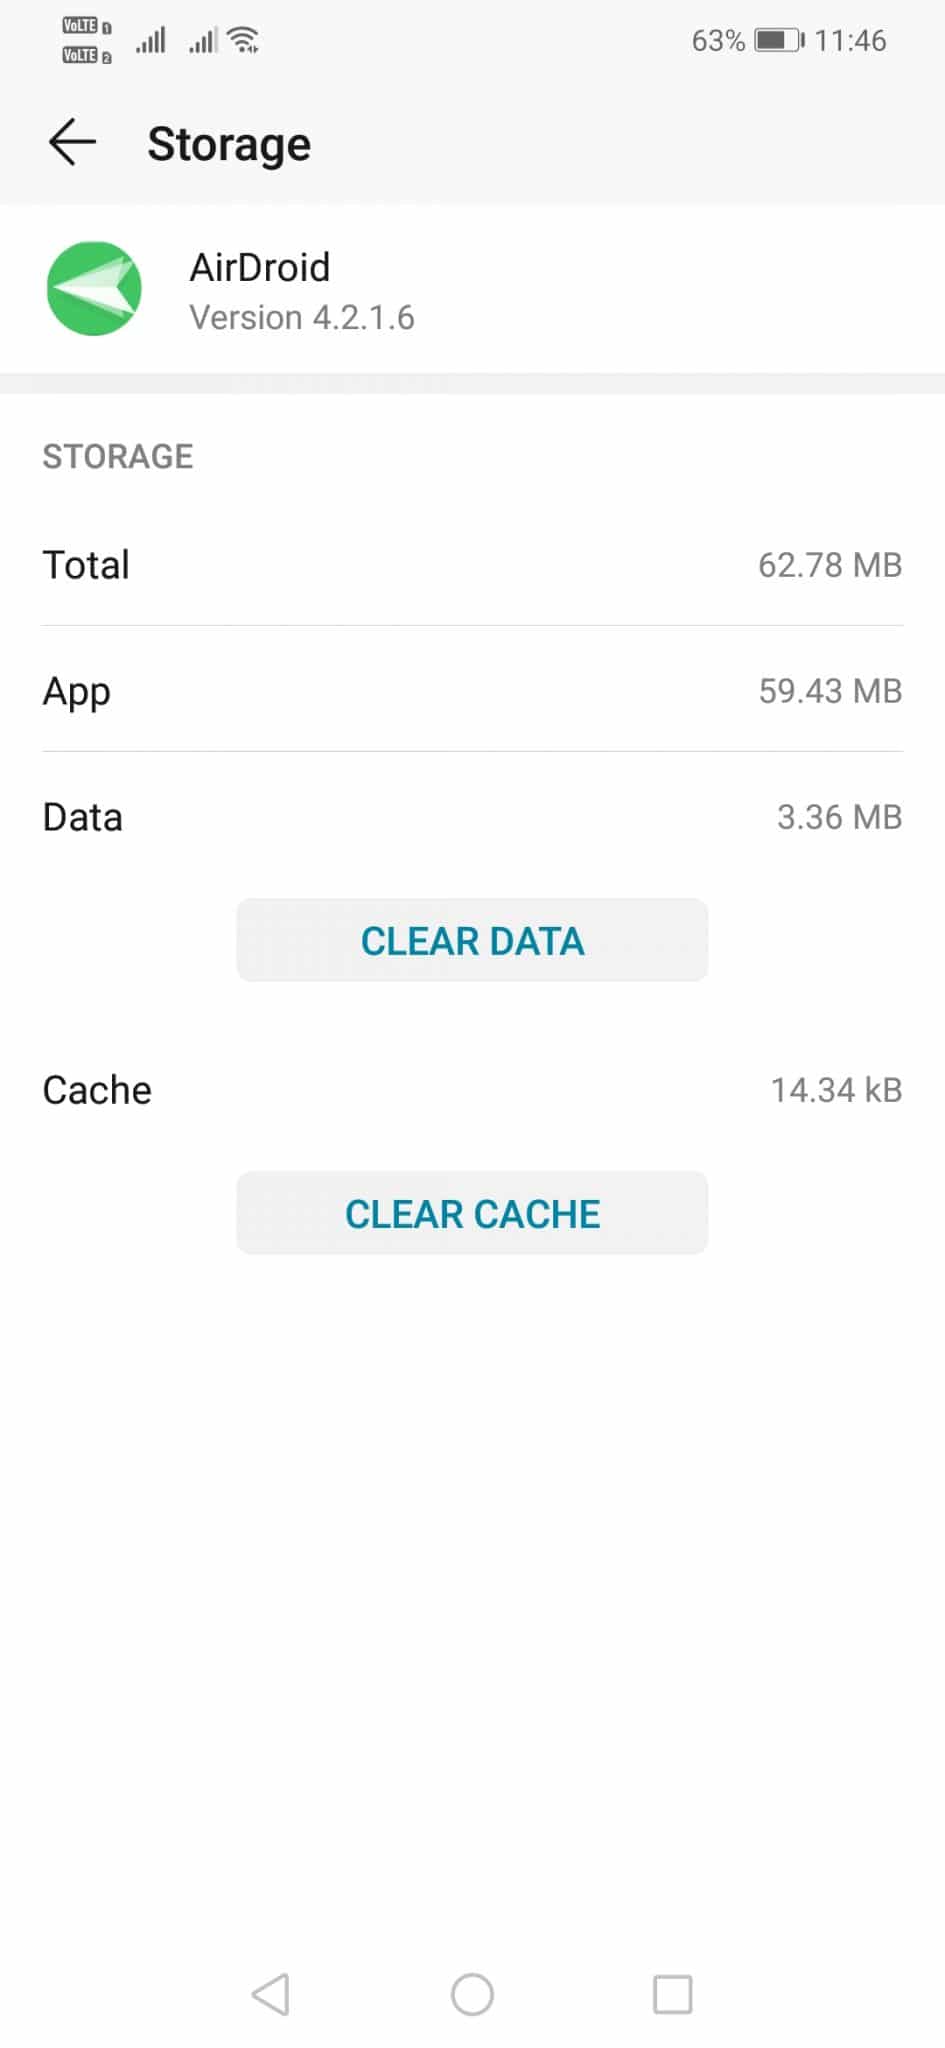
That’s it, you are done! This is how you can clear the cache per-app basis.
3. Clear Cache from recovery
Well, this one is a little bit advanced and we don’t recommend it until your phone has become too slow. If anything goes wrong while implementing this method, then it can damage your device. Follow some of the simple steps given below.
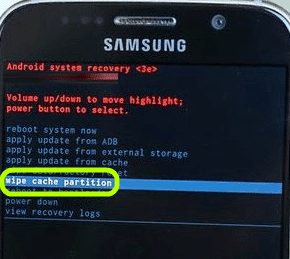
Step 1. First of all, power off your smartphone. Load into the bootload screen by using the key combination of your smartphone. In most of the smartphones, the key combination includes holding the power button and volume down button simultaneously.
Step 2. On the bootloader screen, use the volume keys to select ‘Recovery’
Step 3. Press the ‘Power’ button to select the ‘Recovery’
Step 4. Next, select ‘Wipe Cache partition’ and wait until the cache gets cleared.
That’s it, you are done! This is how you can clear cache from recovery.
4. Using Third-Party Cache Cleaner apps
Well, there are plenty of third-party cache cleaner apps available on the Google Play Store that can be used to clean your device in no-time. The cleaner apps for Android cleans outdated cache files, junk files, unused files & apps. Below, we have shared some of the best third-party cache cleaner apps for Android.
1. CCleaner
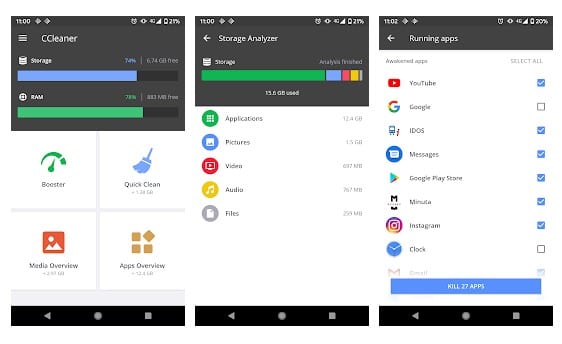
Well, CCleaner is one of the best and leading cache cleaner apps available on the Google Play Store. The app is known for its user-interface and it can clean junk files in no-time. Apart from that, it also got an app manager that checks which apps consume your data and finds the battery-draining apps.
2. AVG Cleaner
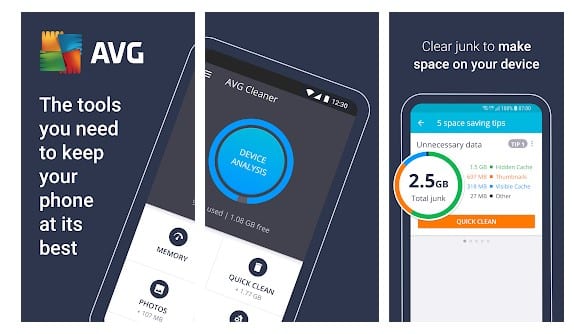
It is another best Android junk cleaner app on the list which cleans junk files, cache files, memory, and unwanted apps. The good thing is that it instantly removes unimportant data like gallery thumbnails and residual or unused Apks. So, AVG Cleaner is another best third-party app to clean cache files on Android,
3. Avast Cleanup

If you are searching for a highly effective cache and junk cleaner app for your Android smartphone, then you need to give Avast Cleanup a try. With Avast Cleanup, you can easily clean the junk and cache files, remove leftover files, unused apps, etc. It also has an advanced photo optimizer to control the size and quality of the photos.
So, these are some of the best methods to clear Android cache. I hope this article helped you! Share it with your friends also.


