Recently, Microsoft rolled out its new operating system – Windows 11. Compared to the older version of Windows, Windows 11 introduced many new features and visual changes. Also, it has introduced a feature for people dealing with color blindness.
Although the Color Filters are present even on Windows 10, the new Windows 11 OS introduced some new color modes. So, if you have one of the several different types of color blindness, you should enable the color filters.
Also read: Best Free Windows 11 Themes, Skins & Icon Packs
How to Enable & Use Color Filters in Windows 11
Hence, in this article, we will share a detailed guide on enabling and using Color Filters in the new Windows 11 operating system. Let’s check out.
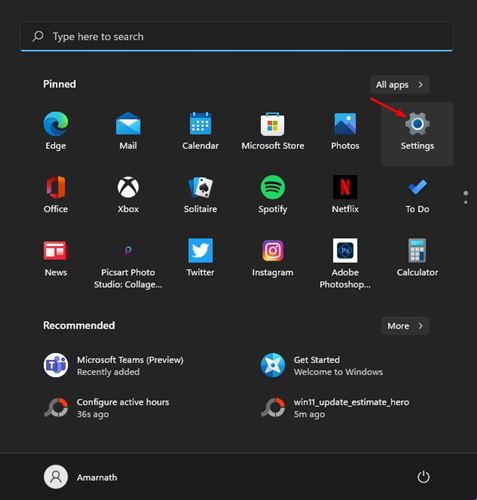
1. First, click on the Start button and select Settings. Or else, you can press Windows Key + I switch to open Settings.
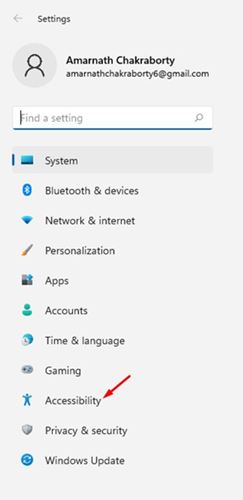
2. On the Settings page, click on the Accessibility option, as shown in the screenshot below.
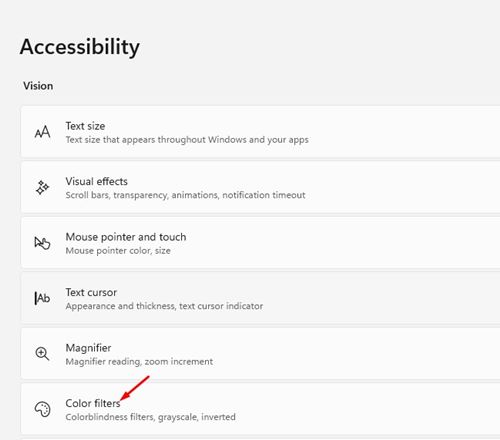
3. On the right-hand pane, click on the Color Filters mode as shown below.
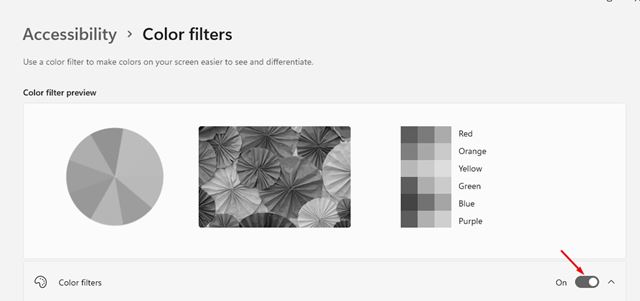
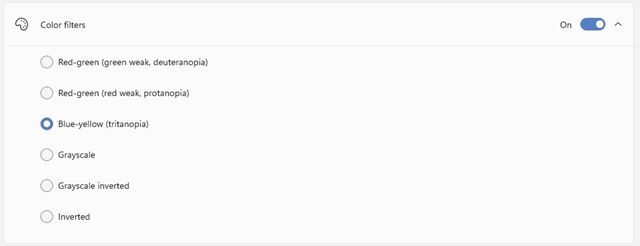
4. Enable the Color filters option as shown in the screenshot below.
5. Behind the Color filters, you will find six different types of color filters.
- Red-green (green weak, deuteranopia)
- Red-green (red soft, protanopia)
- Blue-yellow (tritanopia)
- Grayscale
- Grayscale Inverted
- Inverted
6. Depending on what type of color blindness you have, you need to select the option. Click on the circular button beside the color filter option to enable the color filter.
7. The Color filters page will also show you a preview of the effects.
That’s it! You are done. This is how you can enable and use Color filters in Windows 11 operating system.
So, this guide is all about how to use color filters in Windows 11. I hope this article helped you! Please share it with your friends also. If you have any doubts about this, let us know in the comment box below.
