You have literally hundreds of photo or video editing tools these days. But what if you want to create an animated GIF from videos or images?
To do so, you must start using several third-party apps. Yes, few web tools convert any video or series of images into a GIF; they often have restrictions and put watermarks on the GIFs.
Things become more difficult when you have a Mac. Mac has a low count of software for creating animated GIF screenshots compared to Windows. However, the available ones are pretty good.
Hence, in this article, we have shared some easy steps to create an animated GIF screenshot on Mac. Let’s get started.
Steps to Create an Animated GIF Screenshot On MAC
Giphy is a free software available to download from the Mac App Store completely free of charge. The best part of Giphy is that it is not exclusively for one service. Whatever you display on your Mac can be converted into a GIF quickly and easily. I’ll show you how I made a GIF with a video of the Blue & Black/White & Gold dress.
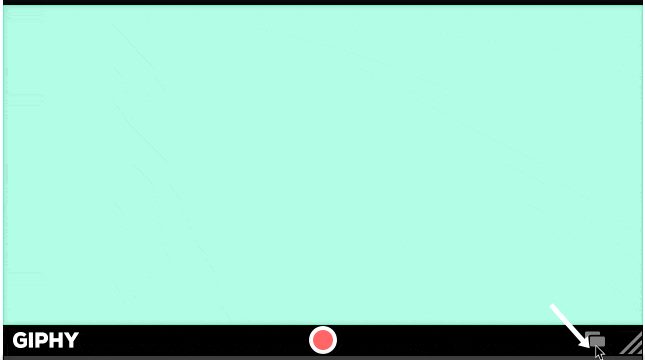
1. After downloading Giphy from the Mac App Store, we opened the software, and a green square appeared on the screen.
2. We then load the video we wanted to create a GIF of – in this case, a vine – and rearrange the box to fit the video perfectly. Then all we had to do was click “Start Recording” to start creating the GIF – even though you have a maximum of 30 seconds to use, try to use as little as possible as GIF files can be quite big.
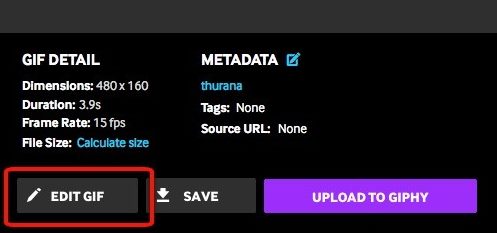
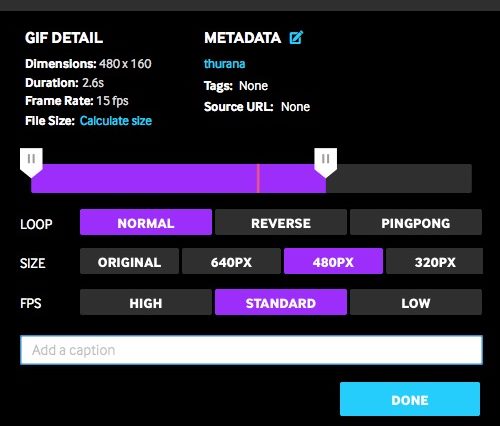
3. Once your GIF has been captured, click the Giphy logo in the Menu Bar and select your GIF. You can then resize your GIF to make the file smaller, trim it, so it’s perfect, and even generate a URL for it, ready to be shared. You can also export it normally.
4. Once you’ve saved your GIF, you’ll be able to do as you please. It’s important to note that once you quit the app, all unsaved GIFs will be discarded, so make sure everything you need is saved before closing.
So above discussion is all about How To Create an Animated GIF Screenshot On Mac., Use the guide, and you can easily create animated screenshots using the above-discussed tool. I hope you like the guide and keep sharing it with others. Leave a comment below if you have any related queries about this.
