A single restore point can take up around 600MB of disk space. If you have multiple restore points, you might face problems related to insufficient disk space. So, you can delete the restore points you don’t want to use to free up almost 1-2GB of disk space.
Delete System Restore Points in Windows
Here’s a step-by-step guide on deleting system restore points in Windows.
1. Click the Windows Start button and select Settings.

2. Click on System.

3. Click on About.

4. Click System Protection.
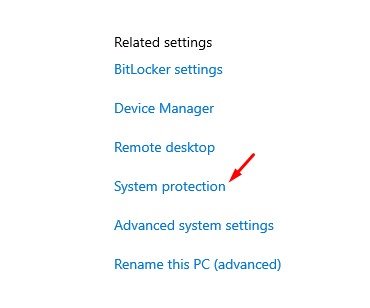
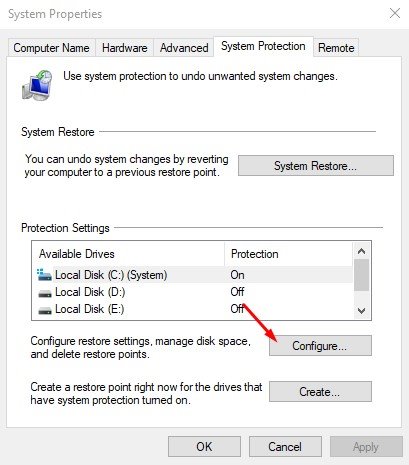
5. On the System Properties page, click System Protection.
6. Select the drive and click on Configure.
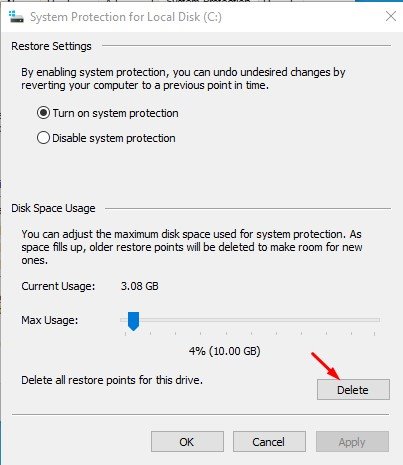
7. You need to click Delete.
Important: You need to implement the same steps for every drive to enable System Protection.
Delete all but the Most Recent Restore Point
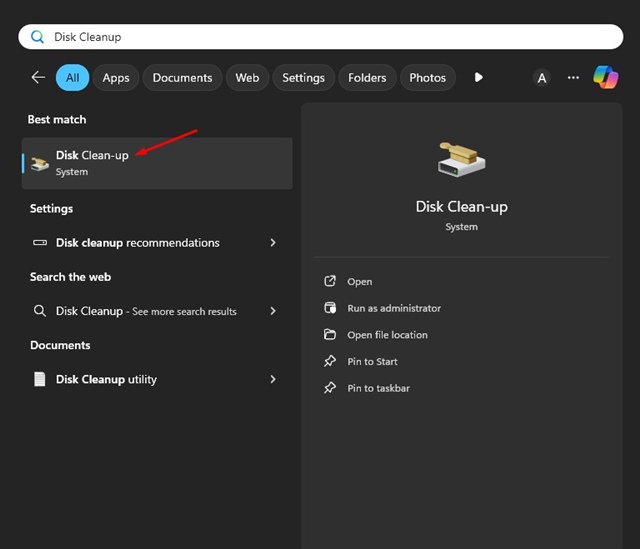
If you just want to delete the most recent Restore point, you need to utilize the Disk Cleanup utility.
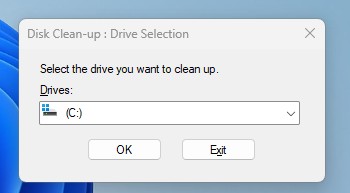
1. Type Disk Cleanup in the Windows Search and open it.
2. Select the drive you want to clean up and click OK.
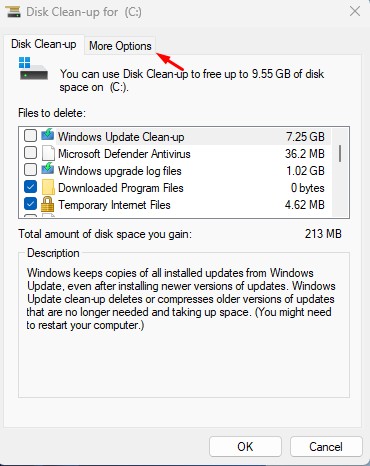
3. On the Disk Cleanup pop-up, switch to More Options.
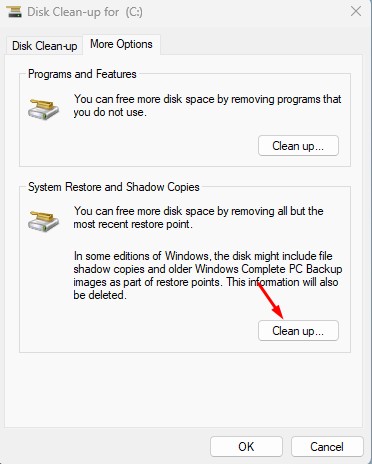
4. Click Clean up on the System Restore and Shadow Copies section.
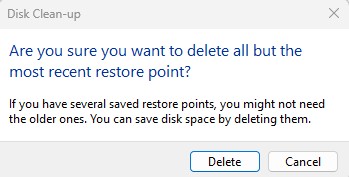
5. Click Delete.
Delete Specific System Restore Point via CMD
If you want to delete a specific system restore point, you should use the Command Prompt utility.
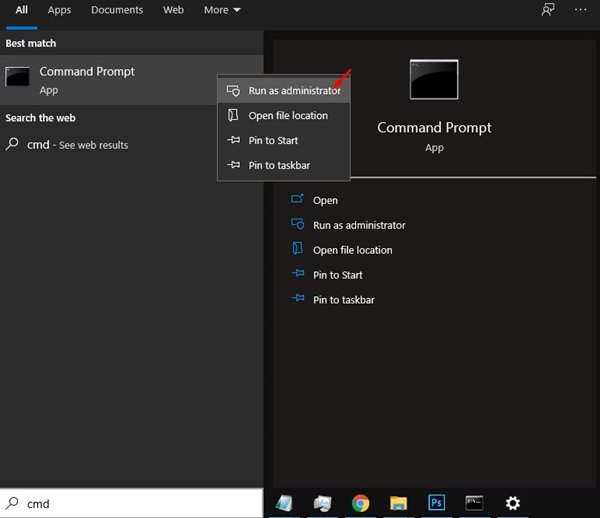
1. Open Windows search and type in CMD. Right-click on the CMD and select Run as administrator.
2. Enter the command shared below:
vssadmin list shadows
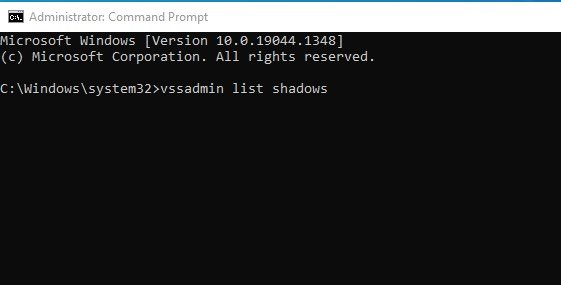
3. The above command will list all system restore points. You need to look at the creation date and time. Note down the shadow copy ID of the restore point you want to delete.
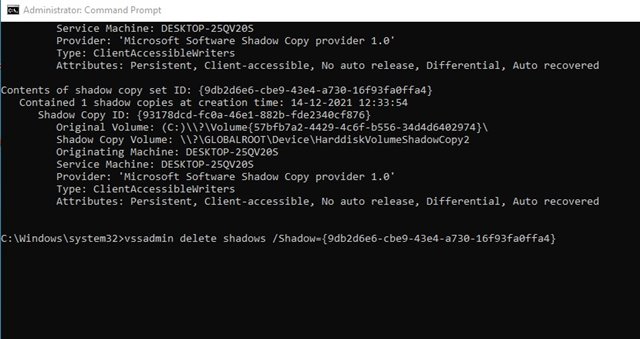
4. Execute the command shared below:
vssadmin delete shadows /Shadow={shadow copy ID}
Necessary: Replace the shadow copy ID with your shadow copy ID. For example, vssadmin delete shadows /Shadow={739c0369-09be-4135-bac1-b2751969b85f}
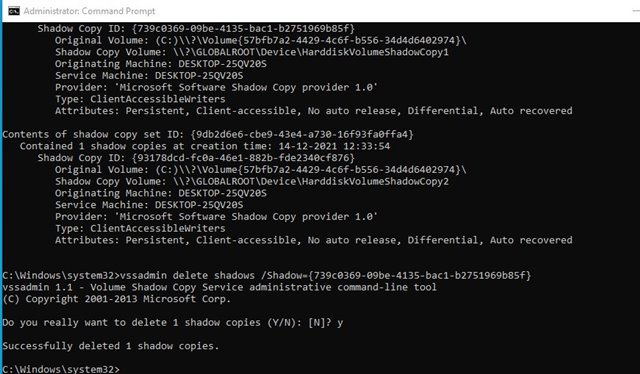
5. You need to type in ‘Y’ and hit the Enter button on the confirmation prompt.
Creating and deleting system restore points is pretty straightforward. However, you can’t roll back your Windows to the previous working state if you delete the restore points.


