Hyper-V can consume lots of RAM and drain battery life. For this reason, it’s a good idea to keep Hyper-V disabled on Windows 11. Also, if you plan to use other virtualization software like VirtualBox, it’s recommended to turn off Hyper-V first to avoid any conflict issues.
1. Disable Hyper-V from Windows Features
You can directly disable Hyper-V from the Windows Features. Here’s what you should do.
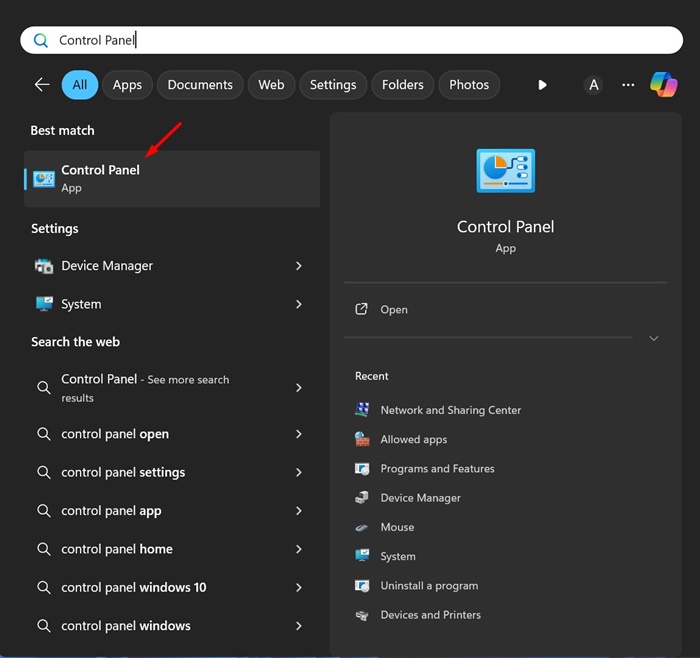
1. Open Control Panel from the Windows Search.
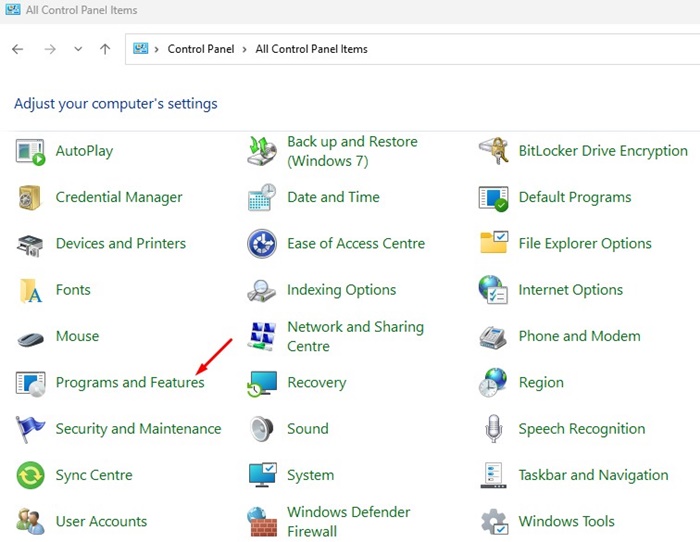
2. Click Programs and Features.
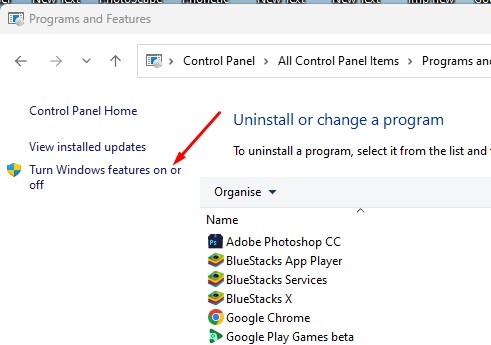
3. Click Turn Windows Features on or off.
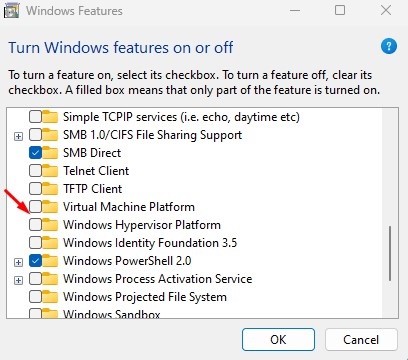
4. Uncheck the Hyper-V.
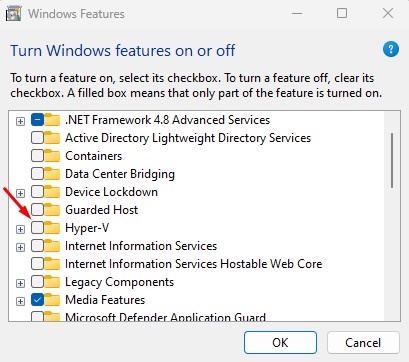
5. Uncheck the Windows Hypervisor Platform. Once done, click OK.
After making the changes, restart your Windows 11 PC. This should disable Hyper-V on your PC.
2. Disable Hyper-V Using DISM Command
Before you follow this method, ensure your computer is connected to the Internet. Then, use the DISM command to disable Hyper-V on Windows 11.
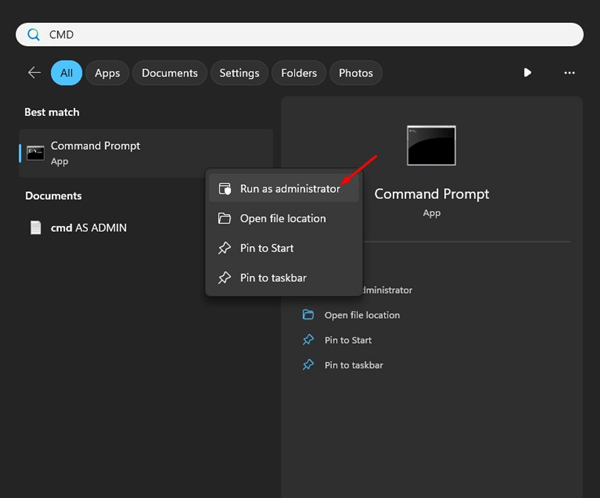
1. Type CMD in the Windows 11 Search. Right-click on CMD and select Run as administrator.
2. Execute this command:
dism /online /disable-feature /featurename:Microsoft-hyper-v-all

3. After executing the command, close the Command Prompt.
4. Make sure to restart your Windows PC to apply the changes.
3. Disable Hyper-V on Windows 11 using PowerShell
You can also use the PowerShell utility to turn off the Hyper-V feature on Windows 11.
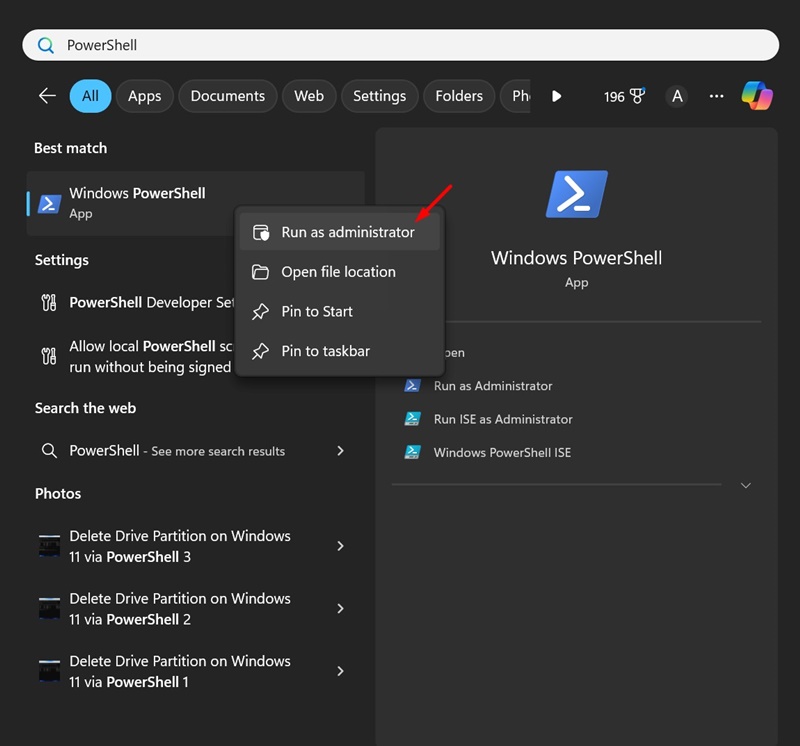
1. Type in PowerShell on Windows 11 Search. Right-click on PowerShell and select Run as administrator.
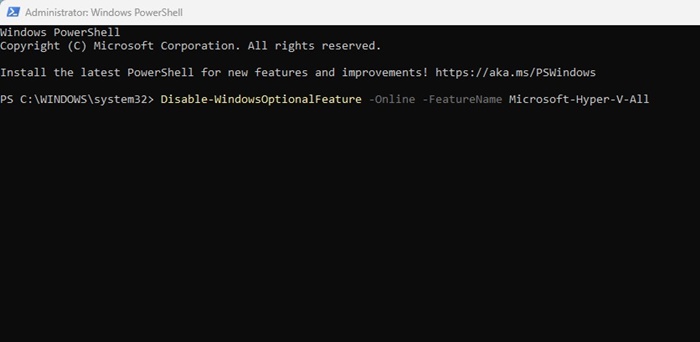
2. Execute this command:
Disable-WindowsOptionalFeature -Online -FeatureName Microsoft-Hyper-V-All
3. On the confirmation prompt, type Y and press Enter.
4. Disable Hyper-V using the BCDEdit command
You can use the BCDEdit command-line utility to manage the hypervisor launch mode. The same can be used to disable Hyper-V as well.
1. In Windows 11 Search, type CMD. Right-click on CMD and select Run as administrator.
2. When the Command Prompt opens, execute this command:
bcdedit /set hypervisorlaunchtype off
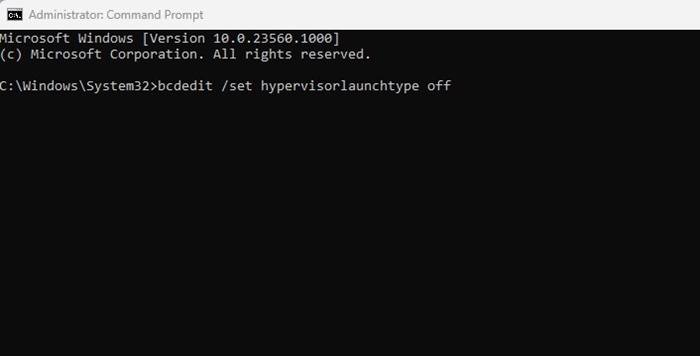
3. After executing the command, close the command prompt.
Make sure to restart your Windows 11 PC to apply the changes. This should disable Hyper-V on your device.
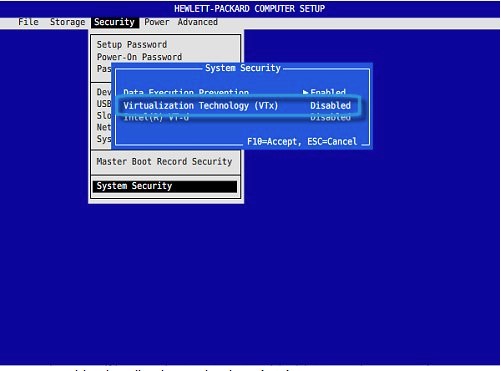
5. Disable Hyper-V on Windows 11 via BIOS
If you don’t want to use virtualization programs, it’s best to turn off hardware virtualization in the BIOS.
- Restart your Windows PC.
- Now, use the designated key to open the BIOS settings.
- When you’re in BIOS, switch to Configuration.
- Select the Virtualization Technology option. Next, select Disabled.
- Save the changes by pressing the F10 key and exit.
Please note that the options to access the BIOS and disable virtualization may vary. You can find the options to access the BIOS and turn off virtualization by reviewing the support documents or visiting the manufacturer’s website.
These are simple methods for disabling Hyper-V on the Windows operating system. Let us know if you need more help.


