If you have been using Windows 11 for a while, you might know that the operating system restricts certain apps, files & commands behind administrative privileges. This is the only reason Windows shows you prompts (UAC) each time you attempt to do something that requires administrative privileges. Activating the administrator account can help you bypass those annoying prompts.
1. Enable Administrator Account in Local User and Groups
You can use the Local User and Groups to enable the Built-in Administrator account in Windows 11.
1. Press the Windows Key + R on your keyboard. This will open the RUN dialog box.
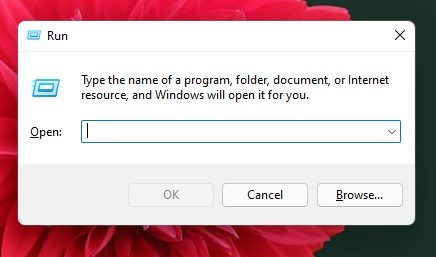
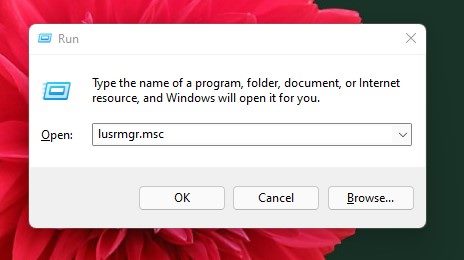
2. Type in lusrmgr.msc and press Enter.
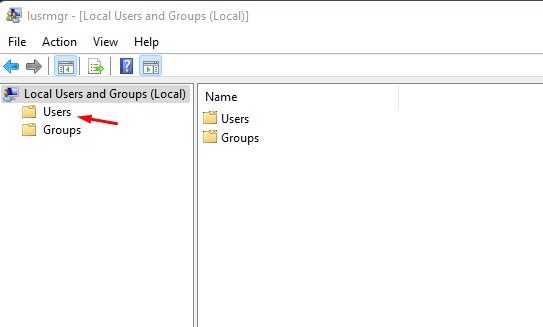
3. This will open the Local Users and Groups panel. In the left pane, click on the Users folder.
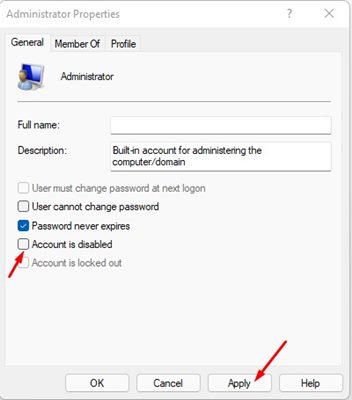
4. Right-click on the Administrator account and select Properties.
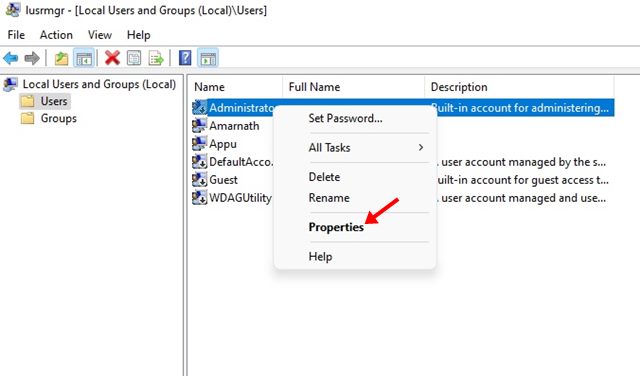
5. Uncheck the Account is disabled option. Click Apply.
2. Enable Administrator Account via Command Prompt
We will use the Command Prompt utility to enable or disable the Administrator account.
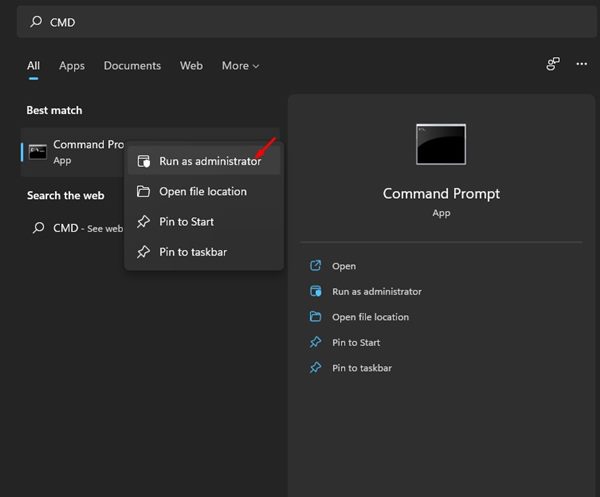
1. Open the Windows 11 search and type in Command Prompt. Right-click on the Command Prompt and select Run as administrator.
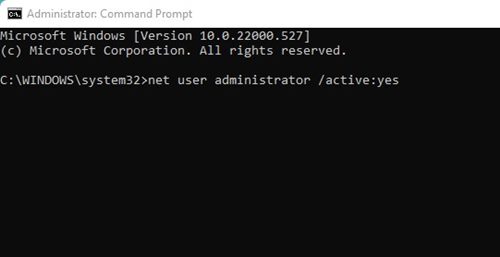
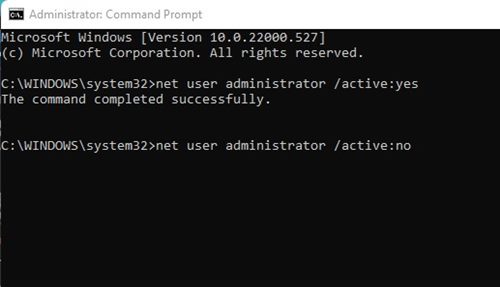
2. Execute this command:
net user administrator /active:yes
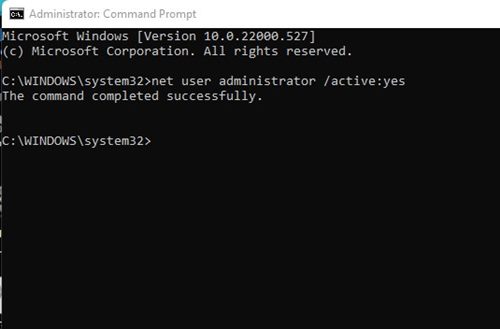
3. This will activate the Administrator account, and you will see a command completed successfully message.
4. To disable the administrator account, execute this command.
net user administrator /active:no
3. Enable Administrator Account via Windows 11 PowerShell
You can also use the PowerShell utility to enable or disable the Administrator account.
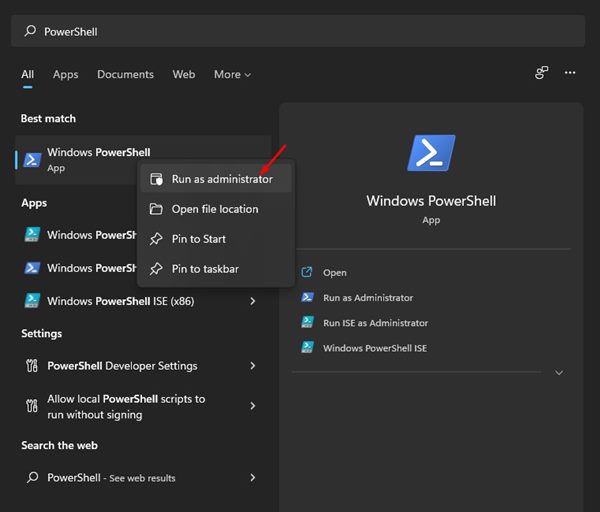
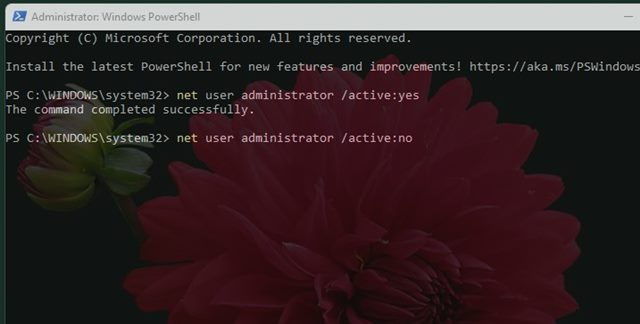
1. Open the Windows 11 search and type in PowerShell. Right-click on PowerShell and select Run as administrator.
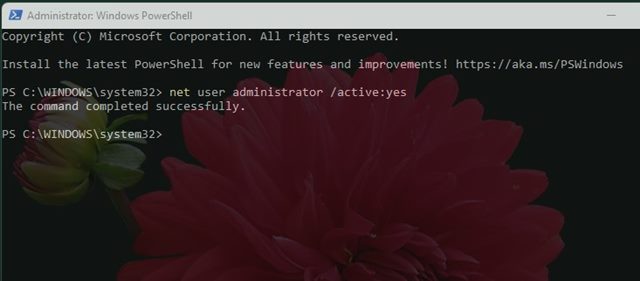
2. Execute the command:
net user administrator /active:yes
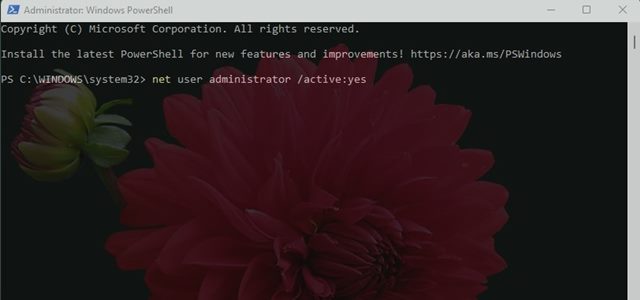
3. This will activate the Administrator account, and you will see a command completed successfully message.
4. To disable the administrator account, enter the command:
net user administrator /active:no
It’s pretty easy to enable or disable the Administrator account on Windows 11. You can use the three methods to enable or disable the hidden account. If you have any doubts, let us know in the comment box below.


