Many users on the Microsoft Forum reported that their voice does not reach the recipient during audio/video calls. If you are facing the same problem, check whether Microphone access is enabled or disabled. Here’s how you can do it.
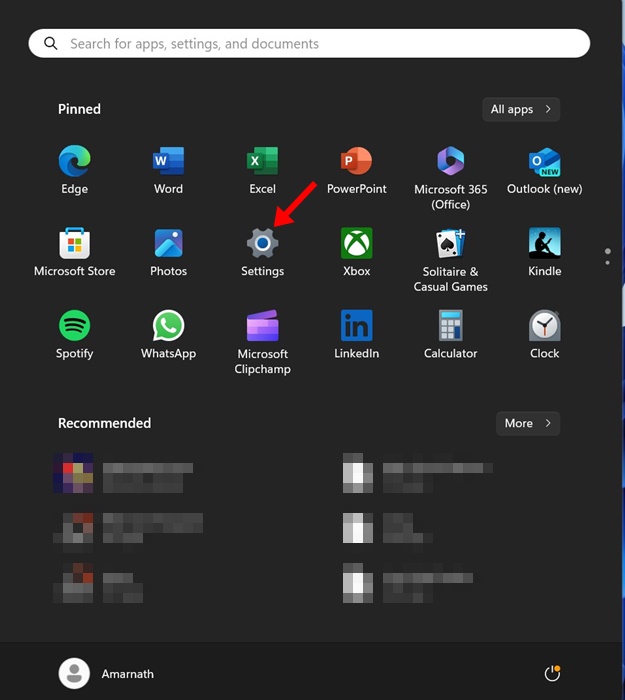
1. Click on the Windows Start button and select Settings.
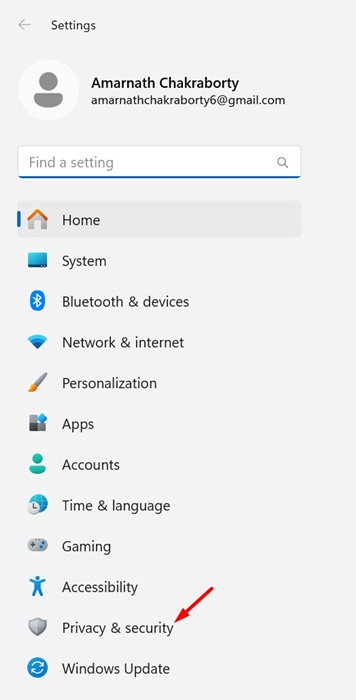
2. Switch to Privacy & Security.
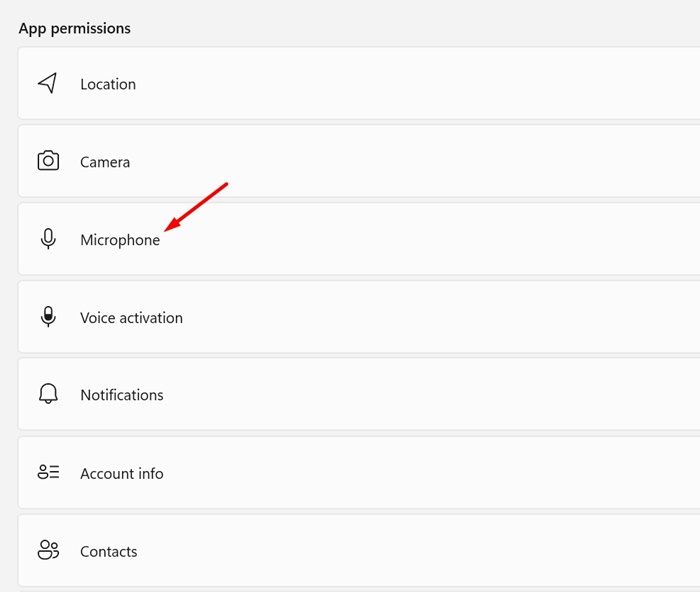
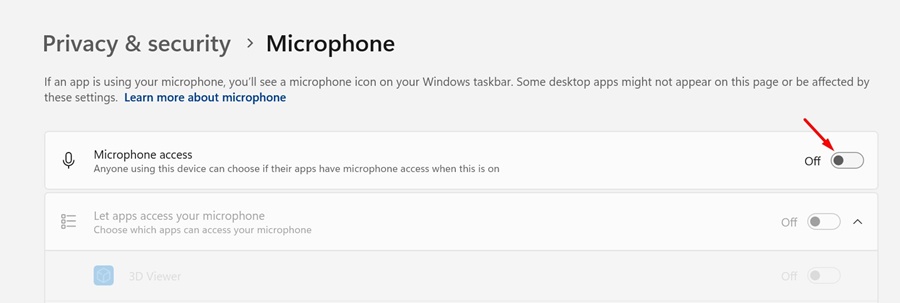
3. Scroll down to the App permissions and click Microphone.
4. Toggle on the switch next to the Microphone access.
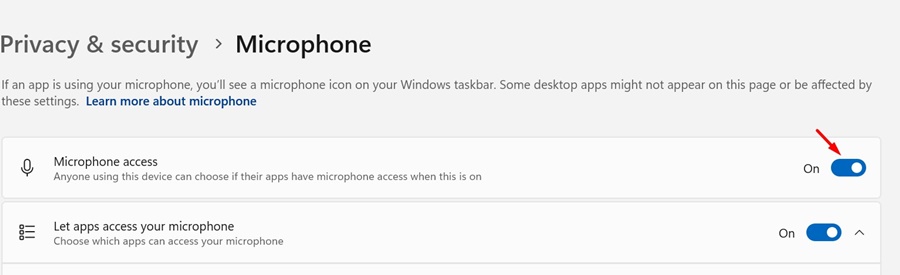
5. Turn off the toggle beside Microphone access.
How to Enable Microphone Access for Apps Individually
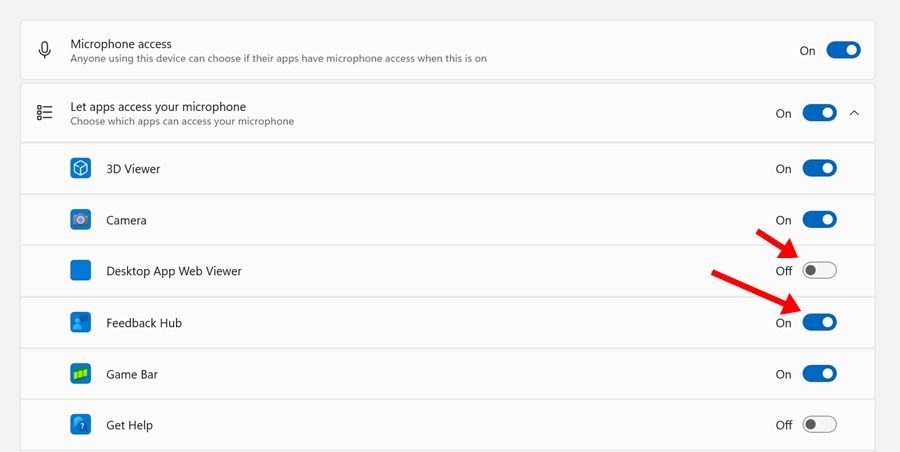
Windows 11 lets you manually select which apps can access your Microphone. So, you can manually allow only specific apps to have access to your device’s Microphone, not all.
1. Click on the Windows Start button and select Settings.
2. Switch to Privacy & Security.
3. Scroll down to the App permissions and click Microphone.
4. Toggle on the switch next to the Microphone access.
5. Expand the Let apps access your microphone and manually enable or disable the Microphone access for the apps.
How to Enable or Disable Microphone Access from Sound Settings
If you are unable to follow the method shared above, you can try this one to enable or disable the Microphone using sound settings.
1. Click on the Windows 11 Start button and select Settings.
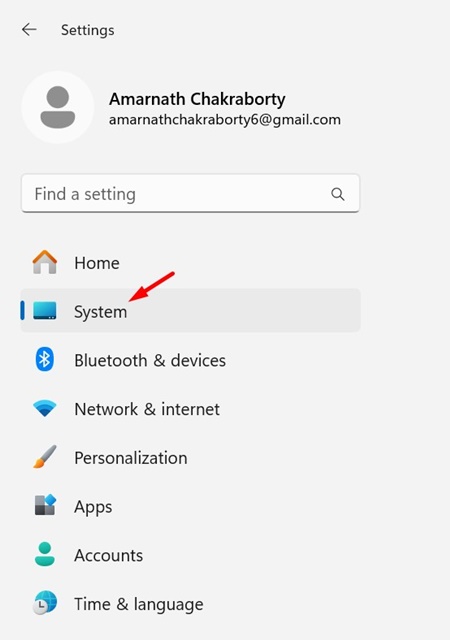
2. Switch to the System.
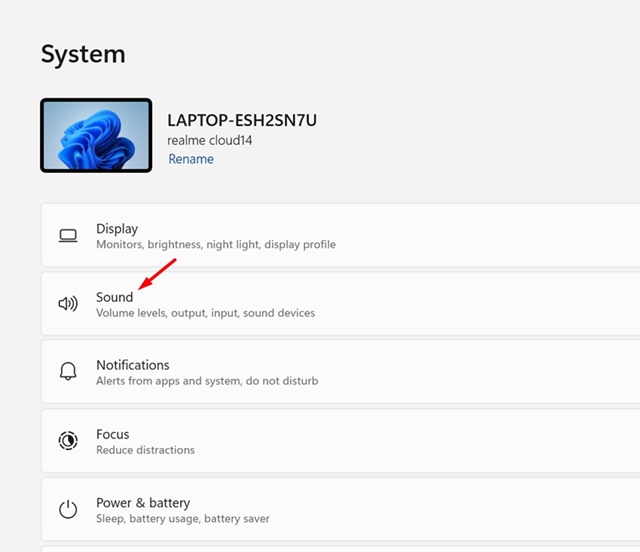
3. Click Sound.
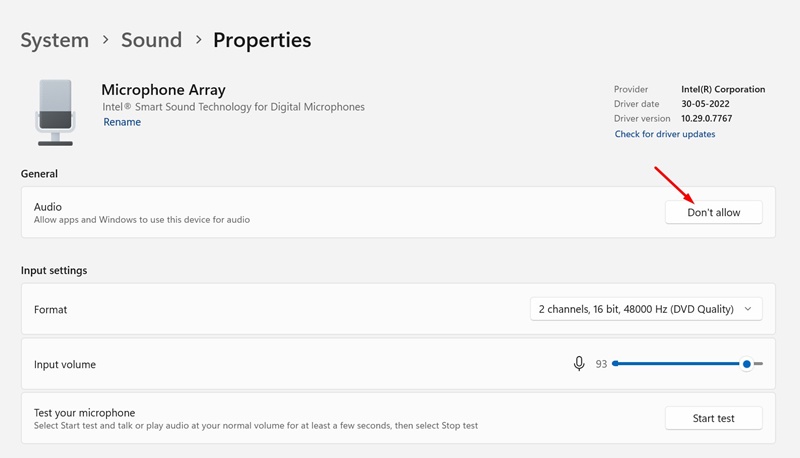
4. Navigate to Microphone > Properties.
5. In the General section, click the Don’t Allow button for Audio to disable microphone access. To enable the Microphone, click Allow.
This guide explains how to enable or disable Microphone access in Windows 11. Let us know if you need more help enabling or disabling Microphone access on your computer.


