If your device has multiple network adapters, you may want to disable the ones you don’t use so they don’t interfere. Enabling or disabling the network adapters is easy on Windows 11. Here’s how you can do it.
1. Disable/Enable Network Adapter via Settings
This method will use the Windows 11 Settings app to turn a network adapter on or off.
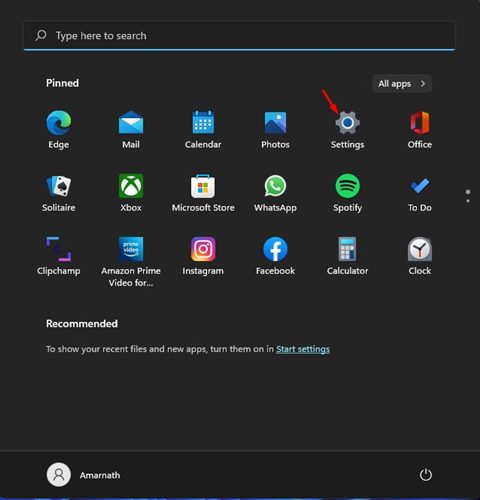
1. Open the Windows 11 Settings app.
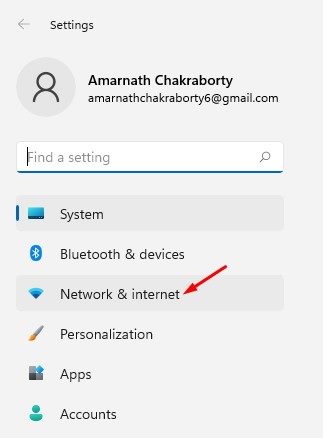
2. Click on Network & Internet.
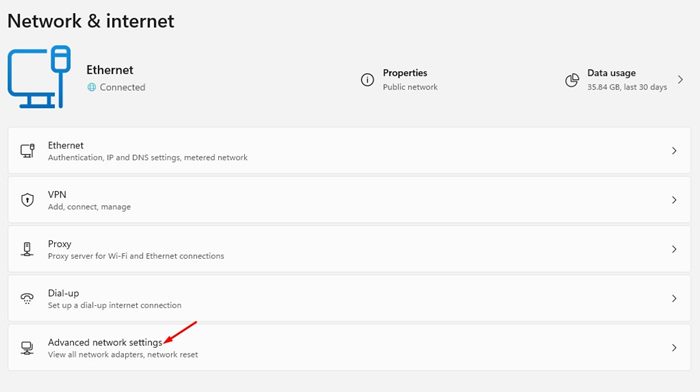
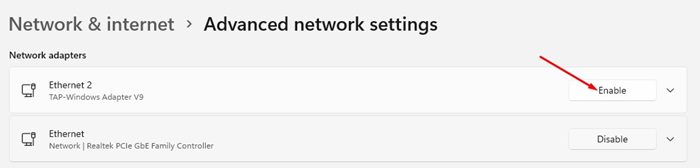
3. Scroll down to the right pane and tap Advanced network settings.
4. Under Network adapters, select the adapter you want to disable and click Disable.
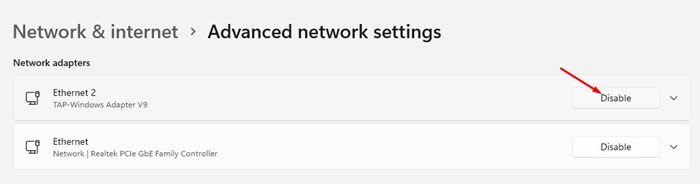
5. To enable the Network adapter, click Enable.
2. Disable/Enable Network Adapter via Control Panel
This method will use the Control Panel to disable or enable the Network Adapter.
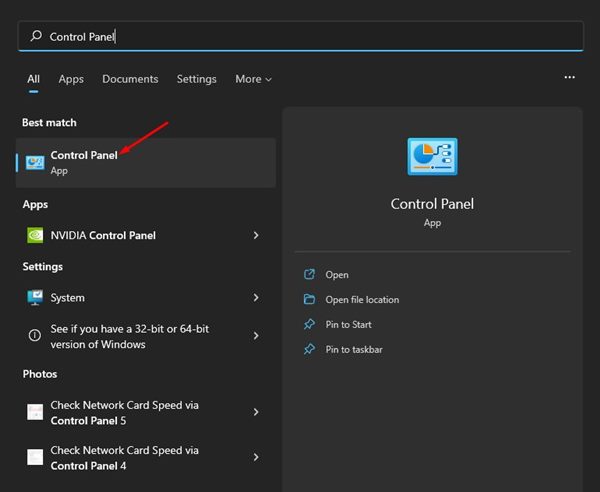
- Open Control Panel from the Windows Search.
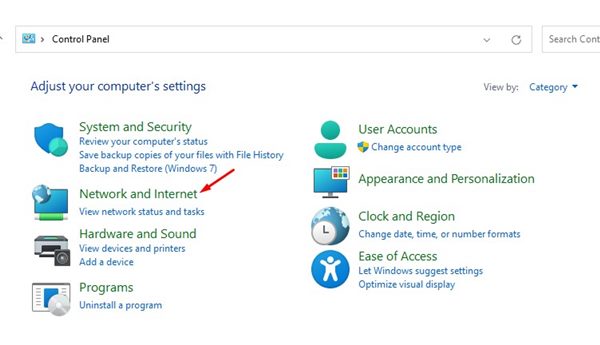
2. Click on Network and Internet.
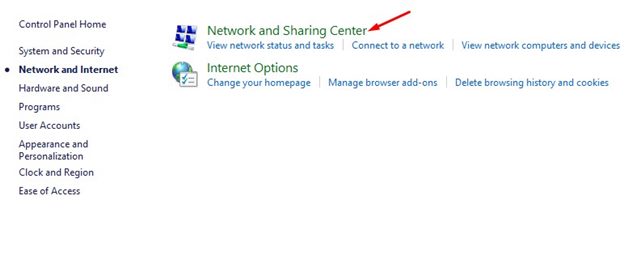
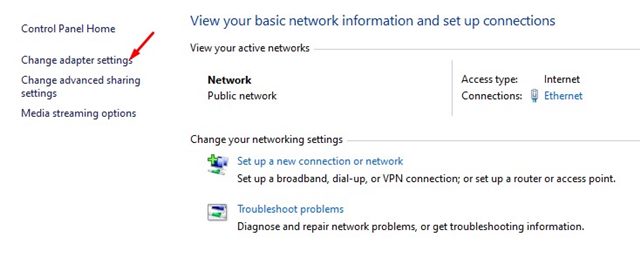
3. Click the Network and Sharing Center.
4. Click the Change adapter settings link.
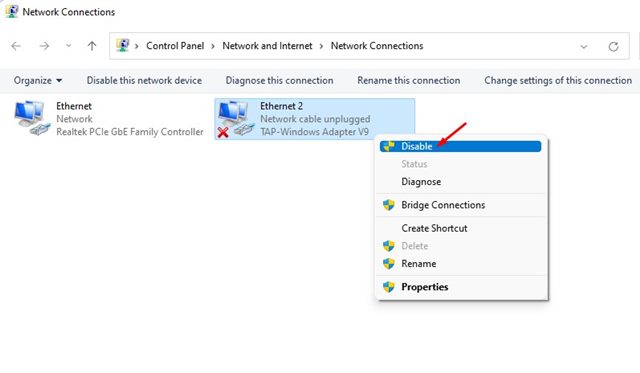
5. You will be able to see all network adapters. Right-click on the adapter you want to turn off and select Disable.
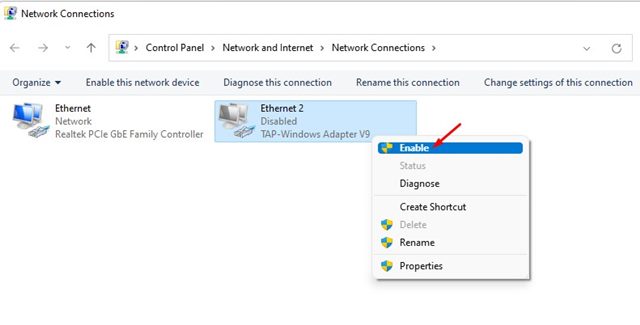
6. Right-click on the adapter name and select Enable.
3. Disable/Enable Network Adapter via Device Manager
Like the control panel, you can utilize the Device Manager of your Windows 11 PC to disable or enable the Network adapter.
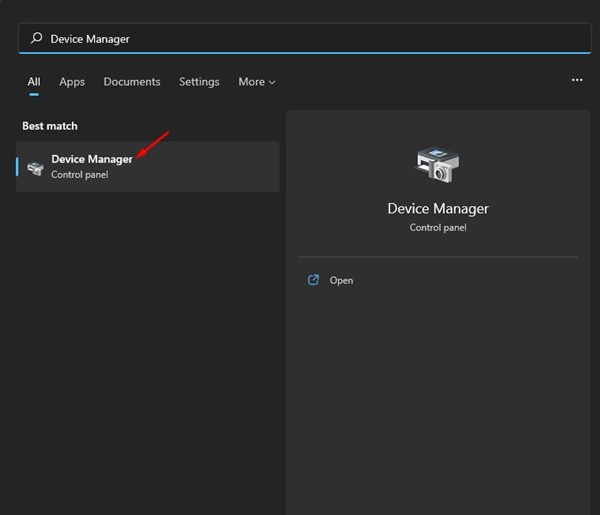
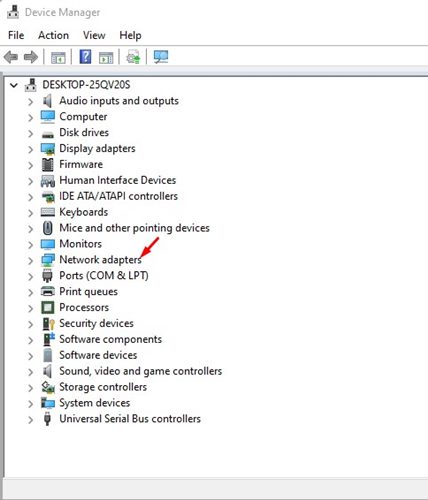
1. Open the Device Manager from the Windows Search.
2. Expand Network adapters.
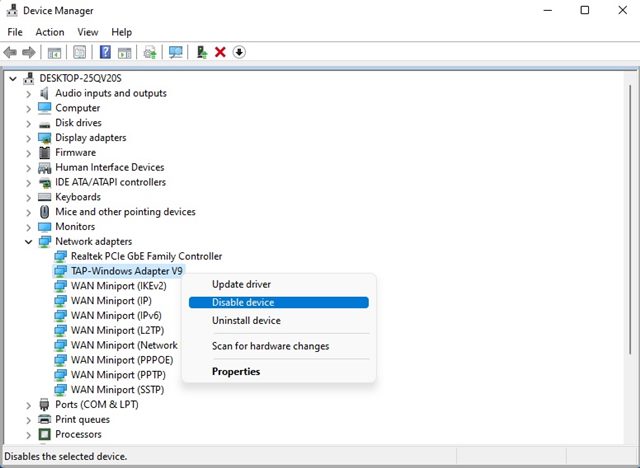
3. Right-click on the adapter you want to turn off and select Disable Device.
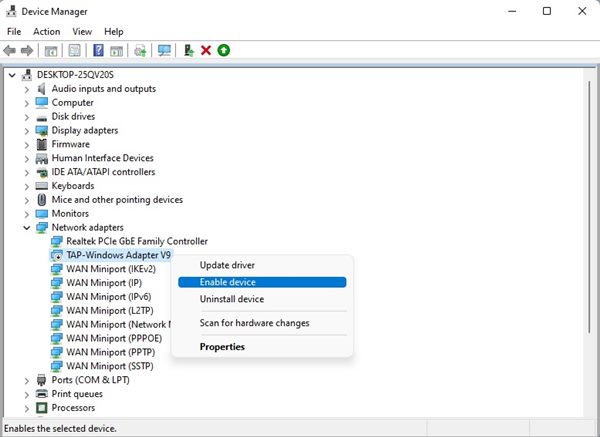
4. To enable the Network adapter, right-click on the network device and select Enable Device.
4. Enable/Disable Network Adapters via Command Prompt
You can also use the Command Prompt utility to enable or disable the network adapters on Windows 11.
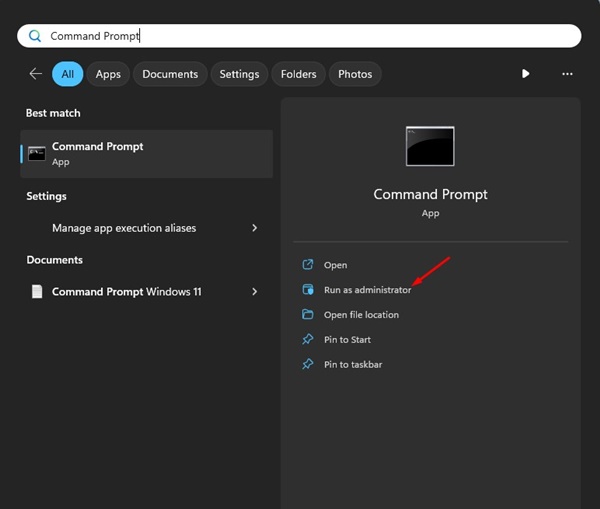
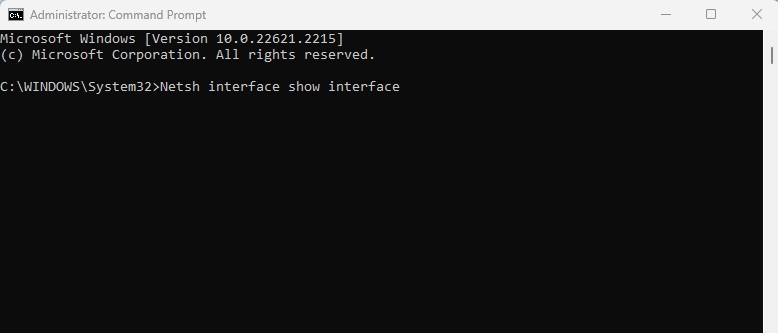
1. Type Command Prompt in the Windows 11 Search. Right-click on the Command Prompt and select Run as administrator.
2. Execute this command:
Netsh interface show interface
3. The above command will list all network adapters. Note the interface name, which is the network adapter you want to disable.
4. Execute the given command by replacing the Interface name with the name you noted above. (Without quotation marks)
Netsh interface set interface "Interface Name" disable
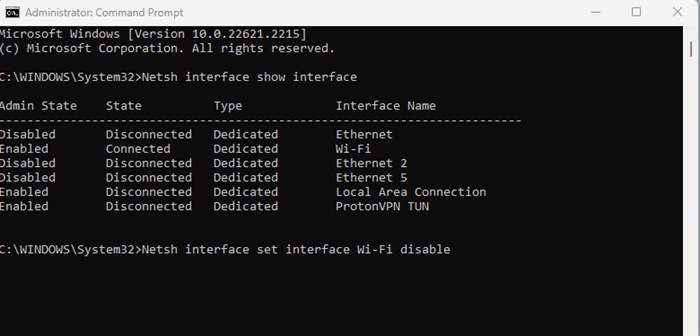
5. The above command will turn off the network adapter.
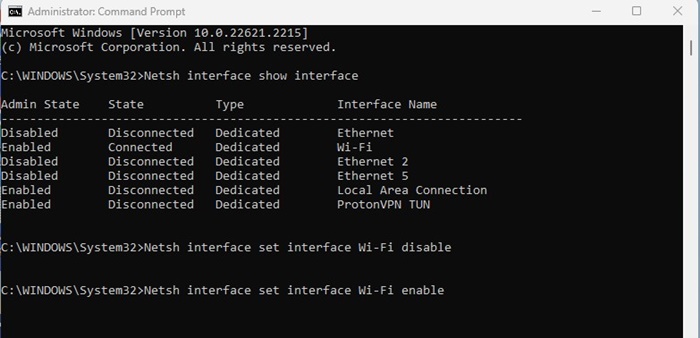
6. To enable the network adapter, execute the given command by replacing the interface name with the adapter name you want to enable. (Without quotation marks)
Netsh interface set interface "Interface Name" enable
5. Enable or Disable Network Adapters via PowerShell
Like Command Prompt, the PowerShell utility can enable or disable the network adapters.
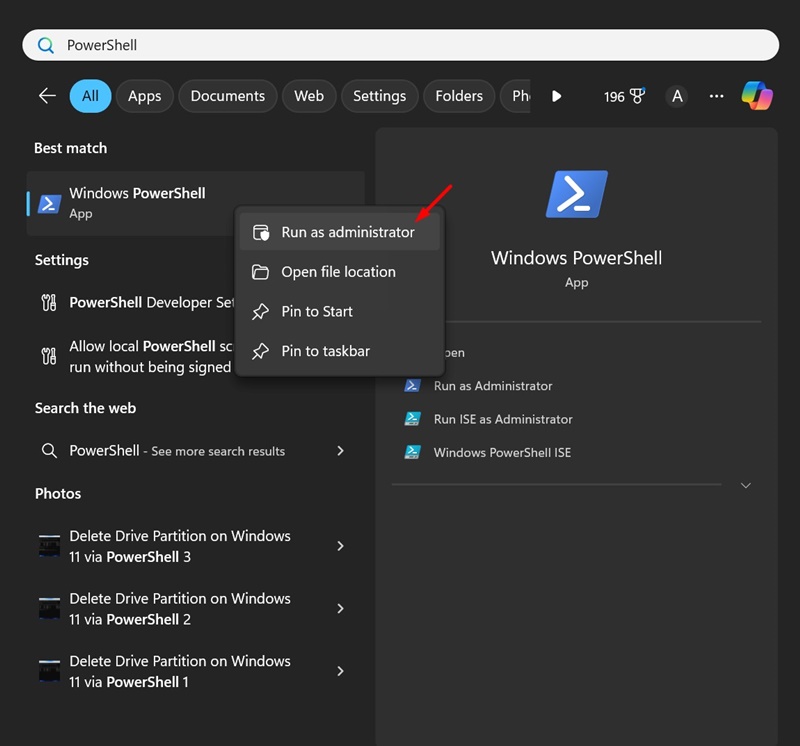
1. Type PowerShell in the Windows 11 Search. Next, right-click on PowerShell and select Run as administrator.
2. Execute the given command:
Get-NetAdapter | format-table

3. You will see lots of information. You need to note down the network adapter name (the text displayed underneath name)
4. If a network adapter is enabled, the IndexStatus will show ‘Up’. If the IndexStatus shows ‘Down’, the network adapter is disabled.
5. To turn off a network adapter, execute this command:
Disable-NetAdapter -Name "Network Adapter Name" -Confirm:$false

6. Execute this command:
Enable-NetAdapter -Name "Network Adapter Name" -Confirm:$false

After enabling or disabling the network adapter, close the PowerShell utility.
Disabling or enabling a network adapter in Windows 11 is pretty easy. If you have any doubts, let us know in the comment box below.


