If any web browser comes close to Chrome in terms of performance & stability, it would be Microsoft Edge. Microsoft Edge is a new web browser from Microsoft that brings lots of Chrome-type features. Since it’s based on Chromium, users can even use Google Chrome themes and extensions on Microsoft Edge.
If you remember, Google Chrome introduced a new tab management feature known as ‘Tab Group’. The feature is now available on the stable build of Chrome. Now it looks like Microsoft Edge has introduced a similar feature, but it’s unique and compelling.
The new Tab management feature of Microsoft Edge is called ‘Workspace. It lets users organize tabs more effectively. However, Workspaces is getting a controlled feature rollout on Edge Canary. So, you might not see the feature even if you are using the Edge Canary browser.
Also Read: How to Activate & Use the Kids Mode on Microsoft Edge Browser
Enable & Use Edge Workspaces Feature
One can’t even trigger the Workspaces feature from the Edge flags page. The feature is available on Edge Canary version 91.0.852.0. In this article, we will share a detailed guide on how to enable and use the new feature on the Microsoft Edge browser. Let’s check out.
1. Enable Workspaces in Microsoft Edge
First of all, we need to enable the Workspaces feature in Microsoft Edge. To enable the feature, follow some of the simple steps given below.
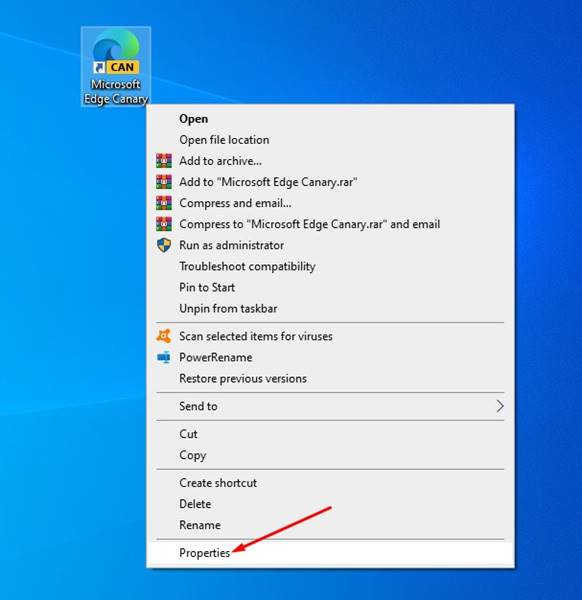
1. First of all, right-click on the Edge Canary desktop shortcut and select Properties.
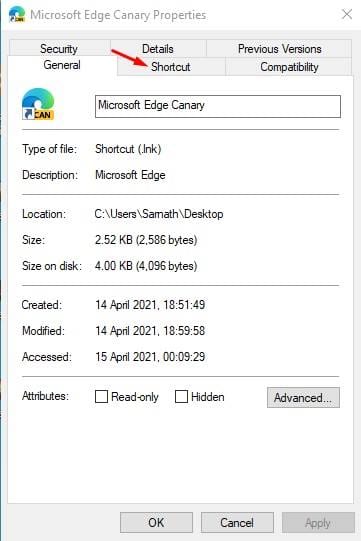
2. Now select the Shortcut tab.
3. Under the target, add “-enable-features=msWorkspaces” without the quotes. Once done, click on the Apply button.
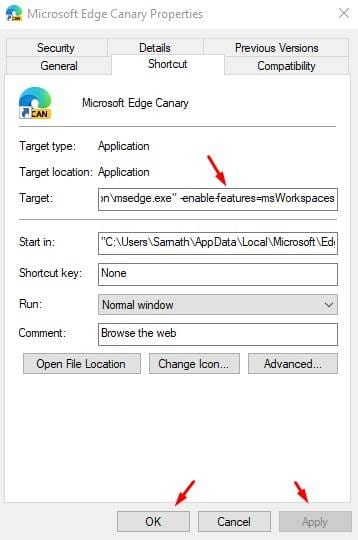
The complete path would look like this:
C:\Users\Sarnath\AppData\Local\Microsoft\Edge SxS\Application\msedge.exe" -enable-features=msWorkspacesThat’s it! You are done. This is how you can enable the Edge Workspaces in the Canary build.
2. Creating the Edge Workspace
Now that you have enabled the new feature, you will see a new ‘T’ shaped icon next on the top bar. If you cannot find the new icon, then your PC does not opt for the feature. You need to try the steps a few days later. To create the Edge workspace, follow the guides given below.
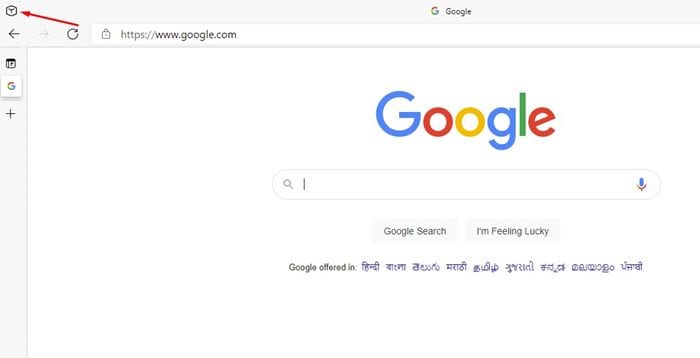
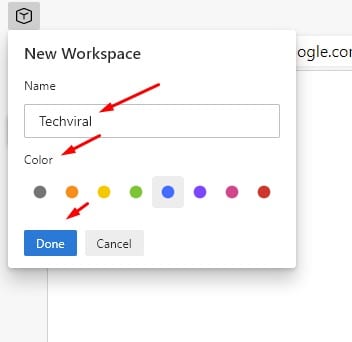
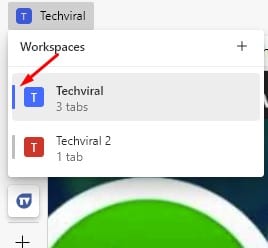
1. First of all, click on the workspace icon and name a new workspace. In this case, we have named the new workspace ‘Techviral‘. You can assign a color to the Workspace. Once done, click on the Done button.
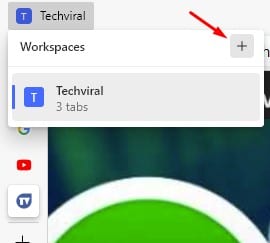
3. To create a second workspace, click on the (+) button behind the Workspaces.
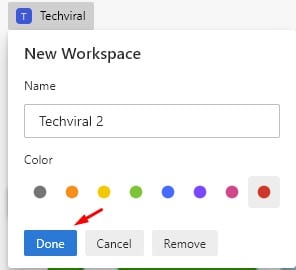
4. Name the new workspace as per your wish and assign a color and click on the Done button.
5. To remove a workspace, click on the Remove button located at the bottom of each workspace.
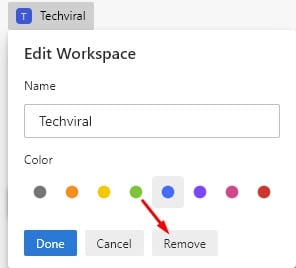
6. To rename any particular workspace, tap on the Pencil icon posited behind the workspace name. Enter the new name and click on the Done button.
3. Using the new Edge Workspace
Now that you have created the workspace, it’s time to use them. Each of the workspaces opens as separate browser Windows in Edge. It’s much like a new Window opened with multiple tabs.
However, the Edge Workspace is more refined, and it allows you to overview all your works in a single interface. The vertical line beside the Workspace’s name, painted in the same color, represents an active workspace.
Another thing to note here is that you can’t move tabs from one workspace to another. However, you can drag and drop any particular tab to move it to another workspace.
This article is all about how to enable and use the new Workspaces feature in the Canary build. I hope this article helped you! Please share it with your friends also. If you have any doubts about this, let us know in the comment box below.
")

