If you have been reading tech news for a while, then you might know that Google recently rolled out lots of features to the Chrome browser. Google recently announced a Download scheduler for Android, extension toolbar menu, Live Caption feature, and more.
Now it looks like Google is working on a Read Later feature for the Chrome web browser. The feature will work on every desktop operating system, including Windows, macOS, Chrome OS, and Linux.
Enable ‘Read Later’ Feature Of Chrome Browser
The feature is already available on Chrome for iOS. The Read Later feature lets users save articles for later reading. It saves the entire webpage and enables you to read offline. So, in this article, we have decided to share a working method to enable the Read Later feature of the Chrome browser.
Note: The feature is available in the Chrome Canary browser, and it’s still in the experimental phase.
Step 1. First of all, open the Chrome Canary web browser on your Windows 10 computer.
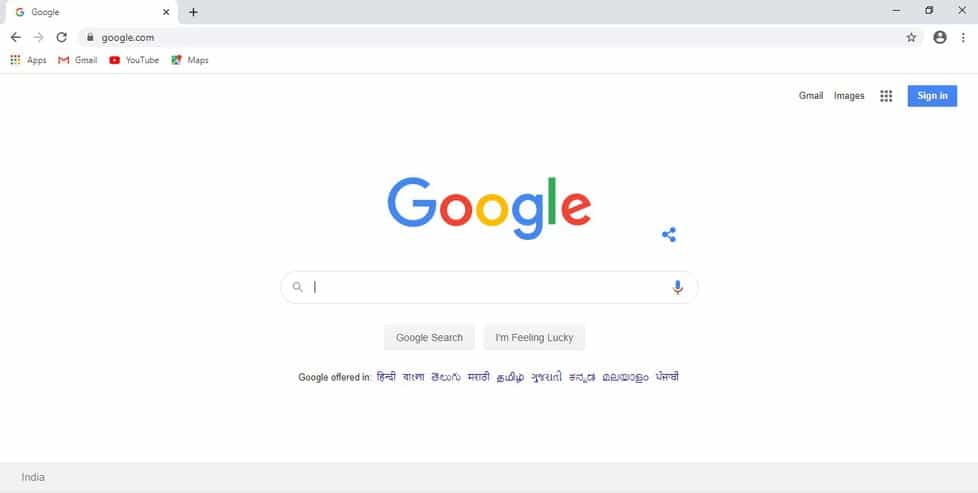
Step 2. Now on the URL bar, enter ‘Chrome://flags’
Step 3. This will take you to the ‘Experiments’ page.
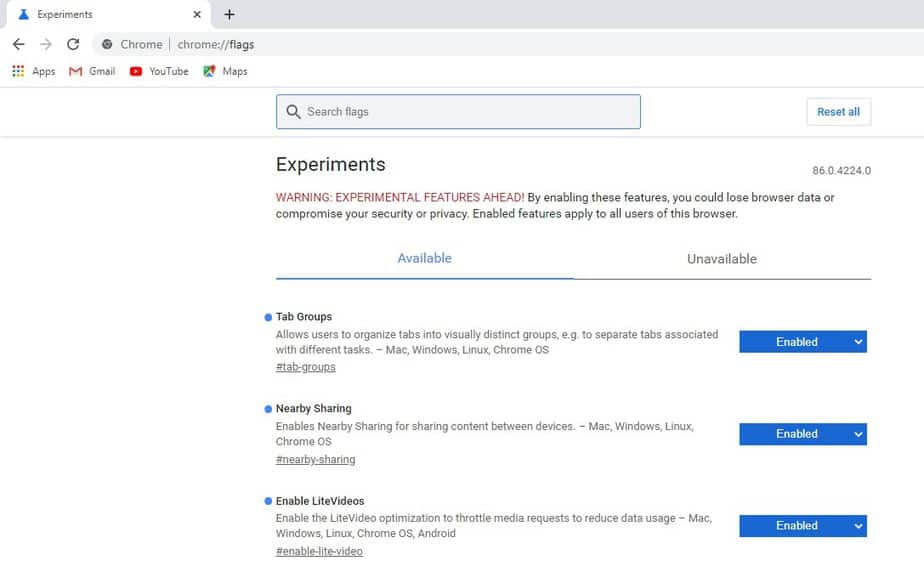
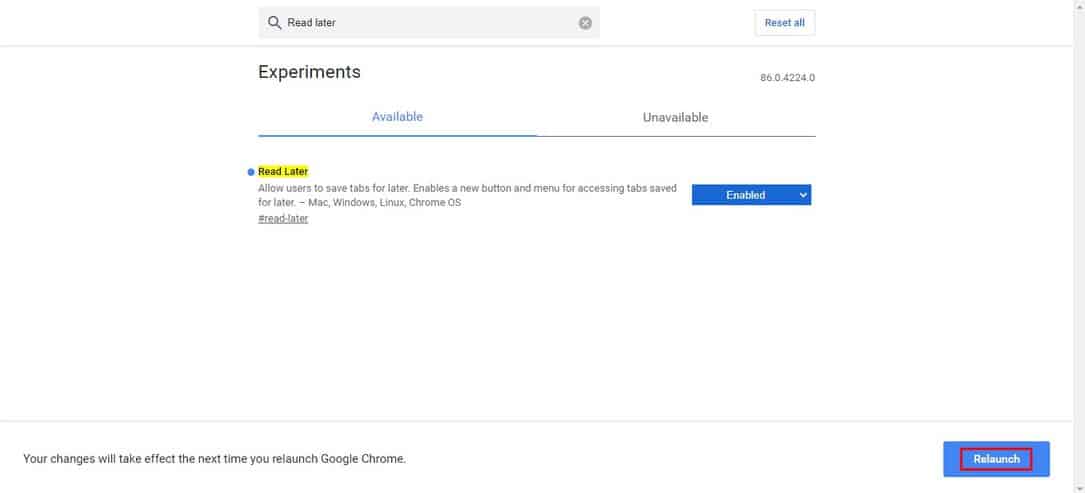
Step 4. There you need to search for ‘Read Later’
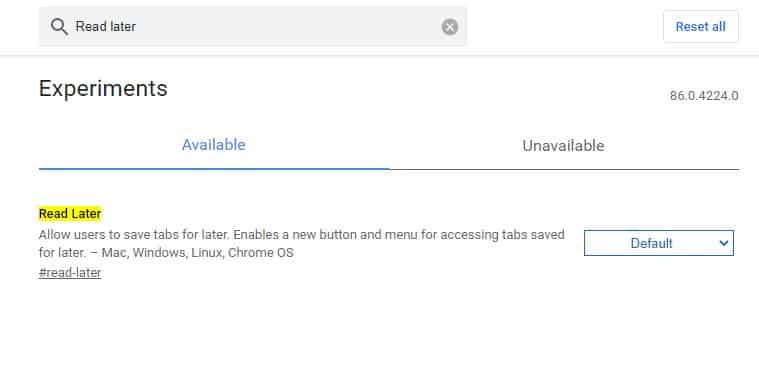
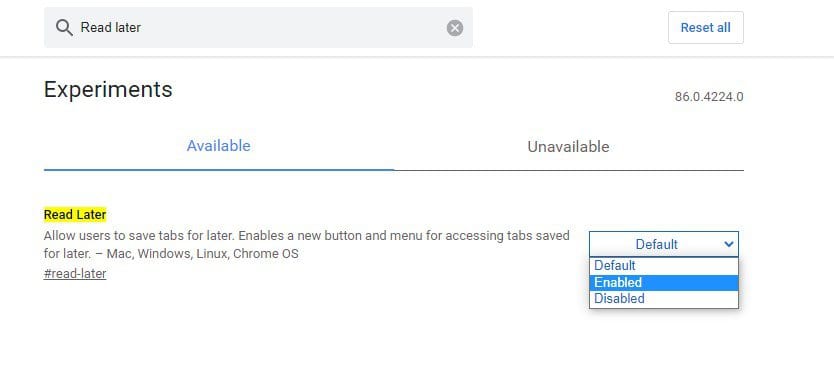
Step 5. From the drop-down menu, enable the ‘Read Later’ flag.
Step 6. Next, click on the ‘Relaunch’ button.
That’s it! You are done. You have activated the ‘Read Later’ feature. However, the feature isn’t active at the moment. You need to wait for few days to save webpages for offline view.
So, this article is all about how to enable the ‘Read Later’ feature of the Chrome browser. I hope this article helped you! Please share it with your friends also.
