We usually empty the recycle bin when our Windows 10 runs out of space. Sometimes, we even choose to delete junk files like duplicate photos, videos, etc. Windows 10 operating system also has a disk cleanup utility that scans and removes junk files from your system.
Although the disk cleanup utility of Windows 10 is not difficult to use, it’s also not intuitive, and many users don’t even know about it. To address issues related to storage, Microsoft introduced a feature known as ‘Storage Sense’
What is Storage Sense?
Well, Storage Sense is an optional feature of the Windows 10 operating system that’s disabled by default. When enabled, it scans and deletes the temporary files. The tool is designed to monitor your device and free up space automatically.
When your computer is running short of storage space, the Storage Sense deletes the junk files, including the data stored on the recycle bin. It’s an automatic process. Since it automatically deletes files to free up storage, it’s not a feature for everyone, and for this reason, Microsoft kept this feature disabled.
Enable Storage Sense on Windows 10 Computer
Enabling Storage Sense on Windows 10 is straightforward. You don’t need to be a tech guru to enable this feature. Just follow some of the simple steps given below.
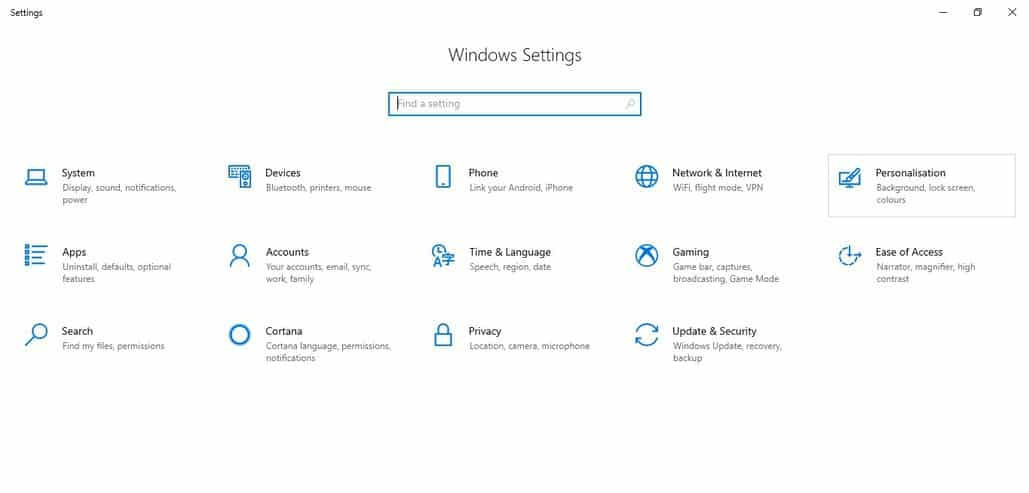
Step 1. First of all, open the Settings app on your Windows 10.
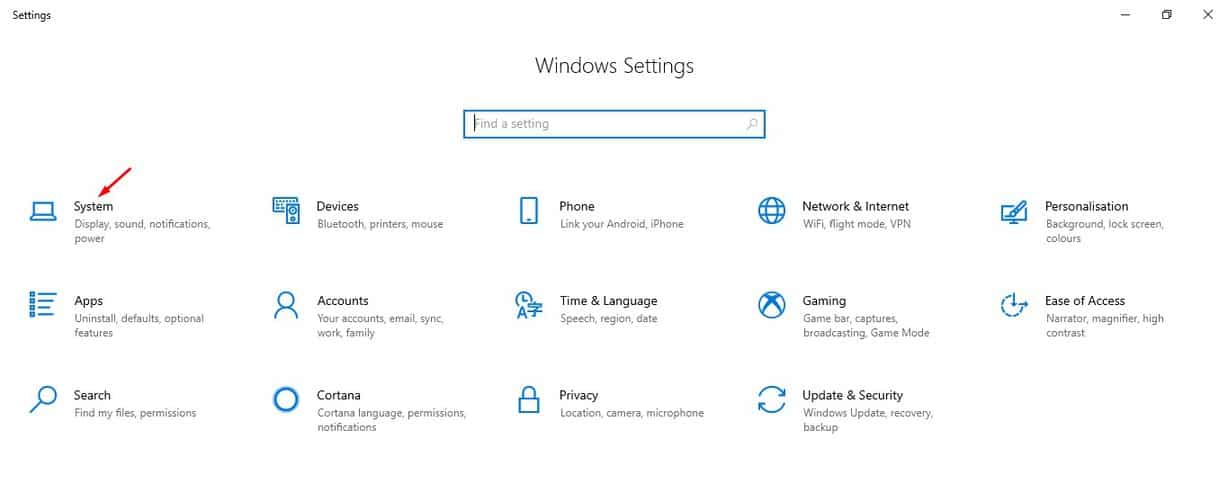
Step 2. Next, click on the ‘System’ button.
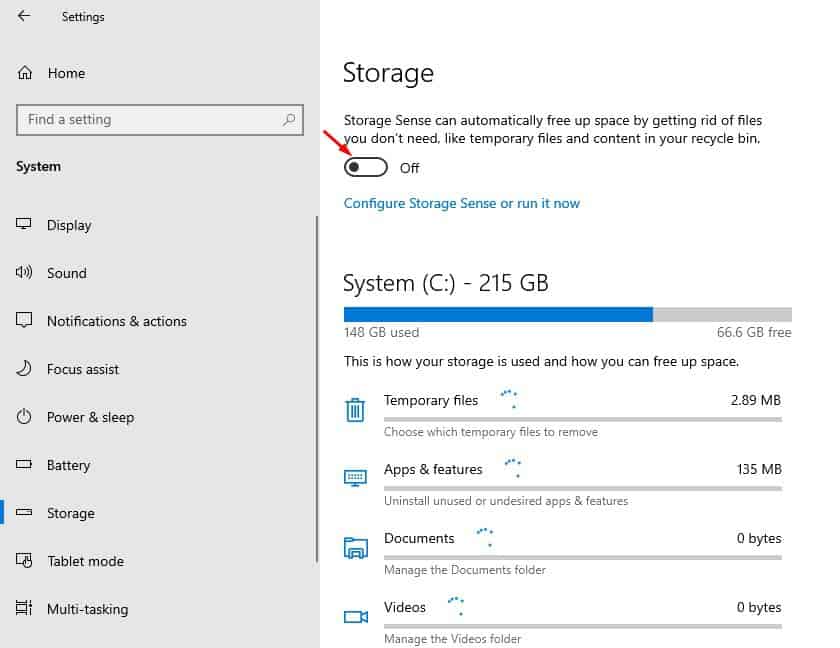
Step 3. Next, click on the ‘Storage’

Step 4. You need to look for the ‘Storage Sense’ option.
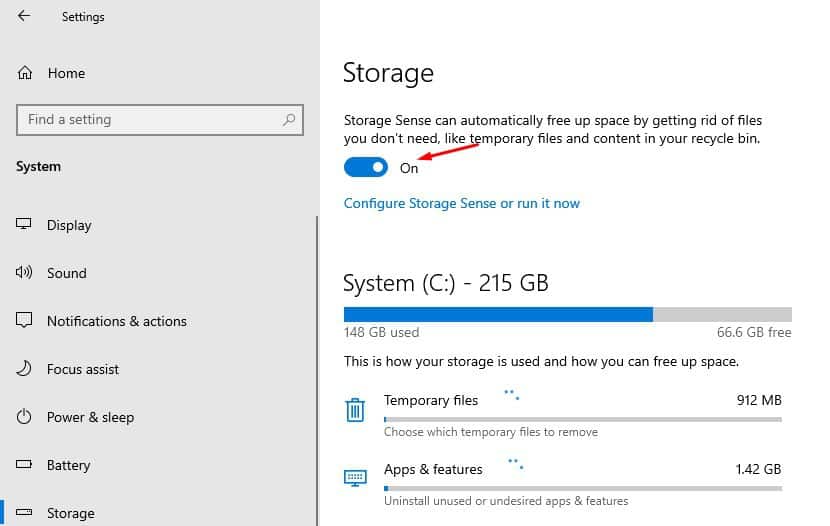
Step 5. Turn on the Storage sense toggle switch.
Note: Storage Sense automatically deletes junk files, including the files stored on the recycle bin. So, make sure to have a proper backup before enabling this feature.
So, this article is all about how to disable Storage Sense in Windows 10. I hope this article helped you! Please share it with your friends also.


