Non-US (United States) users of Google Photos have been waiting for one of its main features to officially arrive – facial recognition.
This functionality currently violates the privacy policy of other countries and will continue to fail for longer. So, you won’t be able to use this feature outside of the US. But why? Simply because no changes are expected in a short period.
But, facial recognition is not officially available in many countries does not mean that we can not use it. Yes, a simple trick will allow us to activate facial recognition to group our photos by faces.
Steps to Enable The Facial Recognition In Your Google Photos
The Google Photos application does not allow us to activate facial recognition because it detects that we are not in the US or another country. Hence, to bypass this restriction, a simple workaround will fool our device by making the application believe that we are connecting or using the feature from the United States.
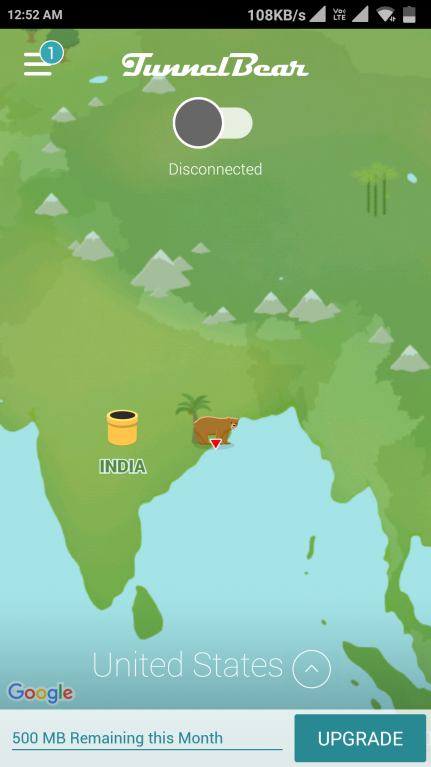
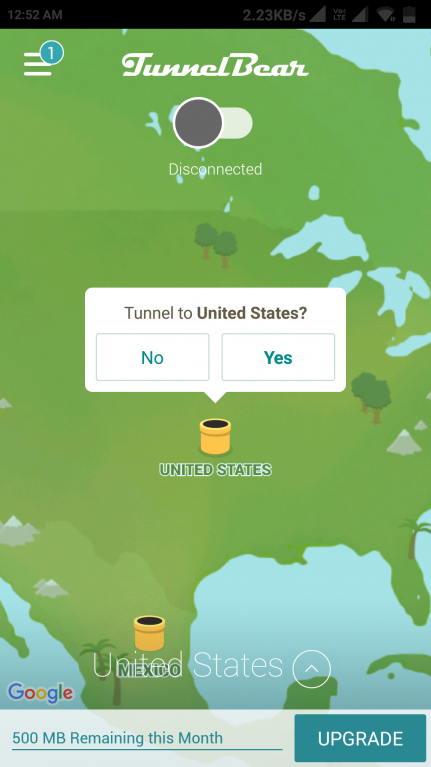
For this, we have to connect our device to a VPN (virtual private network) hosted in the United States, and the fastest and easiest way to do so is to use the TunnelBear VPN application. Once that application is installed, we must select the United States and connect it. Didn’t get it? Do not worry, as we will briefly elaborate on this tutorial to explain to you how to activate the feature on your device. So, now without wasting much time, let’s get started:-
1. First of all, go to your Android phone settings.

2. Then select the “Apps” option.

3. After that, simply select “Photos” under the “Downloaded” section.
4. Click the “Clear Data” button to reset your Google Photos app.

5. After following all the above steps now, open the Google Play store.
6. Now search and download the TunnelBear or Hola or any of your favorite VPN apps on your device.

7. After downloading the VPN app, open the app and connect.
8. Here comes the tricky part: the VPN app will trick the Photos app into thinking that you are connecting from the US (the country supported by Google Photos for facial recognition).
Now open the Google Photos app and scroll past the wizard screen. Then under Settings, enable the option “Group Similar Faces – Auto Group photos by matching faces.”
Now after using Google Photos for a few hours, you will see the thumbnails with the faces of your family and friends, ready to name them to identify them. Now, if you click on the face of a person, you will see all your photos grouped automatically.
Moreover, another feature will be activated with the awesome facial recognition feature – Movie Concepts, which will allow you to create or edit videos. So, what do you think about this? If you liked this article, do not forget to share this tutorial with your friends and family.


I know this website gives quality depending content and additional data, is there any other website which provides these stuff in quality?