Although Windows 11 is out now and offers many exciting features, it’s not entirely free from bugs. Many users have reported stability issues, and system crashes after installing Windows 11.
Such issues mainly occur when users install Windows 11 on incompatible hardware. So, make sure your system meets the minimum system requirements before installing Windows 11.
Even if your PC is eligible for Windows 11 and you have already installed it, you might want to roll back to Windows 10 at some point. The problem here is that Microsoft only offers you 10 days to roll back the upgrade.
For some, 10 days might be enough to test the new operating system, but 10 days is very less for the majority. So, if you want to have some more time to test the new operating system from Microsoft, you need to increase the rollback time limit.
How to Extend Rollback Period From 10 Days to 60 Days in Windows 11
Hence, this article will share two best methods to extend the 10-day rollback period to 60 days in Windows 11. Let’s check out.
Important: If the Rollback option is grayed out or you get Error 1168, there is no chance to go back to the previous version of Windows. Follow this method only if you are within the 10-day time frame.
1) Extend the Rollback Limit via CMD
In this method, we will use the Windows Command Prompt to check and extend the Rollback limit for Windows 11. Here’s what you need to do.
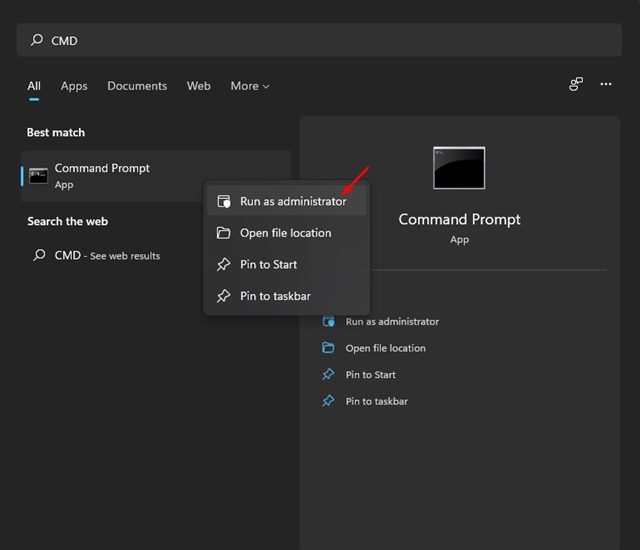
1. First, open the Windows 11 search and type in CMD.
2. Right-click on the Command Prompt and select Run as administrator.
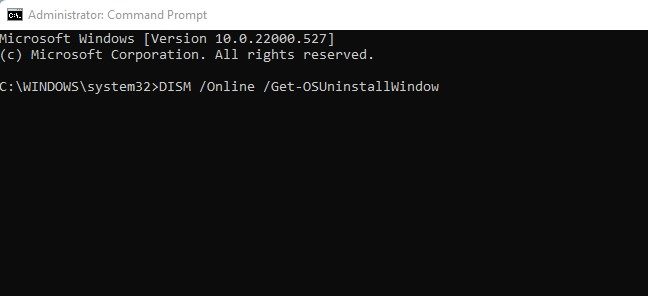
3. On the Command Prompt, enter DISM /Online /Get-OSUninstallWindow. This will show you the current time limit for the rollback.
4. If the rollback period is already over, you will see an error message “Error 1168 – Element Not found“.
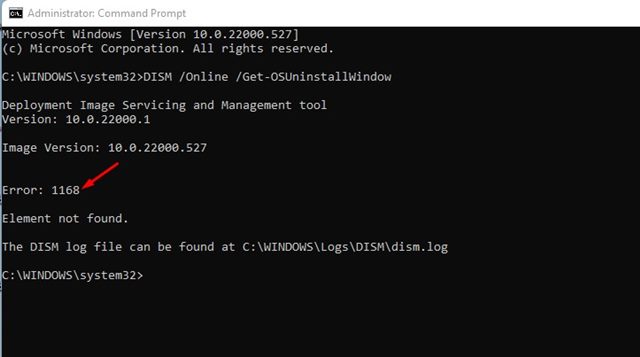
5. If the rollback period is not over, it will show the number of days available on your system.
6. To extend the rollback time limit, you need to execute the command – DISM /Online /Set-OSUninstallWindow /Value:Days
Important: Replace Days with the number of days you want to extend. For example, if you want to extend it to 60 days, you need to replace ‘Days’ with ’60’. The final command would look like this.
“DISM /Online /Set-OSUninstallWindow /Value:60”

That’s it! You are done. This will extend the 10 days rollback limit to 60 days in Windows 11.
2) Extend the Rollback Period via Registry
In this method, we will use the Windows Registry to extend the Rollback period. Here are some of the simple steps you need to follow.
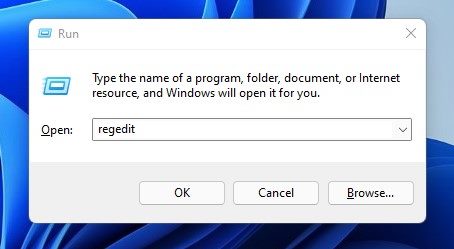
1. First, press the Windows Key + R button on your keyboard. This will open the RUN dialog box.
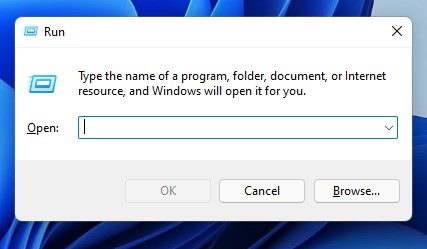
2. On the RUN Dialog box, type in regedit and hit the Enter button.
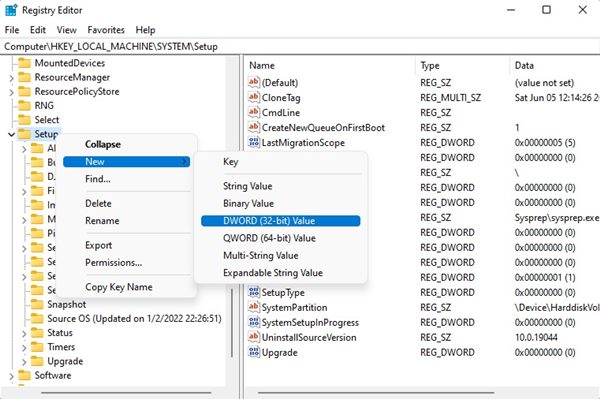
3. On the Registry Editor, navigate to the path: HKEY_LOCAL_MACHINE\SYSTEM\Setup
4. Now right click on the Setup key and select New > DWORD (32-bit) Value.
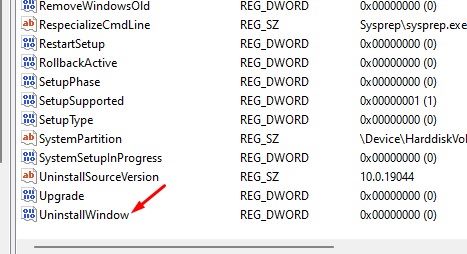
6. Name the new value ‘UninstallWindow‘. Next, right-click on the UninstallWindow value and select Modify.
7. Under the Value data field, type 60 if you want to extend the rollback time limit to 60 days. Then, on the Base, select ‘Decimal‘.
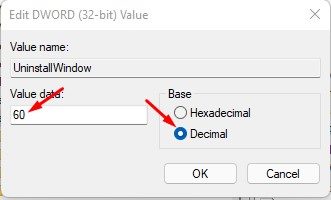
8. Once done, click on the Ok button and restart your computer.
That’s it! This will extend the rollback period to 60 days on Windows 11.
It’s pretty easy to extend the 10 days rollback period in Windows 11. We have shared two methods; you can use any of them to extend the 10 days rollback period to 60 days in Windows 11. If this article helped you, please make sure to share it with your friends. Also, if you have any doubts related to this, let us know in the comment box below.


is there any way to extend it indefinitely?