File Explorer is a very important part of the Windows operating system. Not only on Windows, but File Explorer or Manager is something you need access to your files.
Users can access their stored files by opening File Explorer on Windows. However, many Windows users have recently faced problems with File Explorer.
Several users have reported that Windows File Explorer is crashing and showing an ‘NTDLL.DLL’ error message. The File Explorer crash is accompanied by the NTDLL.DLL message, preventing users from using the file Explorer.
If you are a Windows user facing the same problem recently, continue reading the guide. The File Explorer NTDLL.dll crashing issue in Windows appears due to various reasons. The reasons can range from compatibility issues to bugs in the operating system.
How to Fix File Explorer NTDLL.dll crashing in Windows
The good thing is that the File Explorer NTDLL.dll crash error message can be easily fixed by following some methods we have shared below. Here’s how to fix the Windows File explorer crashing problem.
1. Restart your Computer

The first thing you should do if your File Explorer is crashing out of nowhere is restart your PC. Restarting your PC will terminate all background apps, processes, and services, which may fix the file explorer problem.
To restart your Windows PC, click on the Windows Start button and click on the Power options. On the Power options, select ‘Restart’. After the restart, start using your PC normally; you won’t face the File Explorer NTDLL.dll error if it appears due to background apps or processes.
2. Restart the Windows Explorer
If the restarting PC didn’t help, you must restart your Windows Explorer. Many Windows users on Microsoft Forum claimed to resolve the File Explorer NTDLL.dll error message by restarting the Windows Explorer from the task manager. Here’s what you need to do.
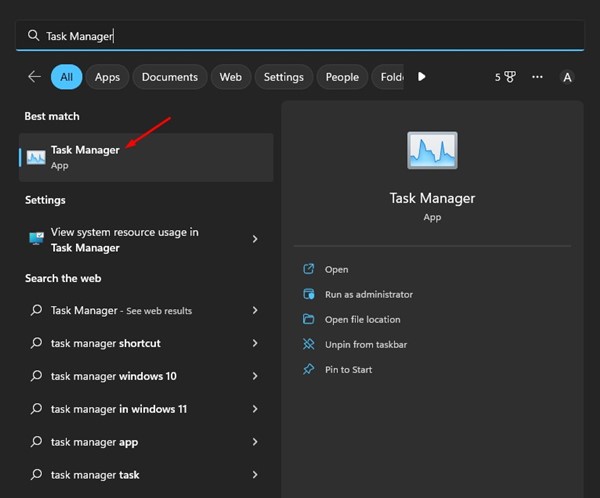
1. First, click on Windows search and type in Task Manager. Next, open the Task Manager app from the list.
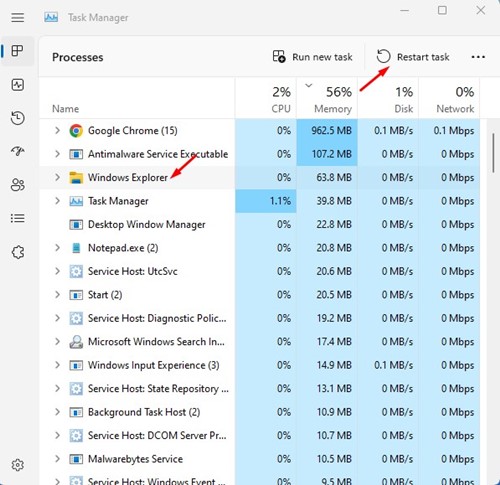
2. On the Task Manager, switch to the Processes tab.
3. Now file Windows Explorer. Right-click on it and select Restart. Or else, select Windows Explorer and Restart Task at the top-right corner.
That’s it! Your display will go black for a second. This confirms that File explorer has been restarted on Windows.
3. Update Your Graphics Drivers
The ntdll.dll is a very important file, and it’s responsible for the operating system’s timing, threading, messages, and sync. Outdated graphics drivers are often a reason for File Explorer ntdll.dll crash errors. Hence, you need to update your graphics driver to fix the problem.
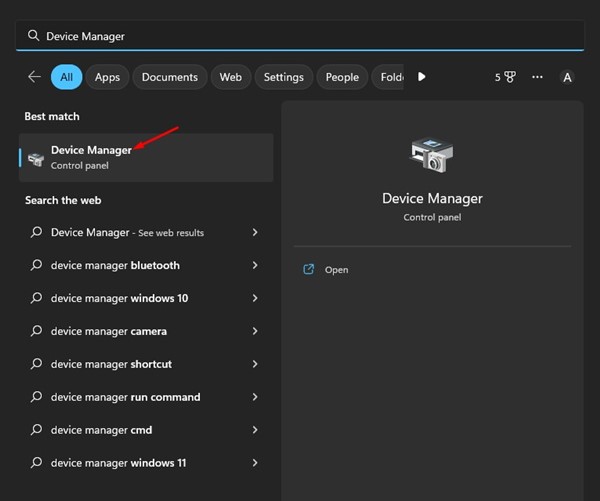
1. First, click the Windows 11 search and type in Device Manager. Next, open the Device Manager app from the list.
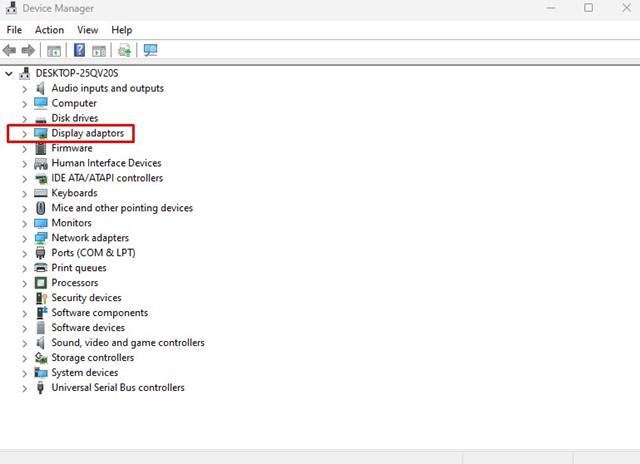
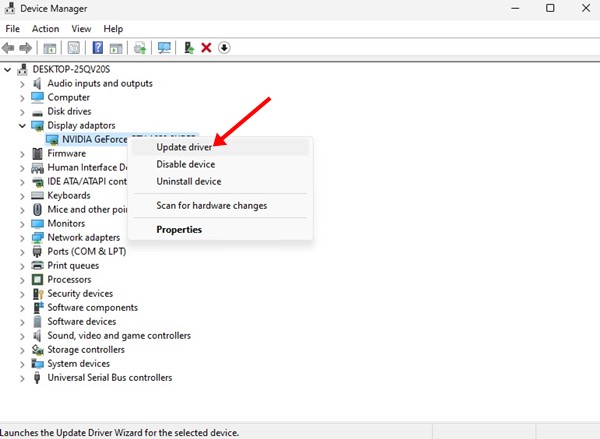
2. When the device manager opens, expand the Display Adapters.
3. Right-click on your graphic adapter and select Update driver.
4. On the Update driver prompt, select Search automatically for the drivers.
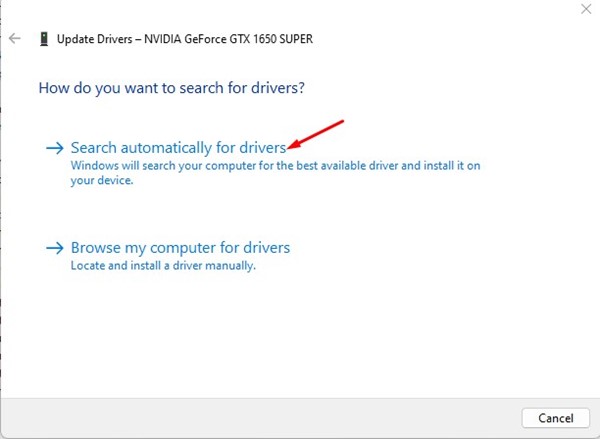
That’s it! You need to follow the on-screen instructions to complete the driver update process.
4. Reinstall the Display Adapters
Well, reinstalling the display adapters has helped many Windows 11 users fix ntdll.dll File Explorer crash. Hence, you can try doing it as well. Here’s how you can reinstall the display adapter on Windows.
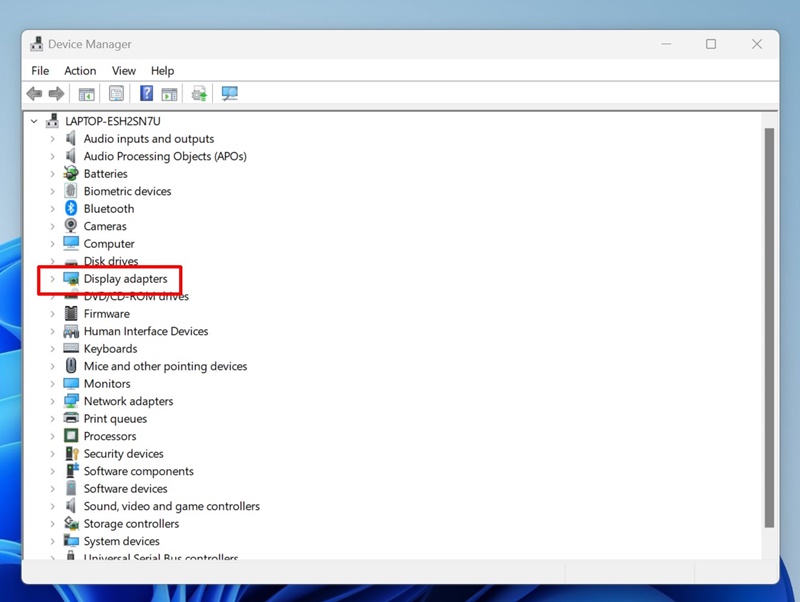
1. Open the Device Manager on your Windows 11 PC.

2. When the Device Manager opens, expand the Display Adapters tree.
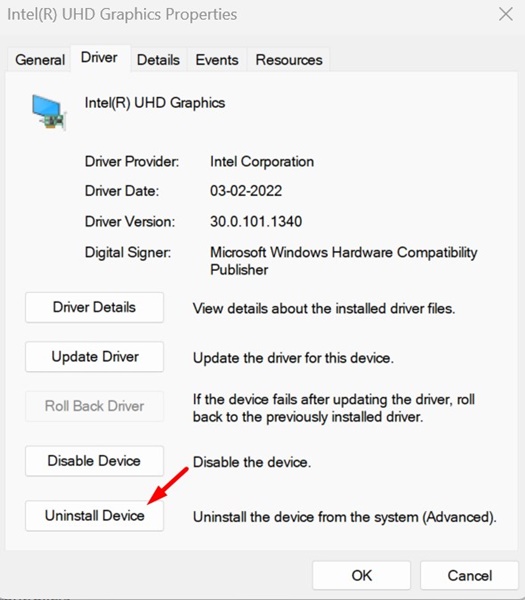
3. Right-click on your current display adapter and select Properties.
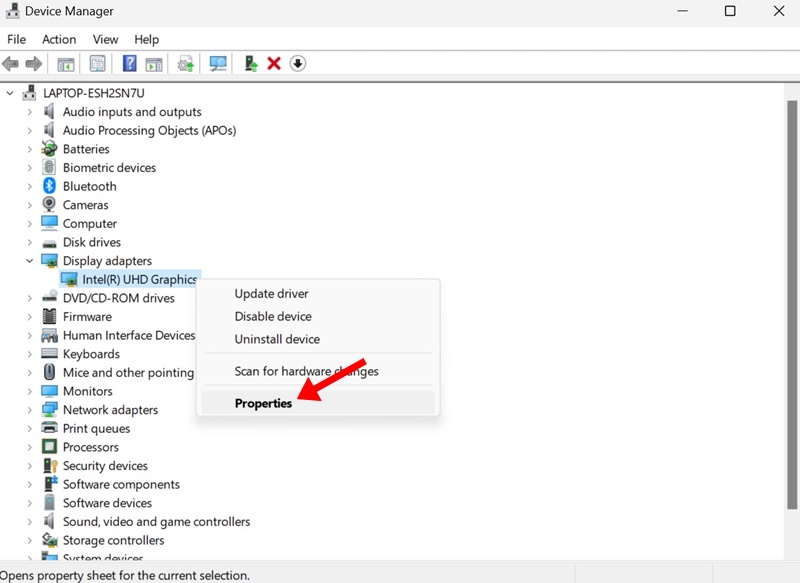
4. On the Properties, select Uninstall device.
5. On the confirmation prompt, select Uninstall.
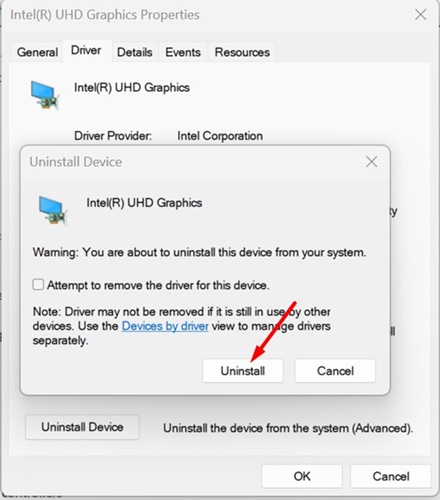
That’s all you need to uninstall the Display driver. Make sure to restart your PC to reinstall the display driver again.
5. Run the System Maintenance Troubleshooter
A system Maintenance troubleshooter is a very important tool that can fix most Windows problems. It’s a part of Windows OS, but only some users know about it. Here’s how to run the System Maintenance troubleshooter on Windows.
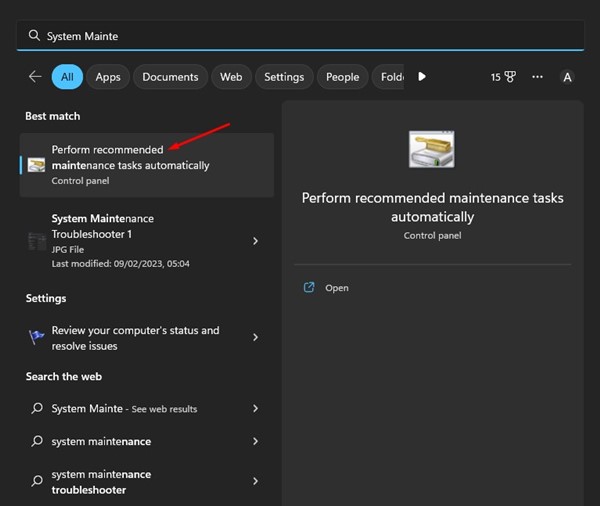
1. First, click on Windows search and type in System Maintenance. From the list of apps that appears, select Perform recommended maintenance automatically.
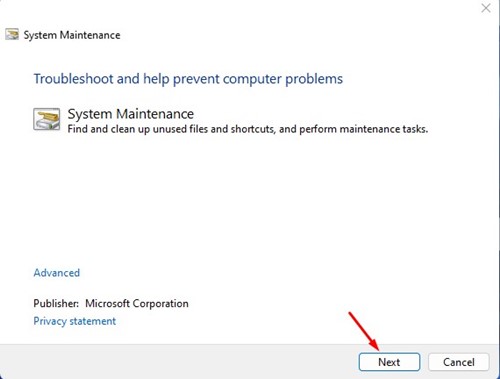
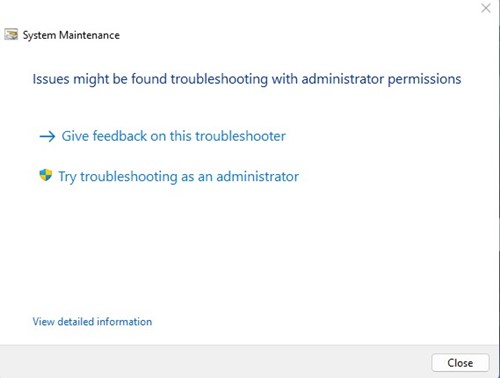
2. This will open the System Maintenance troubleshooter. Click on the Next button.
3. the System Maintenance troubleshooter will run and find the problem. You can also try running this troubleshooter as an administrator.
You must follow the on-screen instructions to complete the system maintenance troubleshooting process. Once completed, restart your Windows PC.
6. Clear the File Explorer History
Corrupted file explorer history is another prominent reason for the file explorer ntdll.dll error message. Hence, you can clear the file explorer history to fix the problem. Here’s what you need to do.
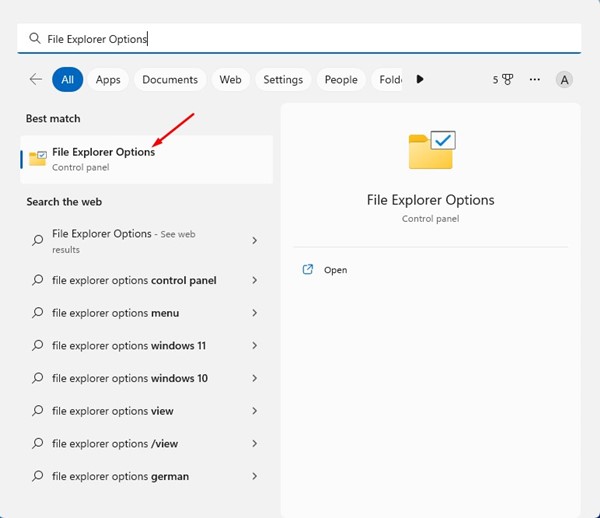
1. Click on the Windows Search and type in File Explorer Options.
2. Next, open the File Explorer options from the list of matching results.
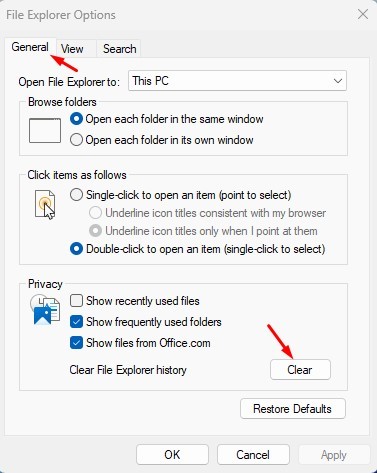
3. On the File Explorer options, switch to the General tab.
4. At the Privacy section, tap on the Clear button. Once done, click the OK button to close the File Explorer options.
That’s it! That’s how easy it is to clear file explorer options on the Windows operating system.
7. Perform a Clean Boot
Let’s say you have about 40-50 programs installed on your computer. Some apps may run in the background even when you are not actively using them. In such a case, it’s recommended to perform a clean boot.
Clean boot means disabling all third-party software at the startup. In this way, when your PC restarts, it will only be running Microsoft’s services, which are important for the proper functioning of a PC. Here’s how to perform a clean boot.
1. Click on Windows Search and type in msconfig. Next, open the System Configuration app from the list.
2. On the System Configuration, switch to the Services tab.
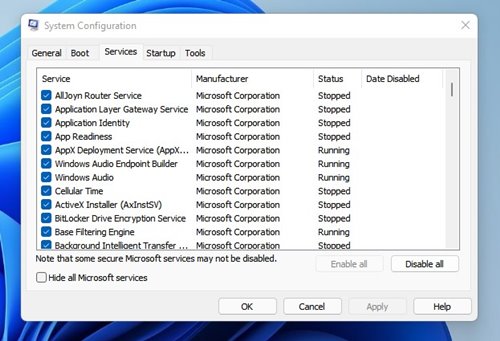
3. Next, check the Hide all Microsoft services option at the bottom left corner.

4. Once done, click the Disable All button at the bottom right corner. After applying the changes, close the System Configuration window.
That’s it! Now restart your Windows computer. This should fix the File Explorer NTDll.dll crashing issue on Windows.
8. Run the SFC Command
If you are still getting the error message, running the SFC command is best. SFC or System File Checker is a very important tool of Windows that scans and fixes corrupted Windows files. Here’s how to run it.
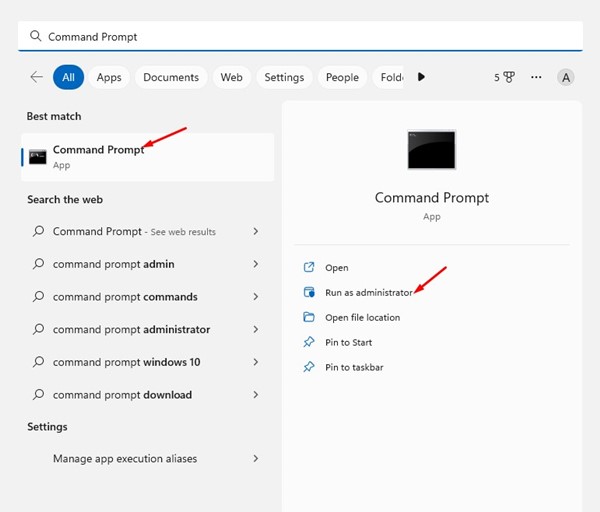
1. Click on Windows search and type in Command Prompt. Next, right-click on the Command Prompt and select Run as administrator.
2. When the Command Prompt opens, execute the given command:
sfc /scannow
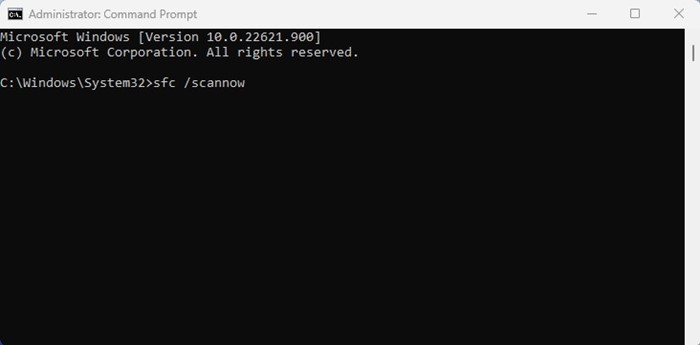
3. Now, wait patiently for the scan to complete. Once completed, restart your computer.
That’s it! That’s how easy it is to run the System File Checker tool on Windows. This should fix the File Explorer crashing on Windows problem.
9. Update your Windows Operating System
Updating the operating system is an evergreen way to fix various system-related problems. Chances are that the File Explorer NTDll.dll crashing issue results from a glitch or bug present only in the version of Windows you are using.
While you can’t do much here to confirm whether it’s a bug, glitch, or any other issue, the thing on your hand is updating the operating system.

Having an updated operating system has many benefits. You can use new features, rule out the incompatibility issue, etc. Head to Settings > Windows Update > Check for updates to update the Windows operating system. This will automatically check and install the latest version of Windows on your PC.
So, these are the working methods to fix the File Explorer NTDLL.dll crashing issue. Let us know if you need more help fixing this problem in the comments. Also, if the article helped you, share it with your friends.