ntoskrnl.exe or the Windows NT operating system Kernel executable is responsible for memory management on your computer. If you are experiencing an NTOSKRNL.exe BSOD error, you should first check the RAM usage. If the RAM usage is high and your PC is restarting automatically, you need to troubleshoot the RAM-related problems.
1. Check Your PC’s RAM for Errors
The first thing that you should do after spotting a ntoskrnl.exe BSOD error is to check your RAM’s integrity.
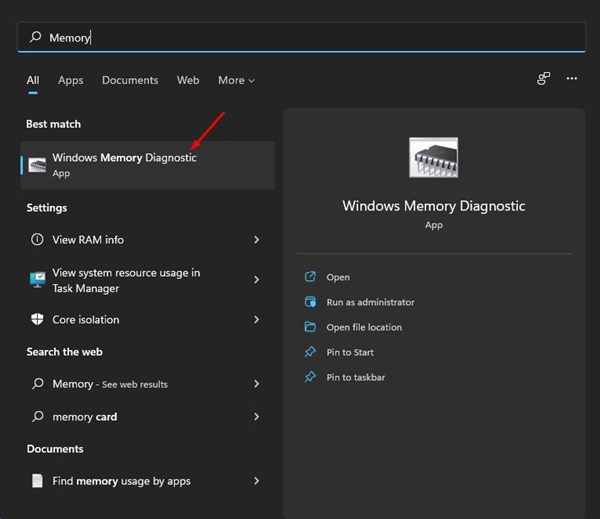
1. Open the Windows Memory Diagnostic app from the Windows Search.
2. Click Restart Now and check for problems.
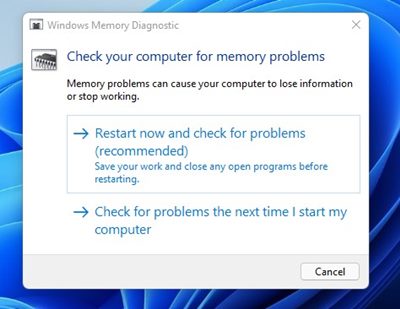
3. Your system will restart and boot into the Windows Memory Diagnostics tool. It will automatically check for existing issues with your RAM.
If the Windows Memory Diagnostic tool shows errors, clean and swap the RAM sticks.
2. Run SFC & DISM commands
If you are getting the ntoskrnl.exe BSOD error due to a corrupt system file, you need to run the SFC and DISM commands.
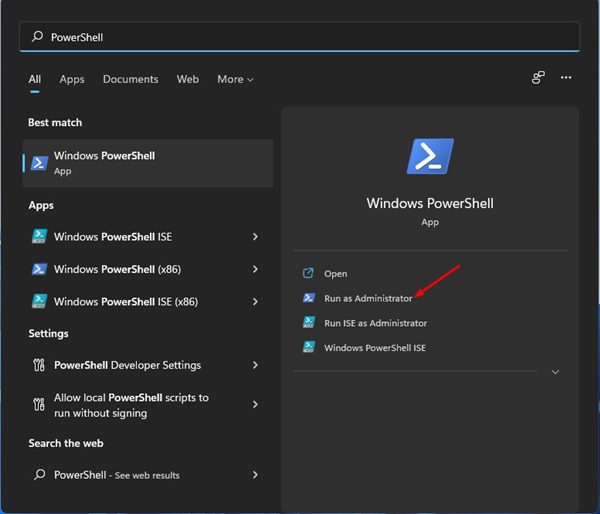
1. Open the Windows 11 search and type in PowerShell. Right-click on PowerShell and select Run as administrator.
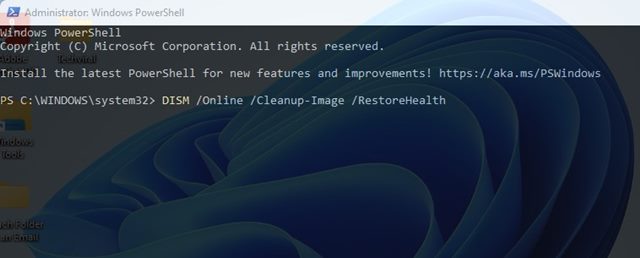
2. Execute the command:
DISM /Online /Cleanup-Image /RestoreHealth
3. Once the process completes, you must execute the SFC command. Type in and press Enter:
sfc /scannow

3. Run the Chkdsk Utility
There is a possibility that the NTOSKRNL.exe BSOD error is occurring due to hard disk issues. Therefore, you should run the chkdsk utility as well.
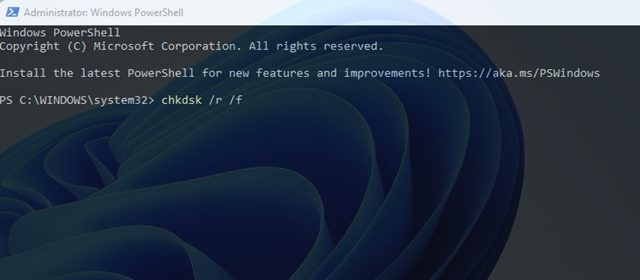
1. Open the Windows 11 search and type in PowerShell. Now, right-click on PowerShell and select Run as administrator.
2. Execute the command:
chkdsk /r /f
3. After executing the command, you will be asked to scan the drive the next time you restart your Windows 11. Type in Y and hit the Enter button.
Restart your Windows 11 system. Chkdsk will automatically scan the drive during the restart process.
4. Turn off Overclocking or Overclocking softwares
Overclocking often leads to overheating, and sometimes, it can damage your hardware components. Therefore, if you are a beginner and have no experience with overclocking, you should put everything back to stock.
5. Uninstall Antivirus Program
Antivirus programs often interfere with the core system of Windows to stop viruses/malware from affecting it. They can block important system processes, leading to an NTOSKRNL.exe BSOD error.

If you recently installed or updated a third-party antivirus program, it’s best to uninstall it. Meanwhile, you can try using Windows Defender, which shouldn’t be the cause of the NTOSKRNL.exe BSOD.
6. Update Your Drivers
Although Windows 11 automatically installs the drivers during system updates, sometimes the driver updates may fail. Outdated drivers are another reason for the ntoskrnl.exe error in Windows.

Thus, it’s always best to update your existing drivers to ensure the proper working of your hardware components. We have shared a detailed guide on how to update drivers on Windows. Make sure to read that article to know the ways to update Windows 11 drivers.
7. Check for Malware Infection
A malware infection can be another reason for the ntoskrnl.exe BSOD error on Windows. This happens when malware infects and interrupts the crucial Microsoft process. You don’t need premium software to find and remove hidden malware from Windows 11; the built-in Windows Security is enough.
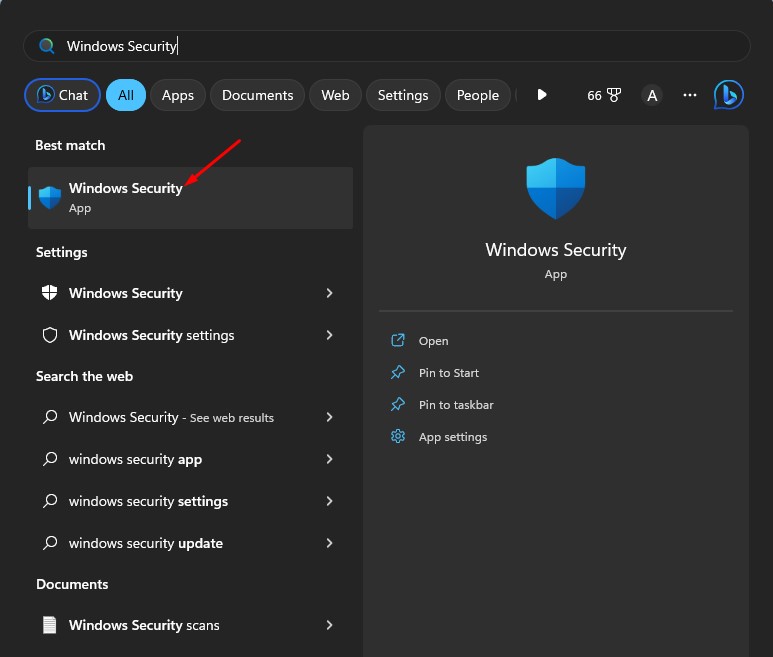
1. Open the Windows Security app from the Windows Search.
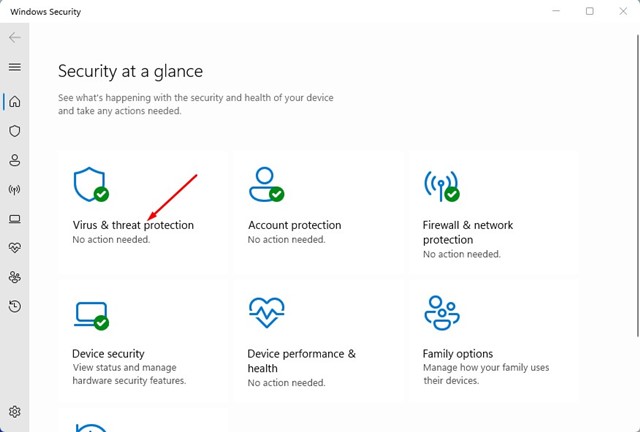
2. Switch to Virus & Threat protection.
3. Click on Scan options.
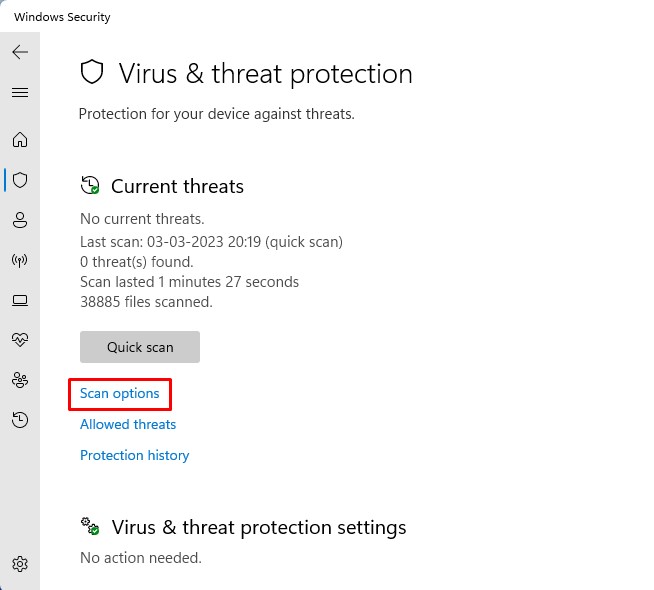
4. Select Full Scan and then click Scan Now.
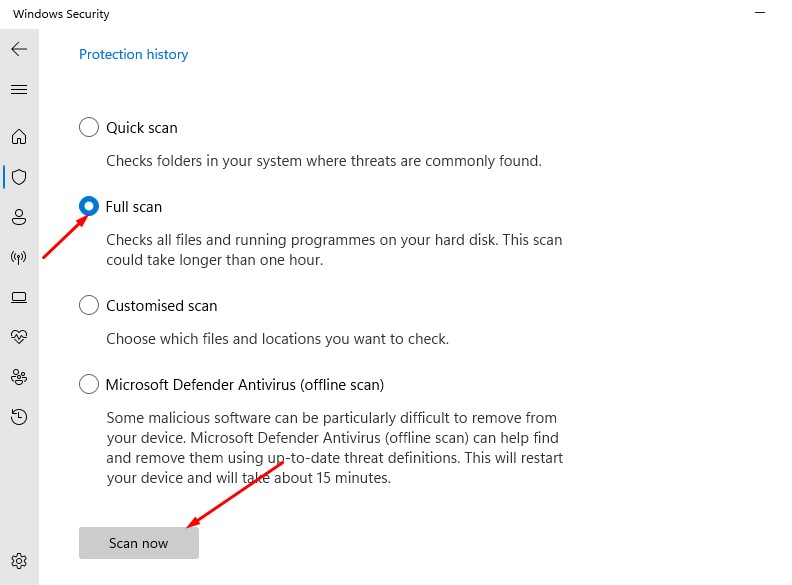
Wait a few minutes until the Windows Security app completes the scan. Windows Security may find and remove every hidden malware and virus from your computer.
8. Perform a System Restore
If your PC has a system restore point available, you can use it to roll back the device settings. Restore points let you roll back Windows to the date the restore point was created.
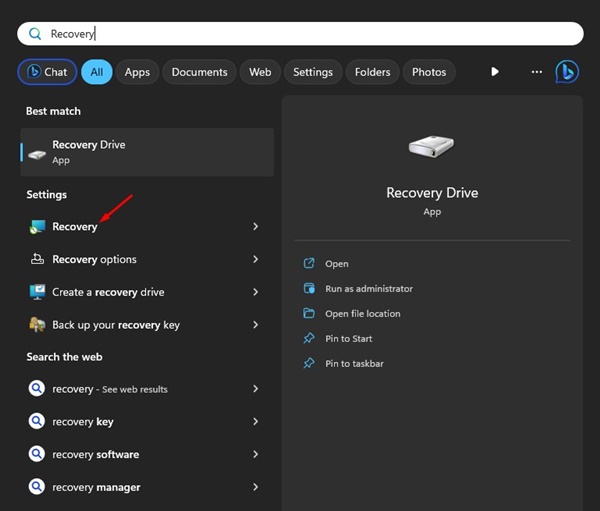
1. Open the Recovery app from the Windows Search.
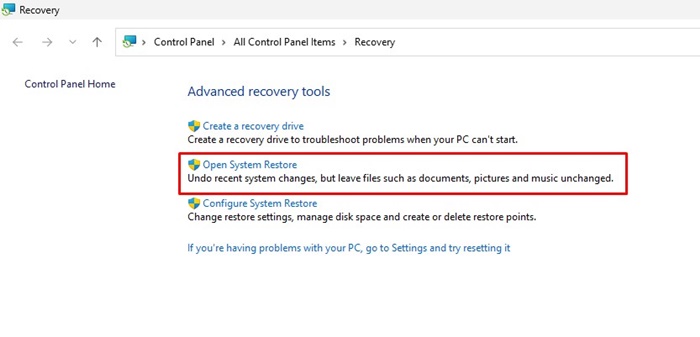
2. Click on Open System Restore.
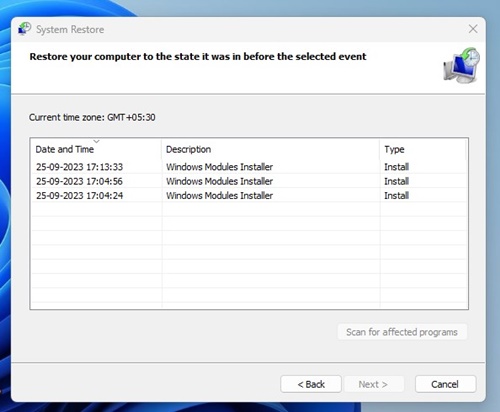
3. Select Choose a different restore point.
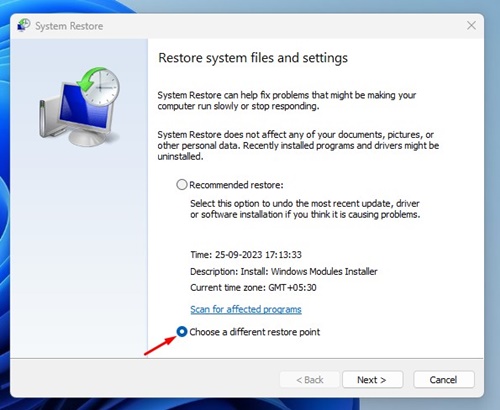
4. Pick the Restore point and click Next.
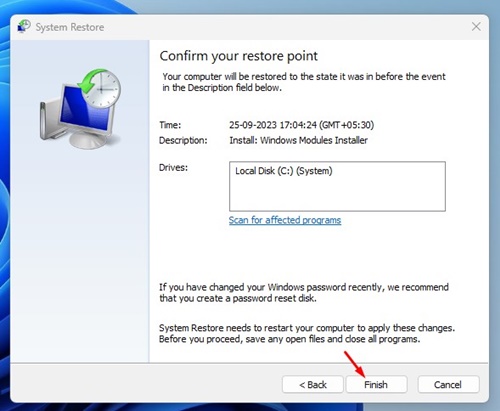
5. On the confirmation prompt, click Finish.
9. Update Windows 11

Updating the Windows 11 version is your last resort if nothing works. Sometimes a bug in the operating system can trigger the ntoskrnl.exe error; hence, it’s recommended to update the operating system version.
It’s good security practice to keep the operating system up to date. This will reduce the appearance of errors and allow you to enjoy a stable operating system with new features.
To update Windows 11, open Settings > Windows Updates. On the right side, click on Check for Updates. This will launch the Windows Update tool and will install all pending updates.
We are sure the above methods will help you fix the NTOSKRNL.exe BSOD error on Windows 11. If they didn’t, you might need to take your laptop or PC to the service center to have your hardware checked.


