If you’ve just booted your PC and saw a notification that says ‘Scan drive for errors’, your PC was improperly powered down and is checking its health upon boot. An improper shutdown can lead to data corruption and even damage to the HDD/SSD. This error could also be a sign that your hard drive is failing. Here’s what you can do to get rid of this notification.
1. Run the CHKDSK Scan via CMD
To fix all types of hard drive-related problems, run the CHKDSK scan. There are multiple ways to run the chkdsk command; the easiest is using the command prompt.
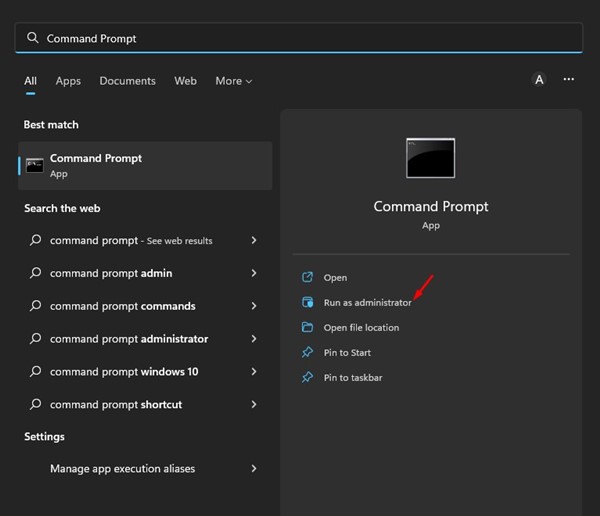
1. Click on the Windows 11 search and type in Command Prompt. Right-click on the Command Prompt and select Run as administrator.
2. Execute the command:
chkdsk /x:

Important: Replace x with the name of the drive you want to scan.
3. Wait for a few seconds until the scan completes. Once completed, you need to scan the hard drive for bad sectors. For that, execute this command:
chkdsk /r x:
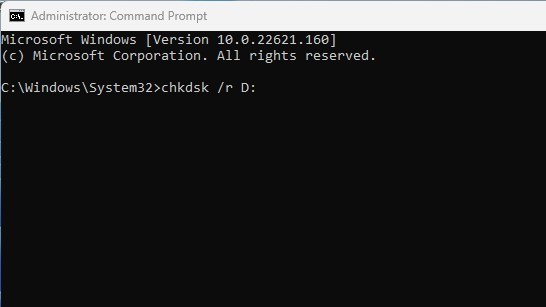
Important: Replace x with the name of the drive you want to scan.
2. Run the Check Disk utility via File Explorer
If you find the command prompt method complicated, you can run the check disk utility right from the File Explorer. Here’s how to do it.
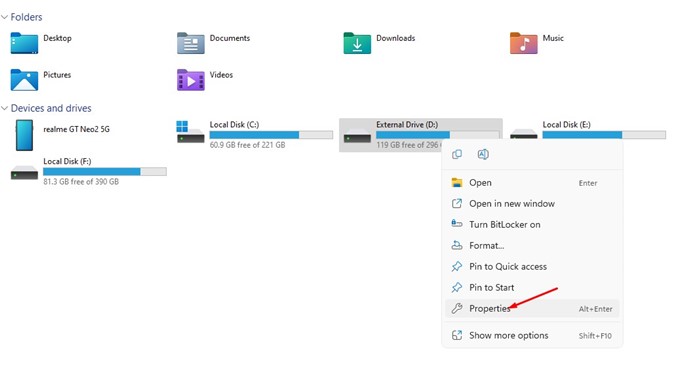
1. Open File Explorer on your Windows 11 PC.
2. Right-click on the drive you want to scan and select Properties.
3. Switch to Tools.
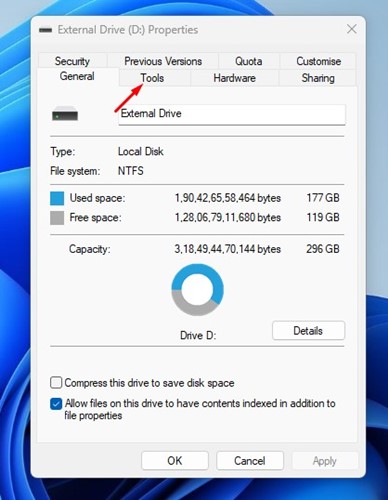
4. Underneath Error-checking, click Check.
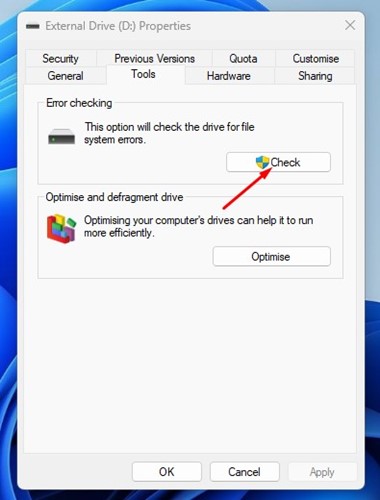
This will run the Check Disk utility on your Windows 11 computer. Wait for a few seconds until the scan completes. Once completed, restart your computer.
3. Run Antivirus/Malware Scan
Malware or viruses also create problems with the workability of hard disk drives. If the chkdsk command fails to fix your problem, you should run a full antivirus scan.
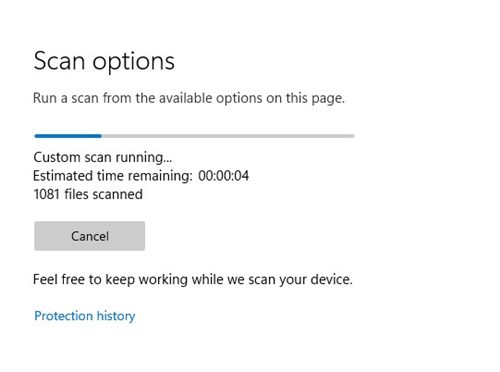
If you don’t have an antivirus program, you can use the Windows Security app to run a full virus scan. Or else, you can download & install third-party antivirus software to find and remove viruses, malware, PUPs, and keyloggers from your PC.
4. Run a SMART Test
S.M.A.R.T. stands for Self-Monitoring, Analysis, and Reporting Technology, and it tells you about the condition of your hard drive. With the S.M.A.R.T. test, you will know whether your hard drive is dying.
1. Click on the Windows 11 search and type in Command Prompt. Right-click the Command Prompt and select Run as administrator.
2. Type in the command and press Enter.
wmic diskdrive get status
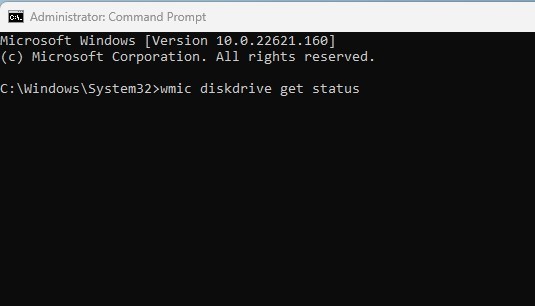
3. The SMART test will return with a Status result. If the status shows Ok, your hard drive has no problem. However, if it returns with a BAD or UNKNOWN status, it indicates a failing hard drive.

This is how you can run the SMART test in Windows 11. If you got the BAD or Unknown in the SMART test, a professional must check your hard drive.
5. Perform a system restore
System Restore will probably replace the corrupted system files and incorrect settings, which might fix the problem.
1. Click on the Windows 11 search and type in Recovery.
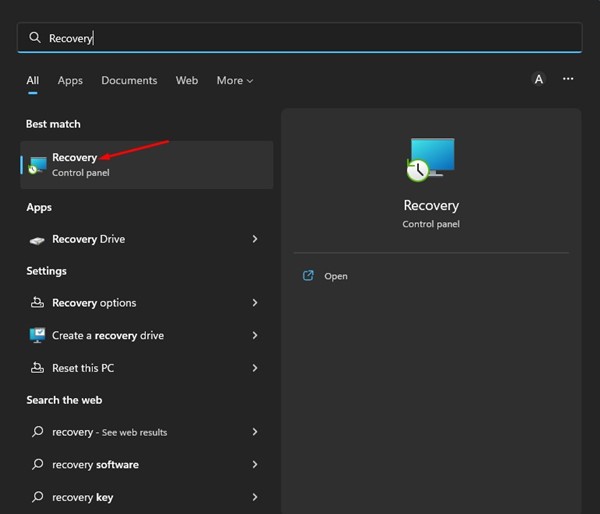
2. Click on the Open System Restore link.

3. Select the Restore point you want to use.
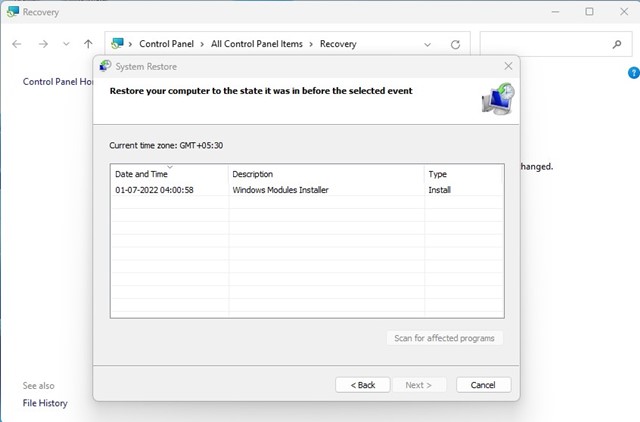
4. Click on the Finish button.
Also Read: How to Schedule Automatic System Restore Points in Windows 11
Frequently Asked Questions
Why does the Scan drive for Error notification appear?
The ‘Scan Drive for Error’ notification usually appears when the operating system detects a problem with one of your connected drives. It can sometimes appear while launching a specific app when you are denied access to your HDD/SSD.
Why do I keep getting drive errors?
Drive errors may occur for several reasons, including malware attacks, power outages, corrupted system files, and hardware failures. However, the Windows check disk utility can find and fix all sorts of drive errors.
What does the CHKDSK utility do?
The CHKDSK utility on Windows scans and repairs hard drive errors. The tool finds the bad sectors in the disk, which are unreadable, and fixes them. The tool can be run from the Command prompt to verify the logical integrity of the file system.
How long does error checking a drive take?
The error checking of a hard drive may take a few minutes to complete. The time it takes largely depends on the drive size, available RAM resources, and the processor.
How do I recover data from the hard drive?
If you accidentally deleted a few files from your hard drive, you can access and restore the Recycle Bin. If the files have been permanently deleted, use third-party data recovery software.
These are some of the best ways to fix the ‘Scan Drive for Errors’ notification on Windows 11. If you know of any other ways to fix the problem, please let us know in the comment box below.

