If we talk about File Explorer, it’s one of the essential utilities of Windows, and you get a redesigned File Explorer interface on Windows 11. While the File Explorer of Windows 11 looks good, it has many problems.
Occasionally, a user can face lagging issues while opening the Windows 11 File Explorer. Recently, a few users have also said that File Explorer takes too long to load files stored on the hard drive.
So, if you feel that Windows 11’s File Explorer is taking too long to load your files, here’s how to fix the problem.
1. Restart the Windows Explorer
If your Windows 11 File Explorer takes forever to load files stored on the HDD/SSD, it’s best to restart it from the Task Manager. Follow the simple steps shared below to restart Windows Explorer on Windows 11.
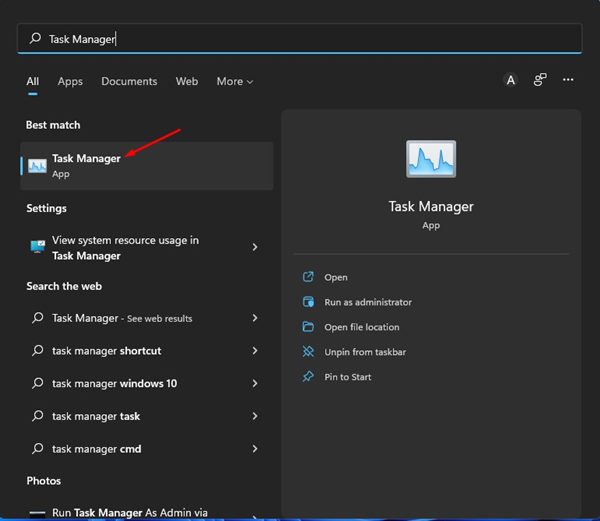
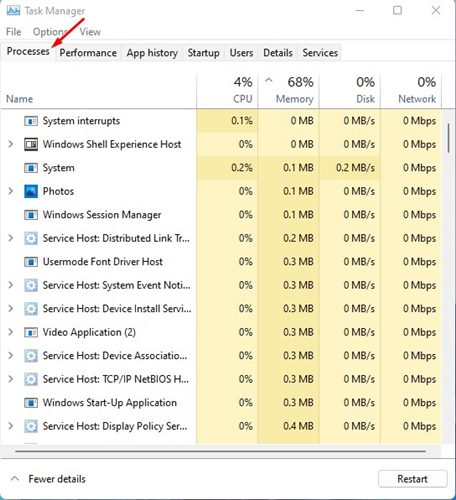
1. First, click on the Windows 11 search and type in Task Manager.
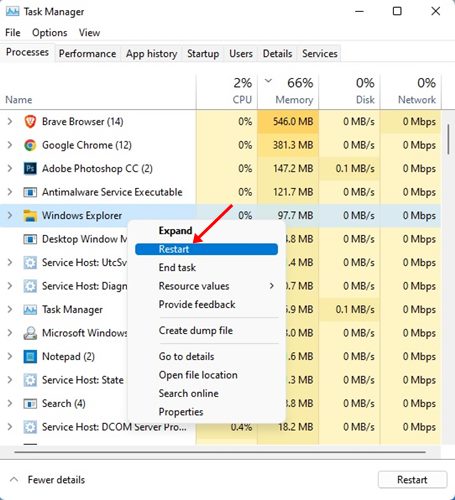
2. On the Task Manager, find Windows Explorer.
3. Right-click on the Windows Explorer and select Restart.
After restarting the Windows Explorer, reopen the File Explorer and check if the problem is resolved. This may fix the Slow File Explorer in Windows 11.
2. Enable Automatic Page file management
If you don’t know, Windows needs enough physical and virtual memory to manage the files’ indexing and storage. Although Automatically manage Paging File Size is enabled by default on Windows, it’s still important to double-check it to ensure the feature is turned on.
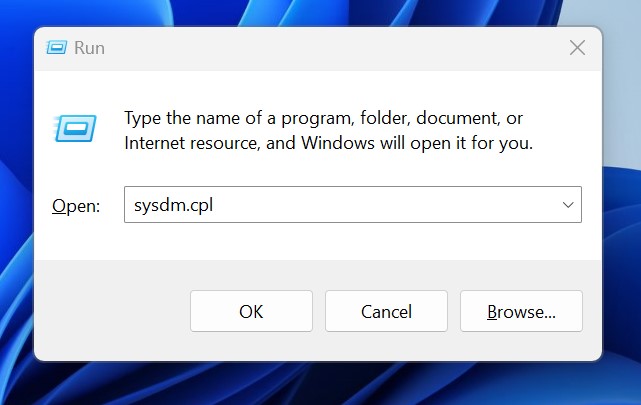
1. Press the Windows Key + R button on your keyboard.
2. On the RUN dialog box, type sysdm.cpl and press Enter.
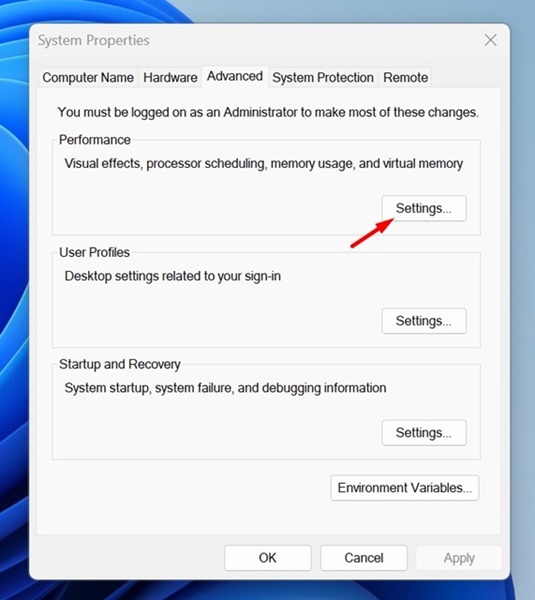
3. Now switch to the Advanced tab, as shown in the screenshot below.
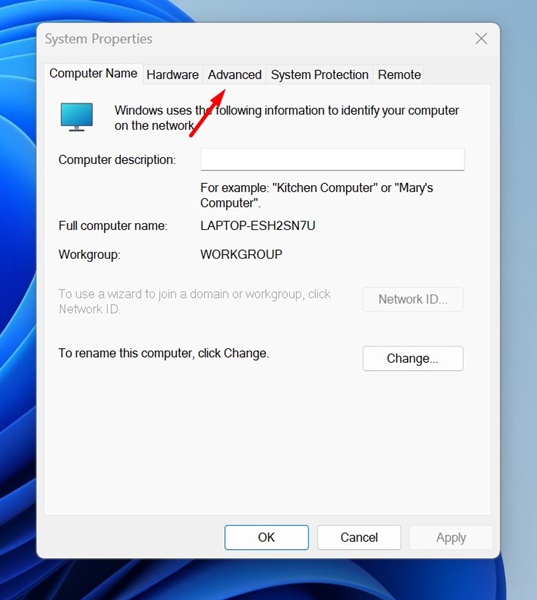
4. Next, click on Settings in the Performance section.
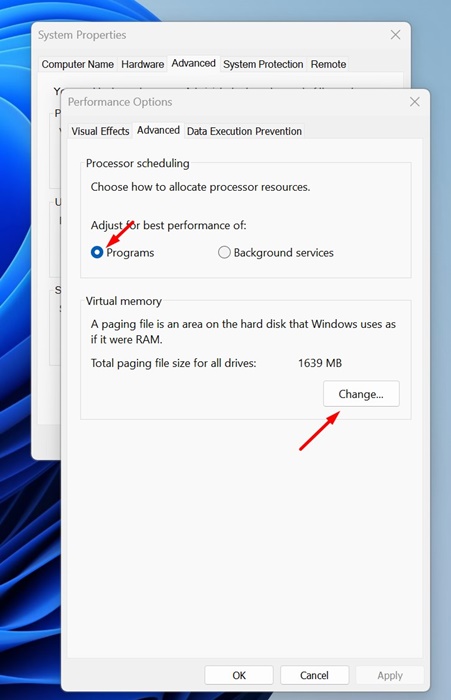
5. Select Programs on the Adjust for best performance. Once done, click on the Change button in the Virtual Memory section.
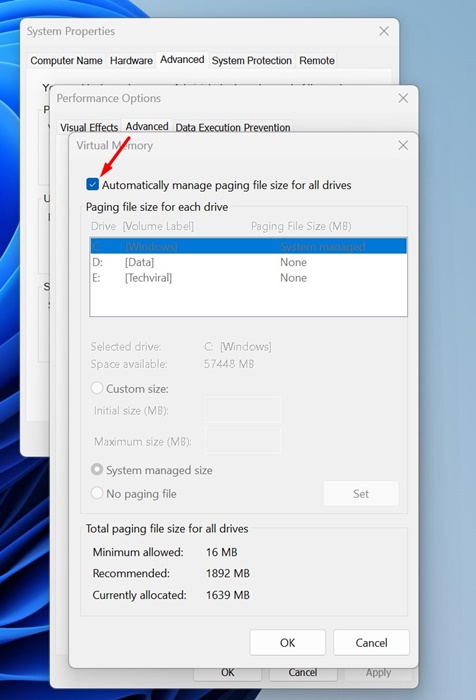
6. On the prompt that appears, ensure the ‘Automatically manage paging file size for all drives’ is enabled. To save the changes, click OK.
3. Check the HDD/SSD health
A failing HDD or SSD is another prominent reason for slow file explorer issues. If your HDD or SSD is in bad health, you will face problems while accessing the File Explorer items. So, you need to ensure the health of your HDD/SSD is in good condition. Here’s how to check the HDD/SSD health in Windows 11.
1. Type in Command Prompt on the Windows 11 search. Next, right-click on the Command Prompt and select Run as administrator.
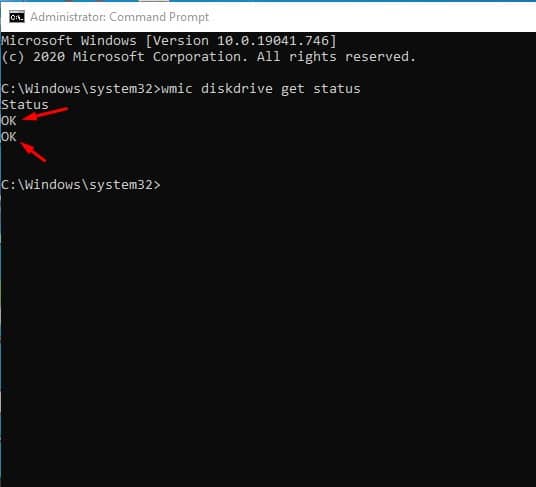
2. When the Command Prompt opens, execute the given command:
wmic diskdrive get status

3. The above command would return with a Status. If the Status shows OK, everything is fine. However, if you get ‘Pred FAIL’, your HDD/SSD is in bad health or is about to fail.
4. Close Unnecessary Programs
File Explorer lagging or taking a long time to load files doesn’t always have to be linked with software problems. Running too many programs in the background also impacts the speed of File Explorer. Hence, you need to close all programs you are not using to free up some memory, which will eventually fix the slow File Explorer problem.
1. First, click on the Windows 11 search and type in Task Manager.
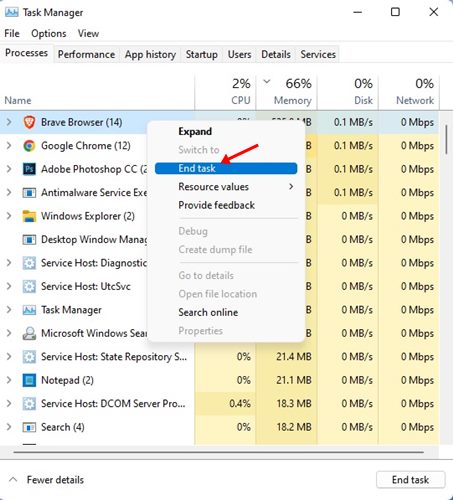
2. On the Task Manager, switch to the Processes tab. Look at the list of programs running in the background and using Memory.
3. If you find any unnecessary app on the list, right-click on it and select End Task.
4. You must repeat the process to kill all apps you don’t use.
5. Disable the Quick Access Menu
Although the Quick Access Menu on Windows 11 File Explorer is helpful, it also slows down the speed of File Explorer. So, if the Windows 11 Quick Access is slow, you can try disabling the Quick Access menu to fix the Windows 11 File Explorer slow issue.
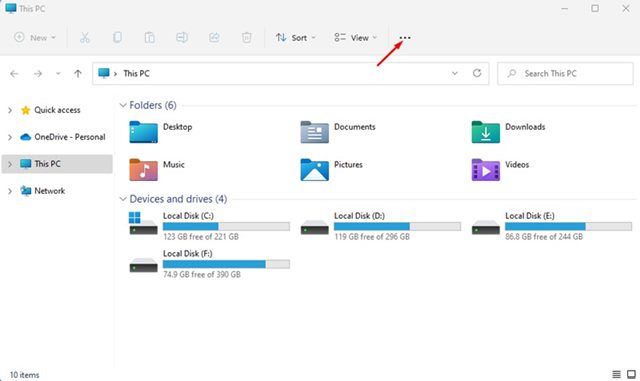
1. First, open the File Explorer and click on the three dots as shown below.
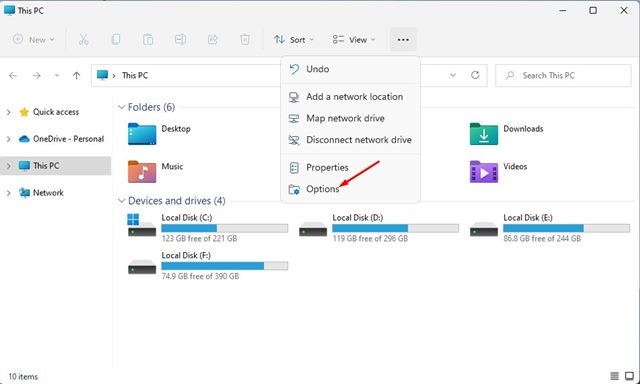
2. On the menu that appears, select Options.
3. On the Folder Options, select This PC on the dropdown menu for Open File Explorer.
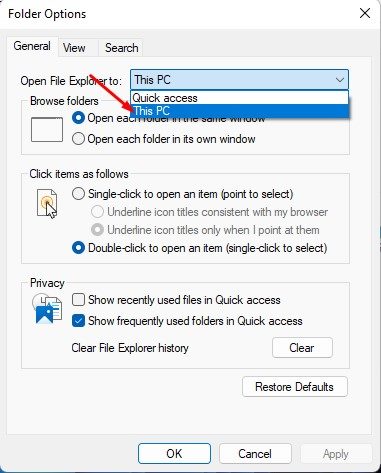
4. Once done, click on the Apply button and then on the OK.

6. Clear the File Explorer History
If your Windows 11 File Explorer is still lagging or showing Windows 11 File Explorer working on it, you can try clearing the File Explorer History. Here’s how you can remove the File Explorer history in Windows 11.
1. First, open the File Explorer and click on the three dots as shown below.
2. On the menu that appears, select Options.
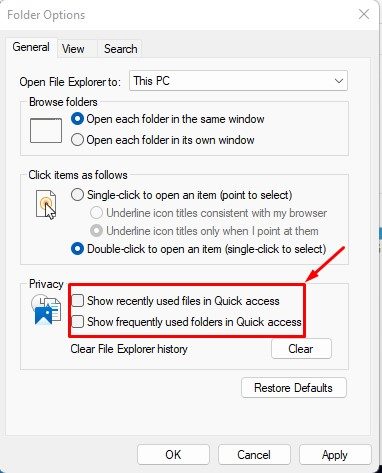
3. On the Folder options, uncheck the two options – Show recently used files in Quick Access and Show frequently used folders in Quick Access.
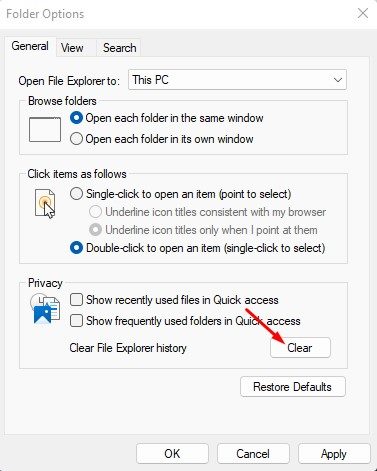
4. Once done, click the Clear button behind the Clear File Explorer history.
7. Configure the Folder Optimization in Windows 11
If the File Explorer lags or takes forever to load a specific folder containing many files and subfolders, you must configure the folder optimization settings. Here’s how to configure the Folder optimization settings to fix File Explorer not responding Windows 11.
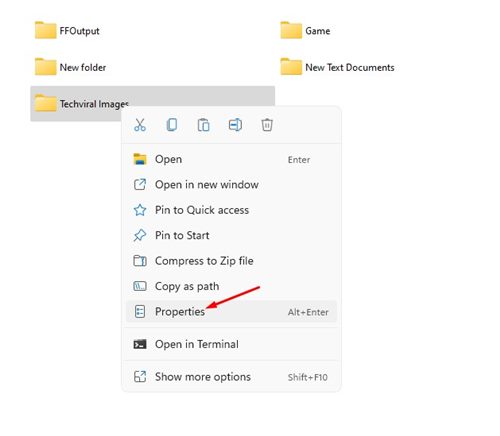
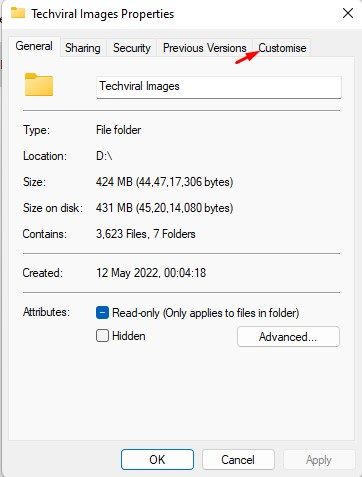
1. Right-click on the folder you want to optimize and select Properties.
2. On the Folder Properties, switch to the Customize tab.
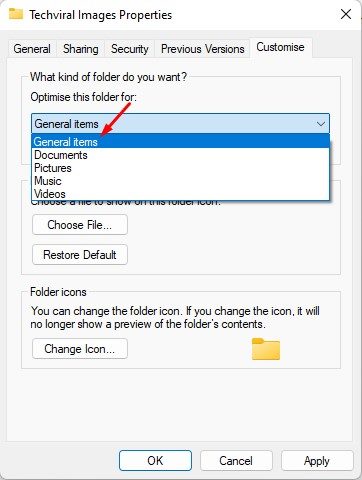
3. Next, click on the Optimize this folder for the drop-down menu and select General items.
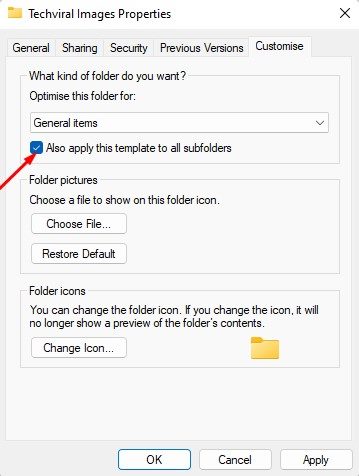
4. Once selected, check the option Also apply this template to all subfolders.
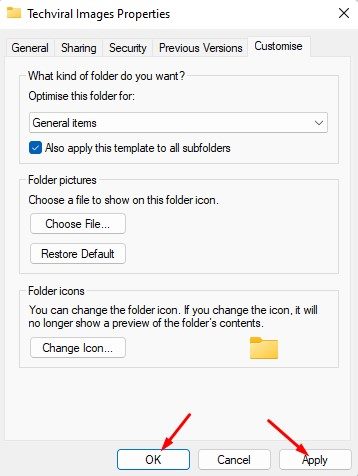
5. Once done, click on the Apply button and then on OK.
8. Troubleshoot Windows Search and Indexing
You must follow this method if experiencing problems while utilizing the Windows Search on File Explorer. We will troubleshoot the Windows Search and Indexing service to fix File Explorer’s slow search bar.
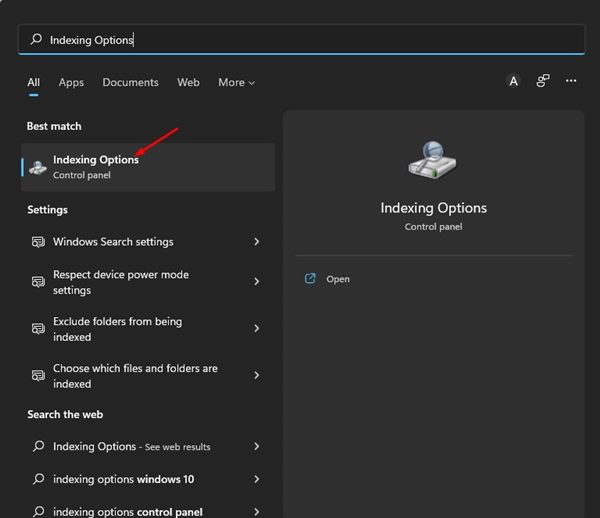
1. Open the Windows 11 search and type in the Indexing options.
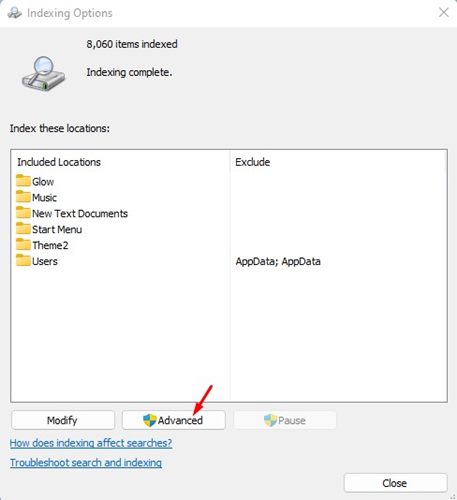
2. On the Indexing Options, click on the Advanced button.
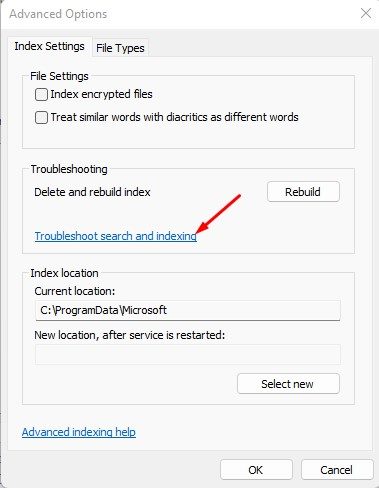
3. In Advanced Options, click on the Troubleshoot search and indexing link.
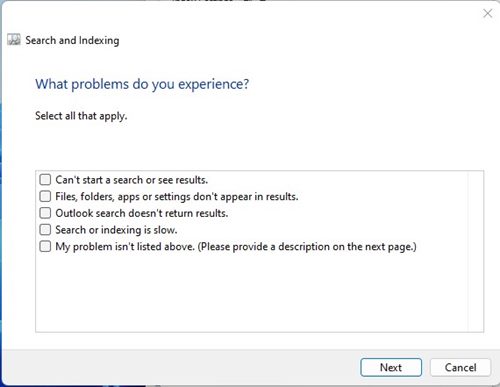
4. On the Search and Indexing troubleshooter, pick the problem you are experiencing and click the Next button.
5. You need to follow the on-screen instructions to complete the troubleshooting process.
9. Perform a System Restore
System Restore is an essential feature of the Windows operating system, and it should be your last choice if nothing else works.
If File Explorer in Windows 11 suddenly becomes slow after changing the system settings, you can roll back your computer to a point before the problem begins.
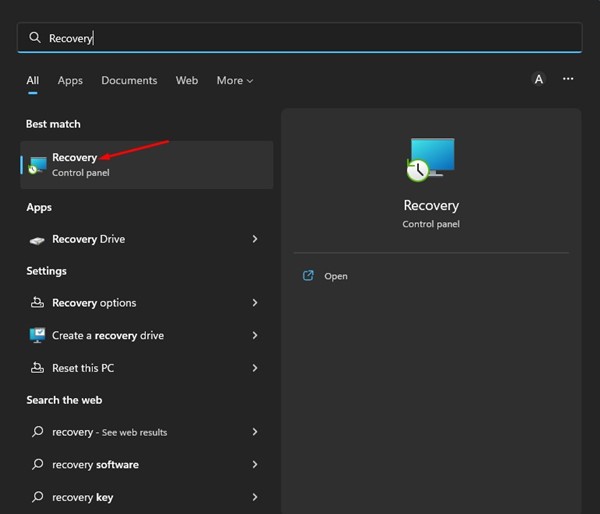
1. Click on Windows Search and type Recovery. Next, open the Recovery app.
2. When the Recovery app opens, click on the Open System Restore.

3. Now select the Restore point you want to use and click Next.
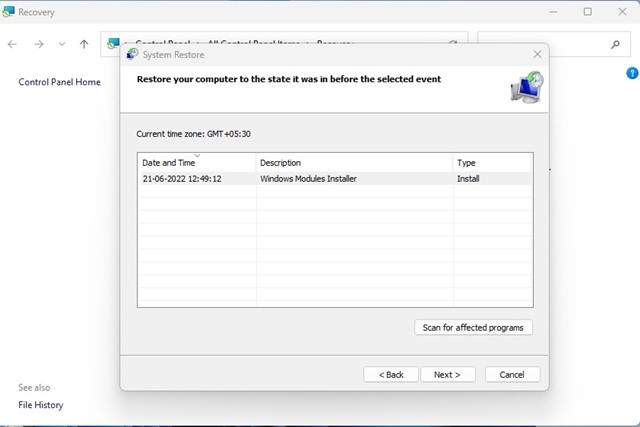
4. Click the Finish button to confirm your restore point prompt.

10. Update your Windows 11
Maybe you’re facing a Windows 11 File Explorer performance issue because of an existing bug on the operating system.
You can eliminate such bugs by updating your Windows 11 to the latest version. Also, keeping the operating system up-to-date has many advantages; you can enjoy the new features and rule out privacy & security issues.

Head to Settings > Windows Update and click the Check for updates button at the right. This will download and install the Windows 11 updates.
These are some of the best ways to fix Windows 11 File Explorer’s slow and lagging issues. If you have found any other way to fix This PC not responding Windows 11 or lag issue, let us know in the comment box.

