After installing the recent Windows 10 update, many users have complained about Camera problems in the operating system. Lots of users have reported that their PC’s webcam is crashing all of a sudden, getting an error message while opening the camera application.
Not only that, but few have even said that the camera application is not opening at all on the operating system. It looks like the recent Windows 10 update is creating problems with the Camera drivers.
If you have been using Windows 10 for a while, you might know that the latest version offers a system-wide option to disable your webcam. You can also fix various Webcam-related problems by updating/reinstalling its drivers.
Also Read: How To Easily Update Drivers In your Windows PC
4 Methods to Fix Webcam or Camera Not Working
So, in this article, we will share a detailed guide on how to fix a Webcam or Camera not working on Windows 10 computer. These are the universal methods that work across all webcam or cameras. Let’s check out.
1. Allow Access to the Camera
If the camera access is turned off, you can’t use it. Here’s how to allow apps to access the camera on Windows 10 computer.
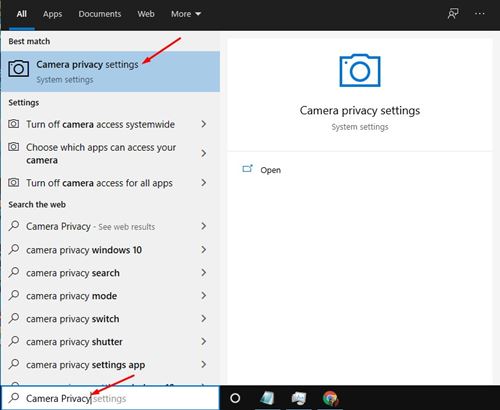
Step 1. First of all, open Windows search and search for Camera Privacy. Open the Camera Privacy Settings from the list.
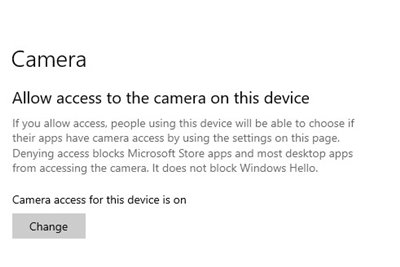
Step 2. On the Camera Settings page, enable the toggle for the ‘Allow access to the camera on this device’ option.
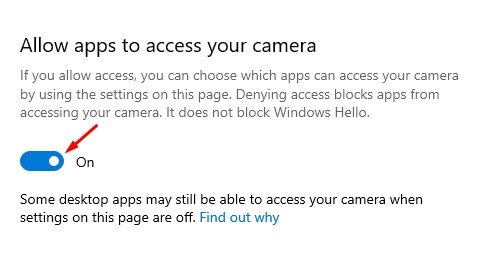
Step 3. Now scroll down and enable the option ‘Allow apps to access your camera’ option.
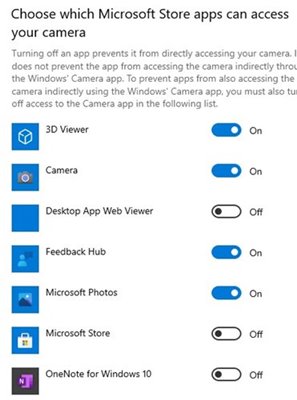
Step 4. Next, scroll down and pick which apps can use the webcam of your PC/Laptop.
Step 5. At the bottom, enable the option ‘Allow desktop apps to access your camera’ option.
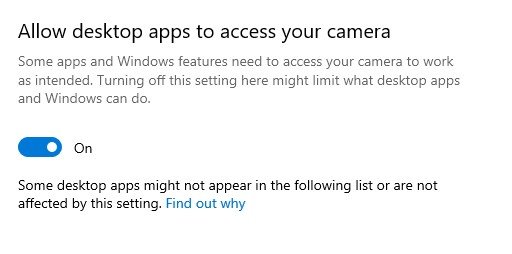
That’s it! You are done. After making the changes, restart your PC and turn on the camera again. The problem will be fixed.
2. Update the Camera driver
In this method, we will update the camera driver to fix the webcam not working in Windows 10. Follow some of the simple steps given below.
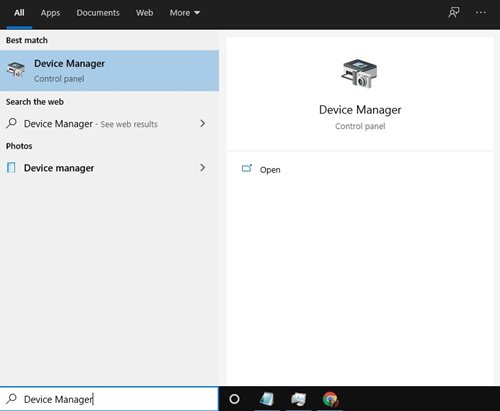
Step 1. First of all, open Windows search and search for ‘Device Manager’. Open Device Manager from the list.
Step 2. On the device manager page, find the camera, right-click on it and select the option ‘Update Driver’
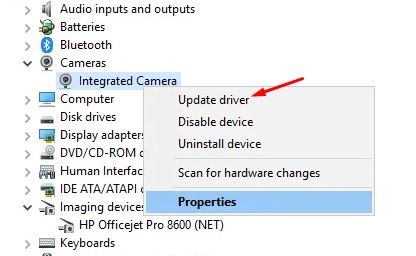
Step 3. Now your system will start looking for the latest driver on the internet. The process might take few seconds to complete. Once updated, restart your PC.
That’s it! After the restart, your PC will be using the latest version of the camera driver.
3. Reinstall the Camera device
If the above method failed to fix the camera problem on your PC, you need to reinstall the device. Follow some of the simple steps given below to reinstall the Camera device on your PC.
Step 1. First of all, open Windows search and search for ‘Device Manager’. Open Device Manager from the list.
Step 2. On the device manager page, find the camera, right-click on it, and select the option ‘Uninstall Device’
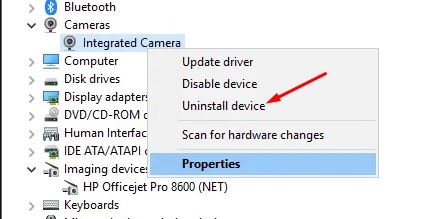
Step 3. Once installed, you need to restart your device.
That’s it! You are done. During the restart, Windows 10 will automatically install the camera device.
4. Reset the Camera Application
If all of the above methods have failed to fix the camera problem for you, you need to reset the Camera application. To reset the camera application, follow the steps given below.
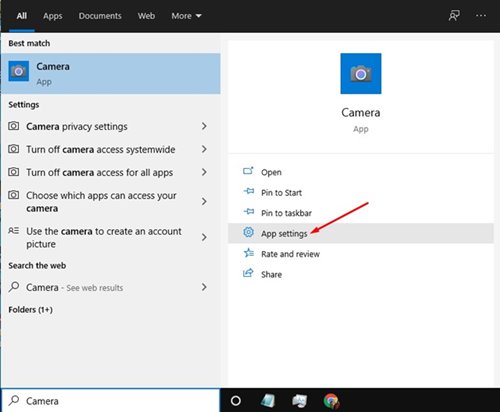
Step 1. First of all, open Windows search and search for ‘Camera’. Next, click on the ‘App Settings’.
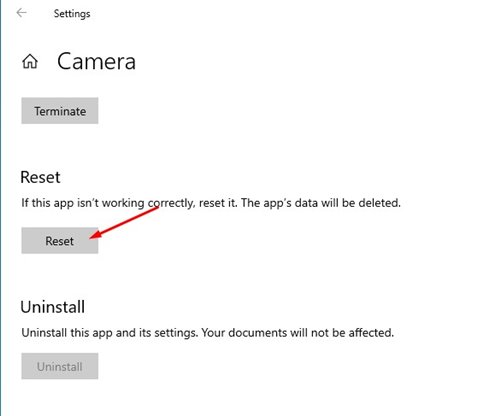
Step 2. On the App Settings page, find the option ‘Reset’. Click on it and wait until the camera app resets.
Step 3. Once done, re-open the camera app, and it will work fine.
That’s it! You are done. This is how you can reset the camera application in Windows 10.
So, this guide is all about how to fix the Camera not working on Windows 10. I hope this guide helped you! Please share it with your friends also. If you have any doubts related to this, let us know in the comment box below.


