Windows Security is not completely free from flaws, and users frequently report problems. For example, many users report that it does not open at all.
Why does Windows Security not open?
Windows Security app may fail to open for a few reasons. It could be system file corruption, invalid registry entries, etc. Here are some prominent reasons that lead to such problems.
- You’re using a pirated version of Windows
- The version of Windows Security installed on your device is outdated.
- Corrupted system files.
- Invalid or corrupted registry entries.
- Windows Security app files are corrupted.
- You are using other security programs on your PC.
If you are experiencing such problems, here’s how you can fix them.
1. Repair Windows Security
We will repair the Windows Security app to fix the Windows Security not opening issue.
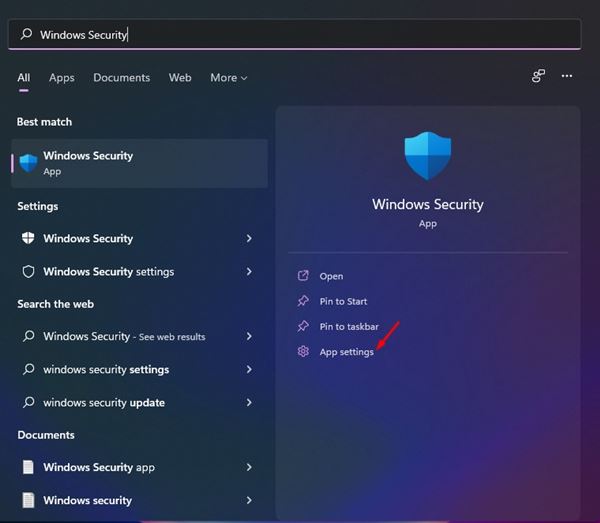
1. Click on the Windows 11 Start Menu and type in Windows Security.
2. Click on App Settings.
3. Scroll down and click the Repair button.
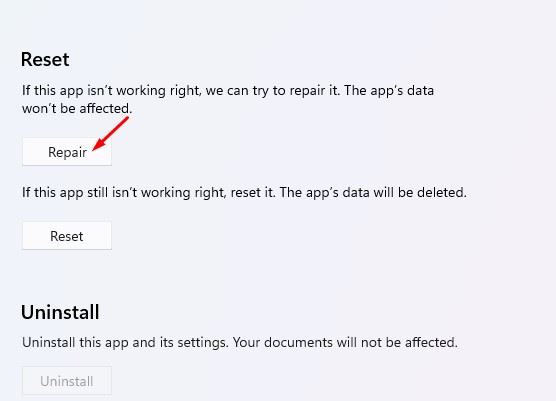
Wait until the process is completed. Once completed, you must run the app to check if the program persists.
2. Reset Windows Security App
We will reset the Windows Security app to fix Windows Security not opening or working on Windows 11.
1. Click on the Windows 11 Start Menu and type in Windows Security.
2. Click on App Settings.
3. Scroll down and click the Reset button.
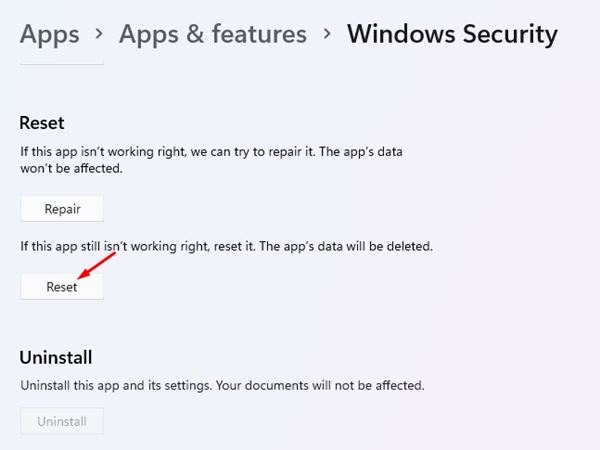
4. Follow the on-screen instructions to complete the reset process.
3. Restart the Security Center Service
For those who don’t know, Security Center is a Windows service that runs whenever your PC boots. Sometimes, the service fails to start, leading to Windows Security not opening the problem. Hence, we must restart the security center service to fix the Windows Security not opening problem.
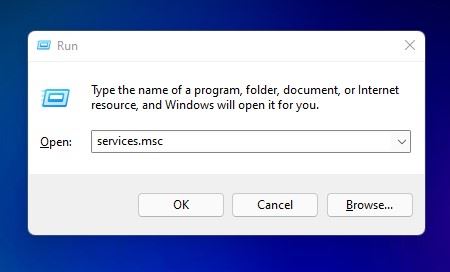
1. Press the Windows Key + R button to open the RUN dialog box. On the RUN dialog box, type in services.msc and press Enter.
2. Find the Security Center service.
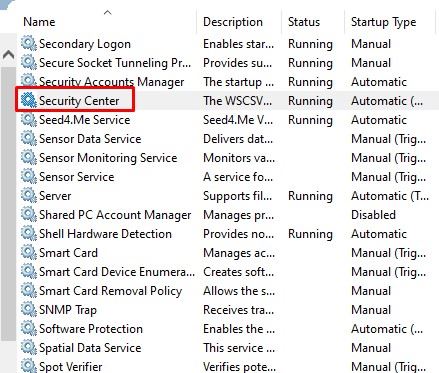
3. Right-click on the Security Center and select Restart.
4. Run an SFC Scan
System file corruption is another reason Windows Security does not open. Hence, we must run an SFC scan to fix the corrupted system files.
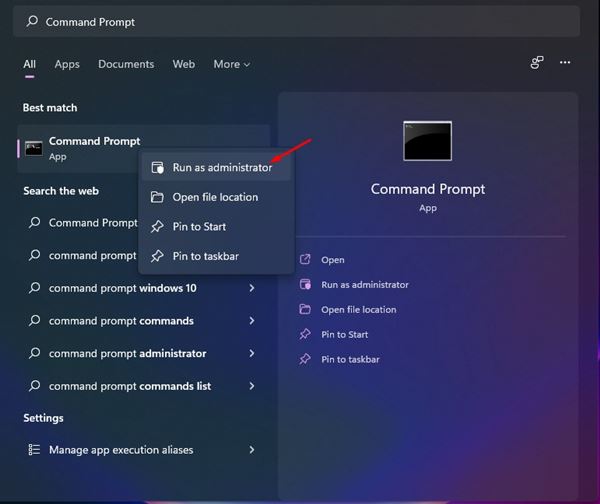
1. Open Windows Search and type in Command Prompt.
2. Right-click on the Command Prompt and select Run as administrator.
3. Enter sfc /scannow
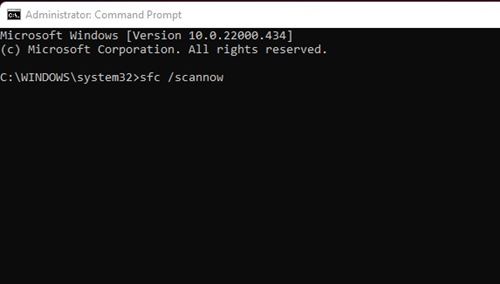
4. Wait until the process is complete. If Windows detects any problem, it will automatically fix it.
5. Re-register the Windows Security Apps
Re-registering the Windows Security app on Windows 11 has helped many users fix the problem. Here’s how you can re-register.
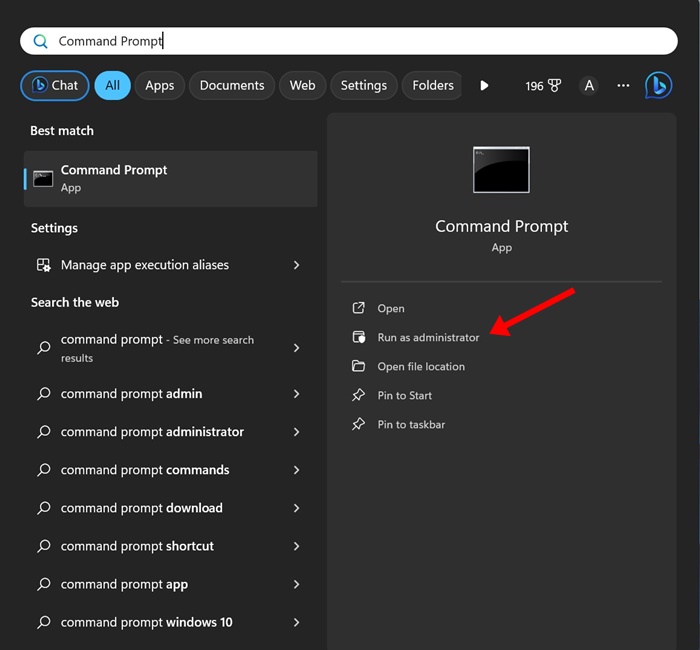
1. Type in Command Prompt on the Windows 11 Search. Right-click on the Command Prompt and select Run as administrator.
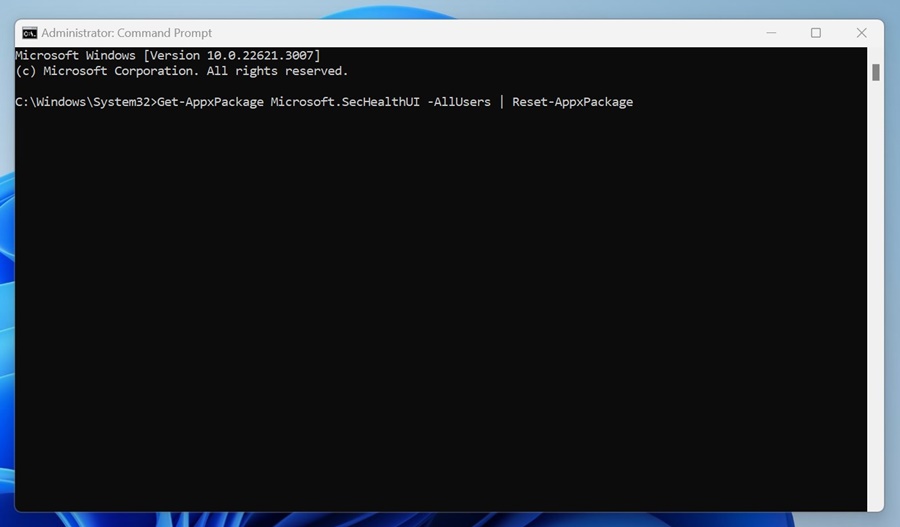
2. Execute this command and press Enter.
Get-AppxPackage Microsoft.SecHealthUI -AllUsers | Reset-AppxPackage
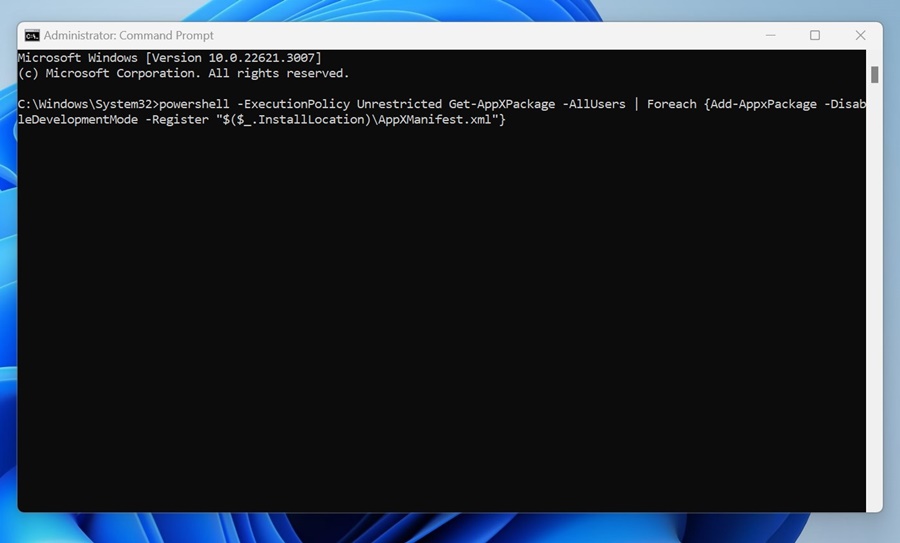
3. If the above command didn’t help, execute this command:
powershell -ExecutionPolicy Unrestricted Get-AppXPackage -AllUsers | Foreach {Add-AppxPackage -DisableDevelopmentMode -Register "$($_.InstallLocation)\AppXManifest.xml"}
After executing the command, restart your computer and reopen the Windows Security app.
6. Uninstall Other Antivirus Programs
Neither Windows 10 nor Windows 11 allows you to run two different antivirus programs simultaneously. So, if you are using any antivirus program, you need to turn it off.
If disabling other antivirus programs didn’t help, uninstall it from your system. Once you’ve uninstalled other security programs, you must check whether Windows Security is opening.
7. Disable the Startup Program
Apart from the antivirus program, several types of third-party apps & services can interrupt the functioning of Windows Security. To resolve this issue, we must first find and disable the problematic startup app.
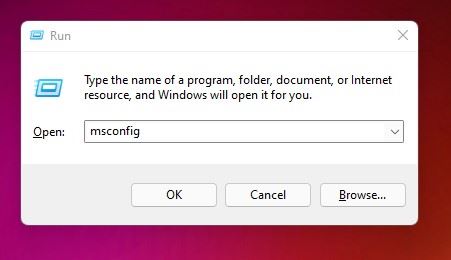
1. Press the Windows Key + R button to open the RUN dialog box. On the RUN dialog box, enter msconfig and hit the Enter button.
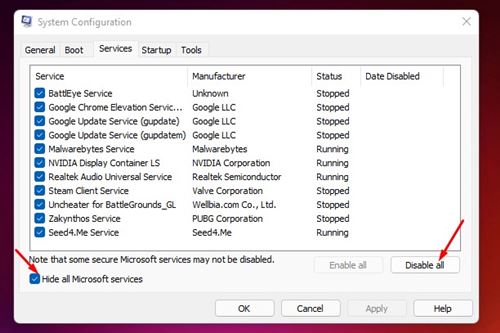
2. Select the Services tab on the System Configuration pop-up.
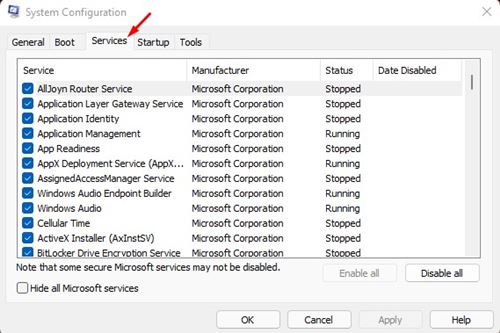
3. Now check the box behind Hide all Microsoft Services and click the Disable All button.
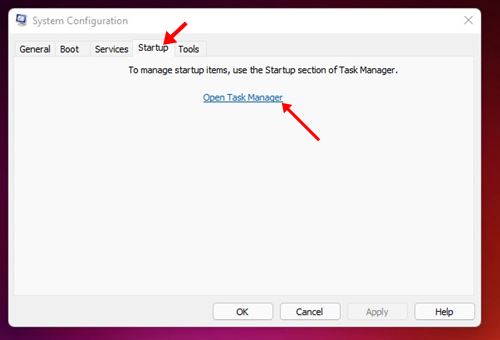
4. Switch to the Startup tab. Click the Open Task Manager link.
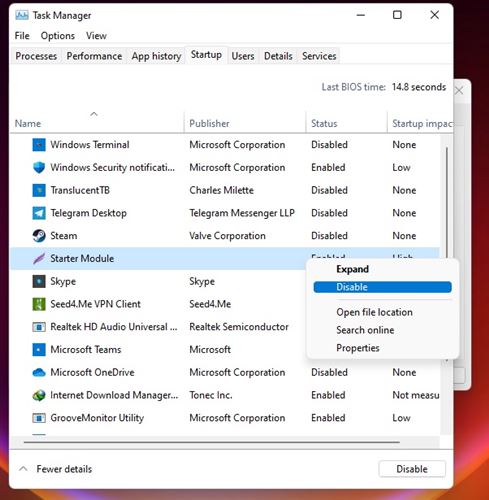
5. Under Startup, select a program and click the Disable button. Repeat this step until you turn off all the programs.
After making the changes, restart your Windows 11 PC. Your PC will restart without any third-party apps. If Windows Security opens after the restart, you need to check your recently installed apps & programs.
8. Update Windows 11
It’s possible that Windows Security is not opening due to an existing bug, which Microsoft has fixed with a system update. So, it’s recommended that you update Windows 11 to fix bug-related problems.

To update Windows 11, open Settings > Windows Update and click the Check for Updates button.
9. Reset Your Windows 11 PC
If nothing has worked for you, resetting your Windows 11 PC to its default start should be your last resort.
On Windows 11, you get the reset options on the Settings app and can keep your files. But resetting will still turn all settings and apps to their default state.
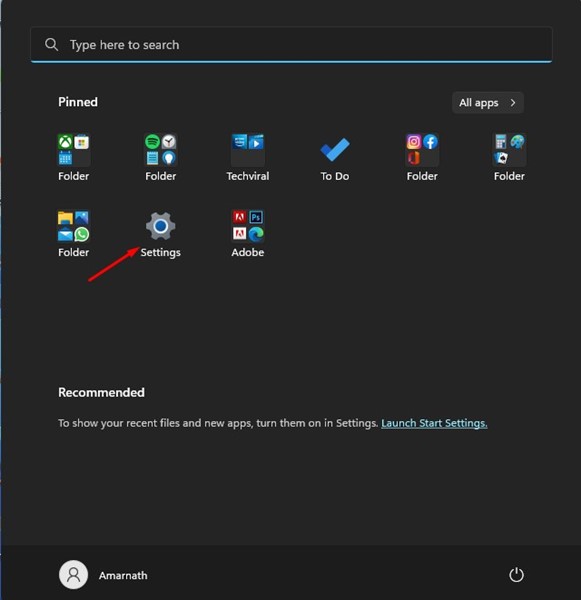
1. Click on the Windows 11 Start button and select Settings.
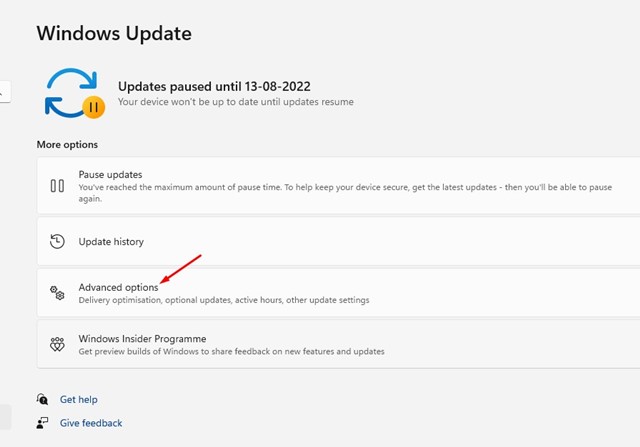
2. Switch to Windows Update > Advanced Options.
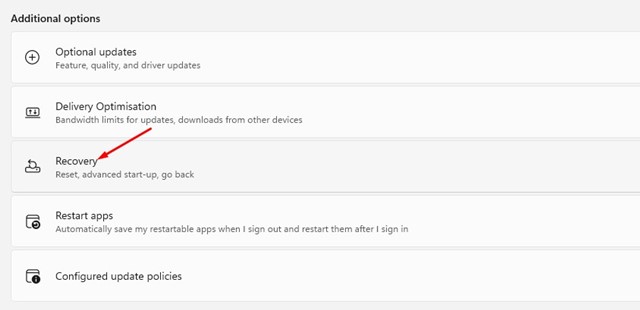
3. Click on Recovery.
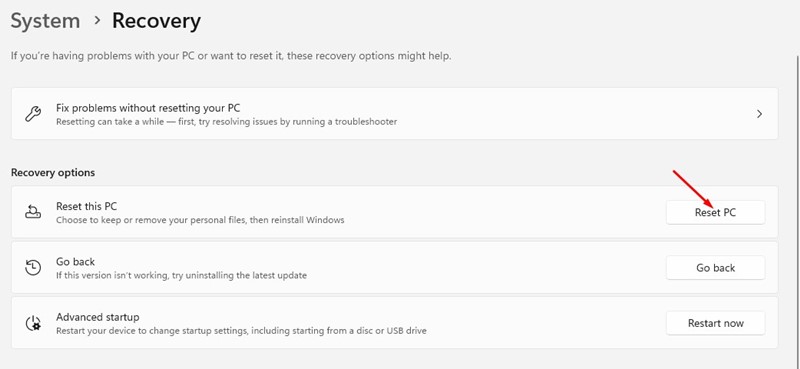
4. Scroll down to the Recovery options and click the Reset PC button.
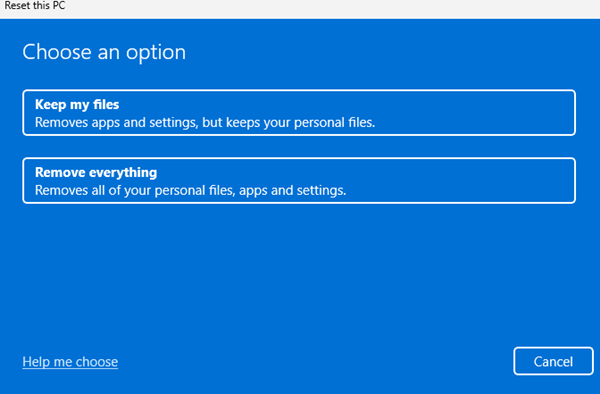
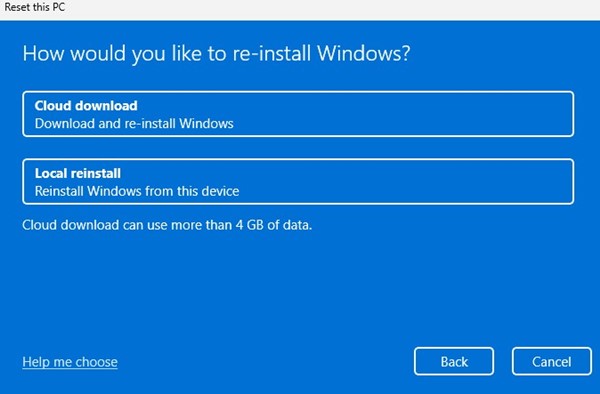
5. You must choose whether to keep your files or Remove everything. Pick Keep my files if you wish to hold your files.
6. Follow the on-screen instructions to complete the reset part.
After the reset, open the Windows Security app again. This time, the Windows Security app will open.
We are sure these methods will help you fix the Windows Security app not opening problem on Windows 11. If you have any doubts, let us know in the comment box below.


