If you often encounter a Yellow Tint issue on the Windows 11 screen, you need to look at a few things to resolve the issue. The problem usually appears when a 3rd party program interferes with the display settings.
It also appears due to bugs or glitches in the software or hardware. Whatever the reason, the Yellow tint issue on the Windows 11 screen can be fixed by following these methods.
1. Restart Windows 11

Since the cause of the Yellow tint on display is unknown, it’s best to restart your computer.
Restarting will possibly refresh all drivers. To restart Windows 11, click on the Start Menu. On the Start menu, click on the Power Options and select Restart.
2. Rule out the Hardware Issues First
Before you try the troubleshooting, it’s important to rule out the hardware issues. No software-based modification will work if you have a faulty display or cable.
It’s important to closely inspect & rule out hardware issues like physical damage, faulty cables, faulty ports, etc. Ensure that the cable connecting your monitor to your PC isn’t lost or damaged, which often leads to a Yellow tint issue.
3. Turn off the Night Light
Night Light on Windows 11 is an eye protection feature that filters out harmful blue light from your PC screen. It applies a warmer color to your screen, and the tone is yellowish.
If you suddenly experience a yellow tint on your display, you must turn off the Night Light feature.
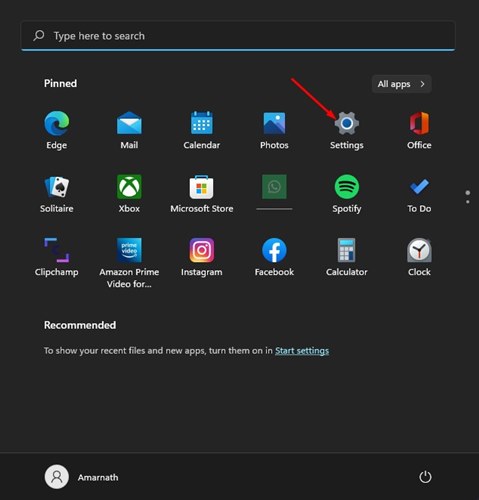
1. Click the Windows 11 Start button and select Settings.
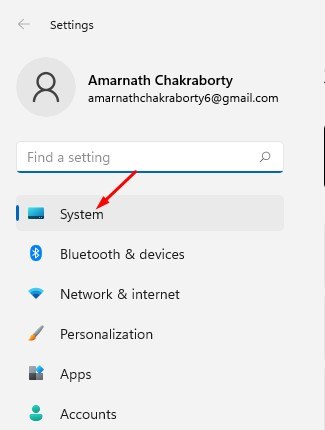
2. Click on the System option.
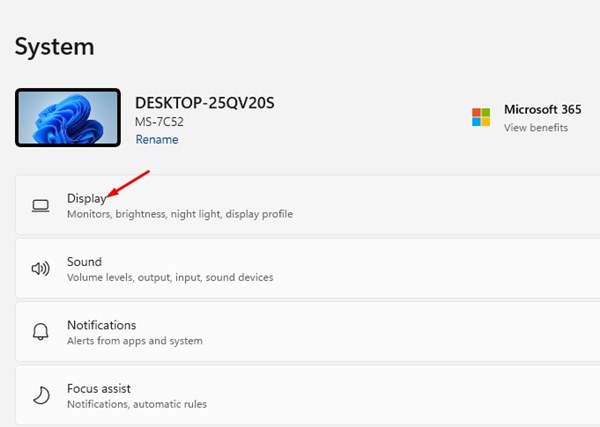
3. Click on the Display.
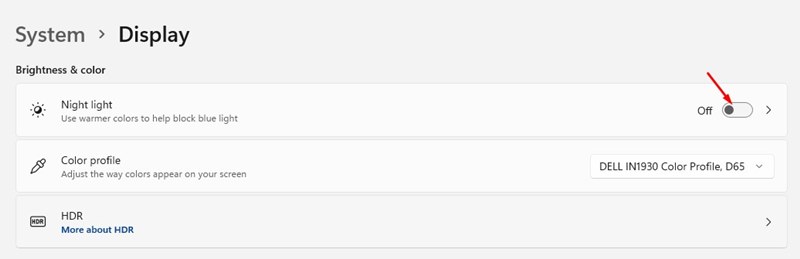
4. Scroll down to the Brightness & Color option and turn off the Night Light.
4. Check if your PC has any third-party night light apps
If the Yellow Tint appears even after turning off Windows’ night light, you need to check if any third-party app is causing it. Open the Control Panel and find apps that can change the color of the display and monitor.
Once you find the app, right-click on it and select Uninstall. Make sure to restart your computer after uninstalling the third-party night light app.
5. Change the Color Profile
We will use the Windows 11 Control Panel to change the color profile in this method.
1. Open the RUN dialog box (Windows + R)
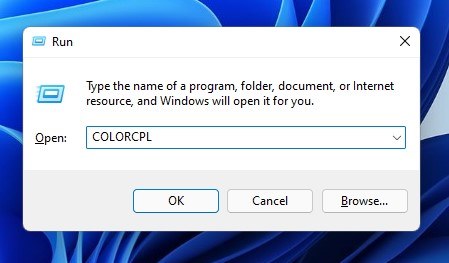
2. Enter COLORCPL and hit the Enter button.
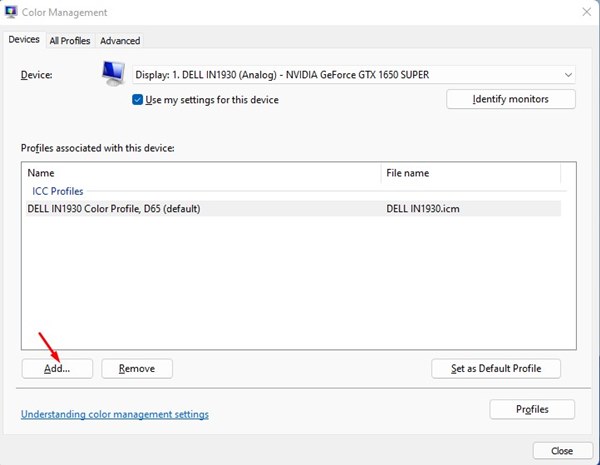
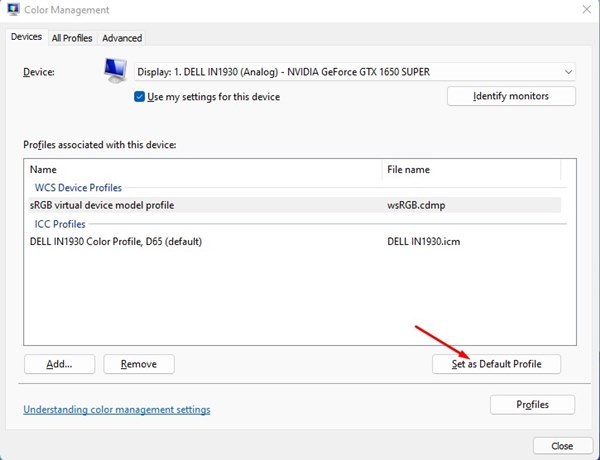
3. This will open the Color Management Window. Here, switch to the Devices tab.
4. Select your monitor and click the Add.. button at the bottom of the screen.
5. Select the sRGB virtual device model profile and click OK.
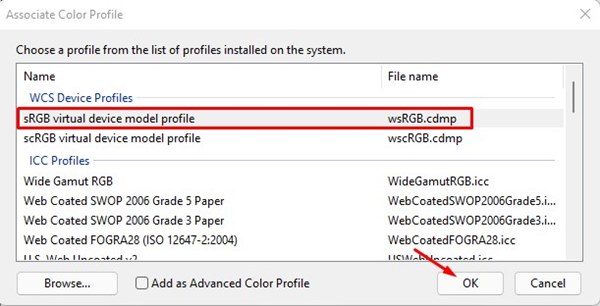
6. Select the sRGB virtual device model profile and click on the Set as Default Profile option.
6. Calibrate your Windows 11 Display
Windows 11 includes a color calibration tool that can help you adjust the colors displayed on the screen. You can run the color calibration tool on your Windows 11 to fix the Yellow tint issue.
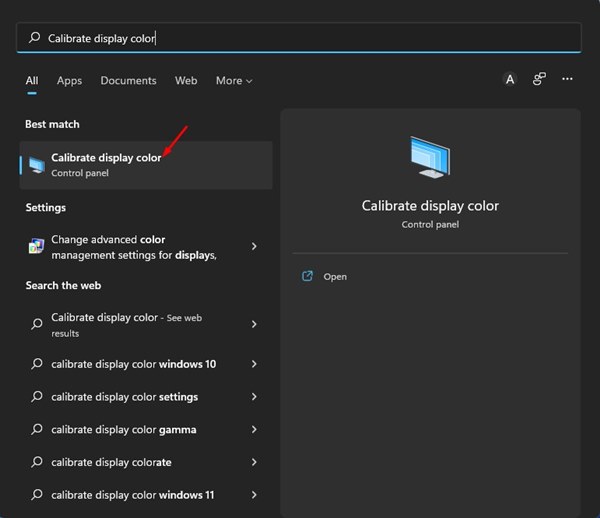
1. Click on the Windows 11 search and type Calibrate Display Color. Open the Calibrate Display Color option from the list.
2. Click Next.

3. Follow the on-screen instructions to adjust the display colors.
7. Update the Graphics Driver
Outdated graphics drivers are often the leading cause of Yellow tint issues and many other display-related problems. Here’s how you can update the graphics driver on Windows 11.
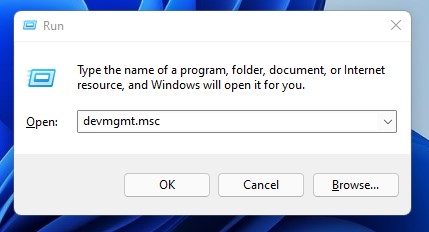
1. Click the Windows Key + R button to open the RUN dialog box.
2. Type in devmgmt.msc and hit the Enter button.
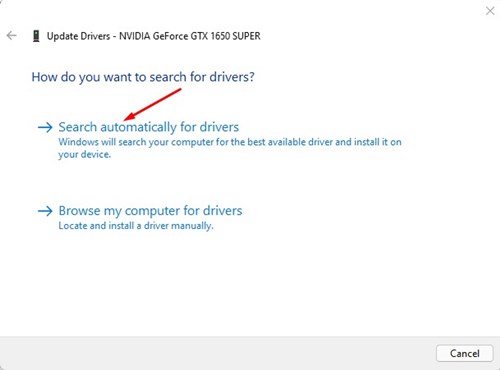
3. Expand the Display adapters and select your installed driver. Now, right-click on the Display adapter and select the Update driver option.
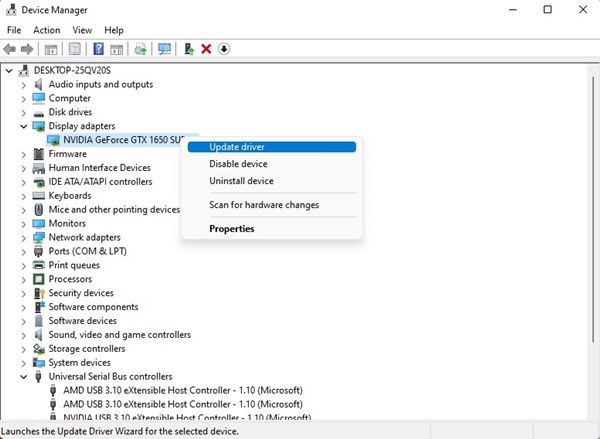
4. Click the Search automatically for drivers option.
8. Connect Another Monitor
If the Yellow Tint still appears on your display, you must check for hardware problems. To confirm that your PC’s display has hardware problems, connect another monitor/display to your PC.
If a Yellow tint appears on a laptop, you must call the local technician or take the laptop to the service center to troubleshoot the problem.
9. Seek Professional Help
If you’ve tried all the methods we’ve shared and the problem is still not fixed, it’s best to seek professional assistance.
You need to contact a certified technician for expert guidance. If your PC/Laptop is under warranty, you can take it to the local customer care for help. The technician will look into the hardware issues and fix the problem.
These are the best ways to resolve the yellow tint issue on the Windows 11 screen. If you have any doubts, let us know in the comment box below.


