We all know very well that Twitch is a well-known video streaming platform focused on video games where we can find games played by other users, broadcast or eSports, and other events related to video games. So, if you don’t know, then let me tell you that if you want, then you can create a free Twitch account, but, apart from the regular Twitch account, there is also Twitch Prime, it is the Twitch subscription service that offers certain interesting advantages over normal other users.
How To Get The Twitch Prime For FREE
We all know that Twitch is a well-known video streaming platform focused on video games where we can find games played by other users, broadcast or eSports, and other events related to video games.
So, if you don’t know, then let me tell you that if you want, then you can create a free Twitch account, but, apart from the regular Twitch account, there is also Twitch Prime, it is the Twitch subscription service that offers certain interesting advantages over normal other users.
Also Read: How to Stream On Twitch With OBS Software
It is common to see how certain services or applications can be obtained completely for free, but if we want to access certain functions or features, we will surely have to go through the box and subscribe to the Premium or Pro service. Hence, the same goes for Twitch Prime since it will allow us to enjoy certain advantages over other platform users.
Hence, here in this post, we will simply show you how to get Twitch Prime for free and its advantages over other normal users. So, now without wasting much time, let’s get started and simply explore the tutorial we have mentioned below.
Advantages of Twitch Prime
Subscription to Twitch channel
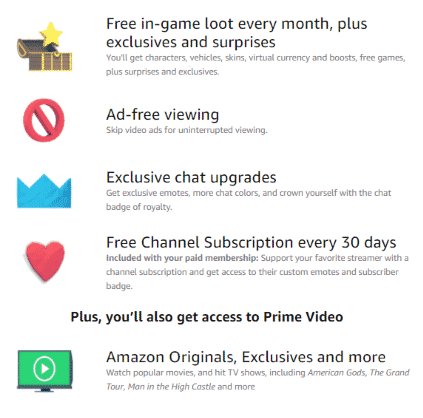
With Twitch Prime, we can easily get a subscription to a Twitch channel every 30 days to use it with a member or affiliate channel. This includes access to all the exclusive benefits for subscribers of that channel that are offered with the usual subscription, like chat privileges, emojis, and much more.
Member access to game content
Access to specific games and content at no additional cost, as we can find the offers in this same link.
Exclusive emoticons
Being a member of Twitch Prime allows us to obtain exclusive emoticons reserved only for the paid members of the platform.
More color options for the chat
You will have more options to choose from to customize the color of the chat.
Member-Only Prime Chat Badge
Stands out from the rest with a unique chat badge that you can activate and deactivate from the configuration section. It is easy to identify the members of Twitch Prime in the channels of the platform with the help of this badge.
Extended Broadcast Storage
This way, you can simply save your old broadcasts on Twitch for 60 days instead of the usual 14 days offered by the platform.
Get Twitch Prime for free
Since 2014, Twitch is owned by the well-known giant e-commerce platform Amazon, which allows all those who are Amazon Prime users, they can simply have Twitch Prime completely for free. To do this, you just have to link your Amazon account with the Twitch account, and then you will automatically have Twitch Prime for free.
- The first thing that we have to do is log in with our Twitch account.
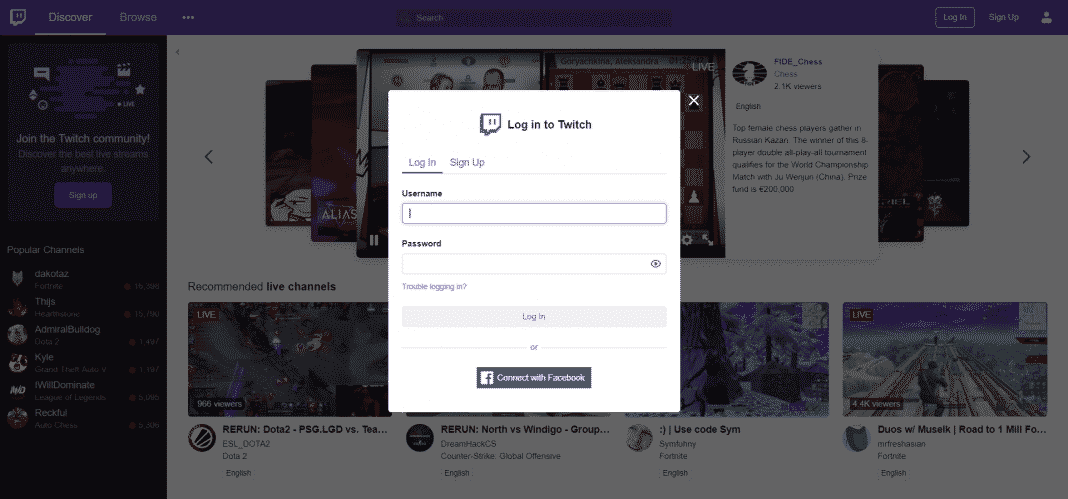
- Then simply go to the Twitch Prime site.

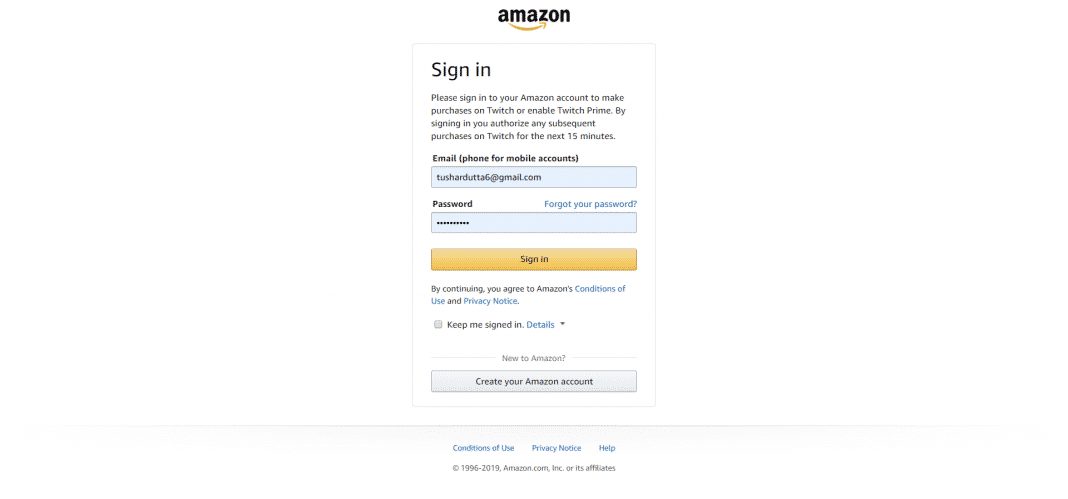
- Then simply click on the Try Prime option and then it will be asked to log in to our Amazon Prime account.
- In just a few moments we will see how the main page of Twitch Prime appears in which it will confirm that we already have the Prime user badge, as well as the options to get our free reward or use the free subscription to channels of the platform.
- That’s it now you are done.
However, if you do not have an Amazon Prime account, you can simply request a free trial of Amazon Prime from your Amazon account, which allows us to enjoy the Prime service for 30 days; once we have it, we can simply try Twitch Prime for free.
But, if you want to unlink your accounts from Amazon Prime and Twitch simply to stop being a Prime user in Twitch, then you have to log in to your Amazon account and then simply click on My account.
In the other accounts section, you will find the option Configuration of your Twitch account.
Now simply click on it, and once this is done, a page will appear with the name of your Twitch account to which we have associated it and the button to unlink; that’s it now you are done.
So, what do you think about this? Simply share all your views and thoughts in the comment section below. And if you liked this tutorial, do not forget to share this tutorial with your friends and family.


