Android is indeed a great mobile operating system that everybody is looking forward to test or use it. These days Android smartphones are more affordable and it got the ability to replace computers. Despite all these, some users still look for ways to run Android on PC.
Well, you can always use Remix os to enjoy Android on PC, but what if don’t want to use your whole computer for the task? In that case, you need to use a Virtual Machine. In this article, we are going to share the best method that would help you install and RUN Android on PC using VirtualBox.
How to Install and Run Android On PC using VirtualBox
VirtualBox: This is the tool that will be helping to run the Android OS by creating a floating environment over the running operating system. It is available for Windows, macOS, Linux, etc
The Android x86 ISO: This is the operating system installation file that will be made to run the Android OS inside the Virtualbox.
# Setting up the VirtualBox:
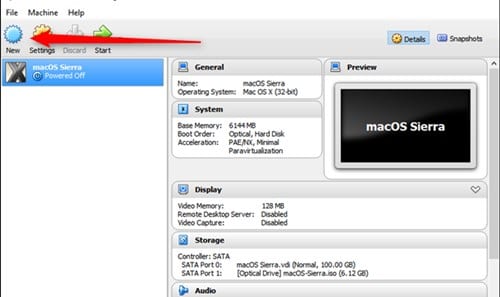
Step 1. Simply open VirtualBox on your PC and then click on the “New” to creating a new virtual machine.
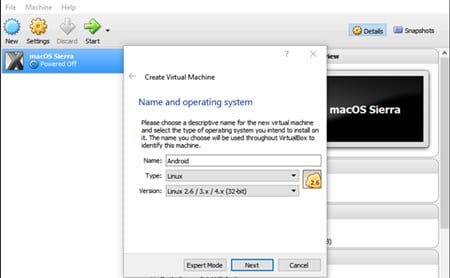
Step 2. Name the virtual machine whatever you’d like, at that point select “Linux” as the Type and “Linux 2.6/3.x/4.x (32-bit)” as the Version.
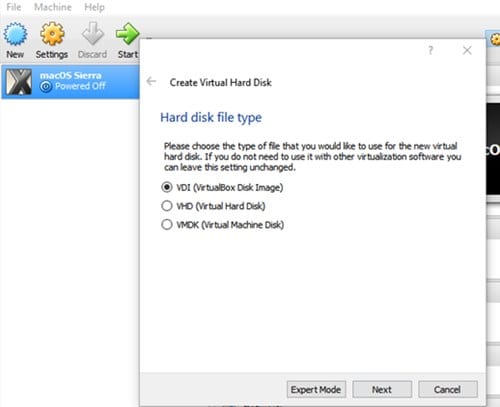
Step 3. For memory, I’d give it 2048MB, particularly in case you’re using a 32-bit build of Android. Click on Next and on the next page select ‘VDI’.
Step 4. In the final step, click on the ‘Start’ button.

Install Android in Virtual Machine
Step 1. Once the machine starts up, browse the Android ISO that you have downloaded.

Step 2. Once VirtualBox loads the ISO file, use your keyboard to select the ‘Android installer’

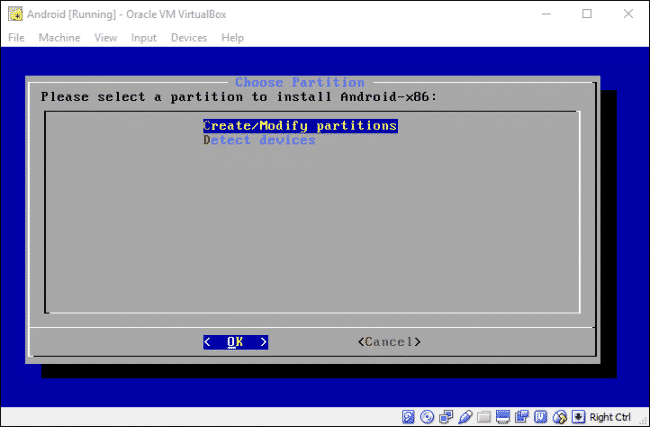
Step 3. In the next step, click on the ‘Create/Modify’ and on the GPT Screen select ‘No’
Step 4. In the disk utility screen, create a new Primary disk.

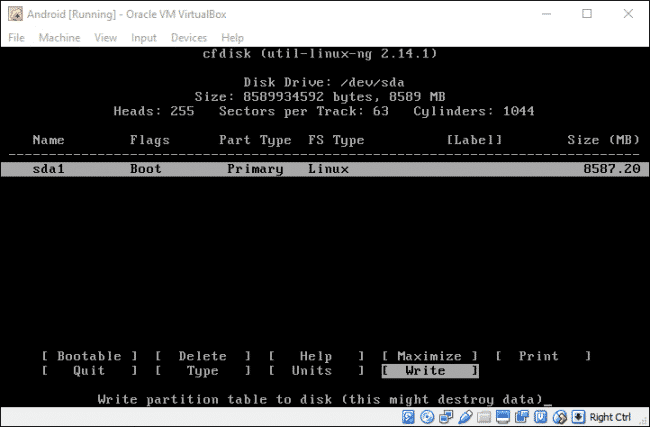
Step 5. Now press Enter on the ‘Bootable’ option to make the new partition bootable. Once done, click on ‘Write’ to continue.
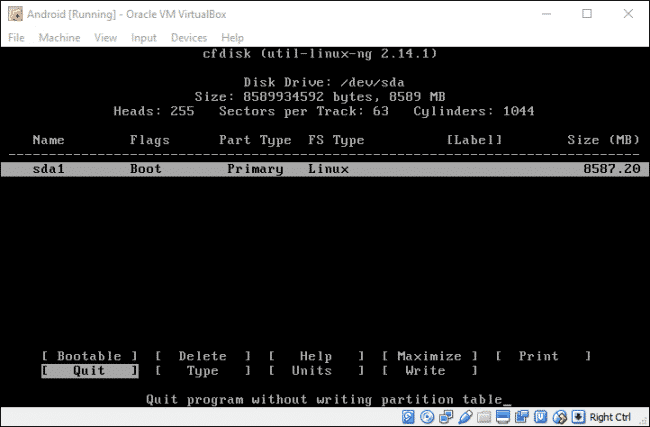
Step 6. Once done, click on the ‘Quit’ option to exit the disk utility.
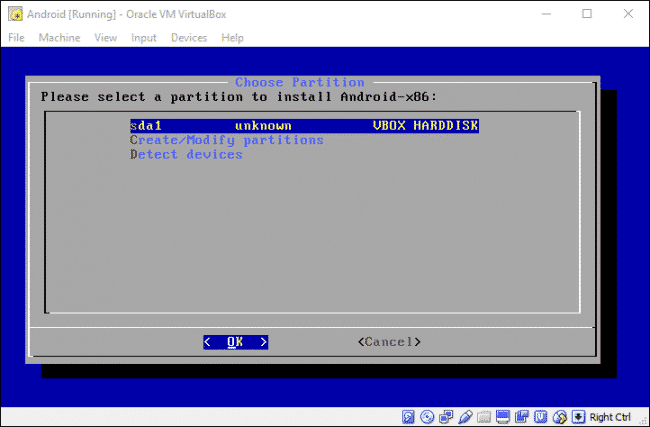
Step 7. Now you need to select the partition that you have created to install Android on it.
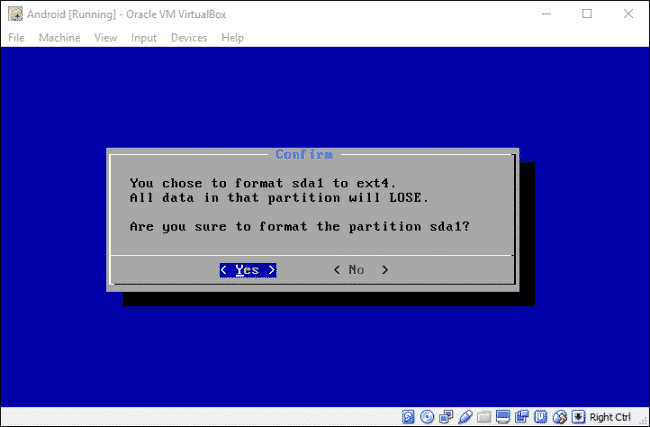
Step 8. Select ‘ext4’ to format the new partition and on the popup screen select ‘Yes’
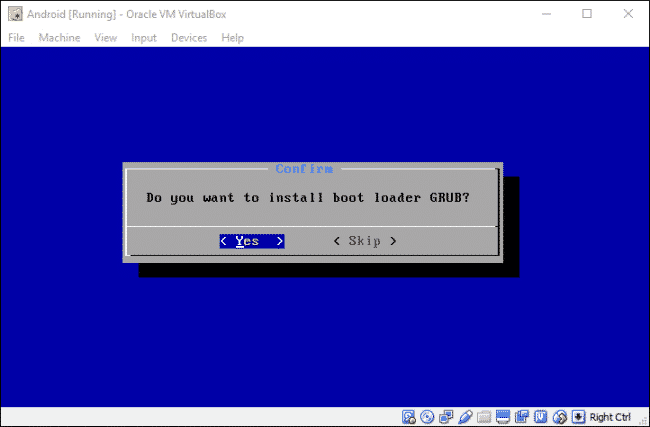
Step 9. In the next step, select ‘Yes’ to install the GRUB bootloader.
Step 10. Once done, you can choose to reboot into Android or reset. Before you do anything, make sure to unmount the ISO file first or it will boot back the installer.
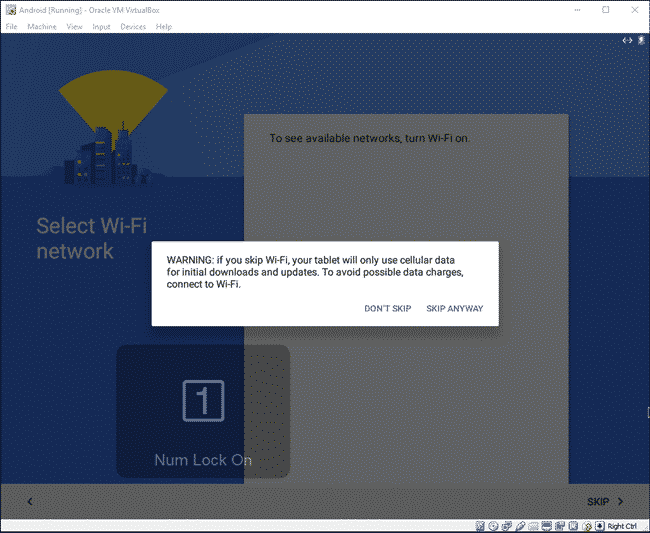
Step 11. In the next step, you need to set up everything just like any other Android device.
Finally, after reading this post you have got to know about the method through which the Android can be installed in VirtualBox. Hope this article helped you share it with others also. If you have any other doubt, let us know in the comment box below.


