Windows users have been waiting for the Always on Top feature for years. But sadly, neither Windows 10 nor Windows 11 let users pin any Window on the operating system. Always on top, or window pinning, is a feature that lets you pin a Window that stays at the top of your computer screen all the time.
The feature benefits those with hundreds of Windows open on their desktop. With the Always on Top feature, users can pin specific windows to stay on top of everything. The feature is supposed to make workflow easier.
The new Microsoft – Windows 11 operating system doesn’t ship with the Always on top feature. Hence, users need to rely on third-party apps to get handy features on their operating systems.
Keep a Window Always-on-Top in Windows 11
So, in this article, we will share the best methods to keep a Windows Always-on-Top in Windows 11. Let’s check out.
Necessary: We have used Windows 11 to demonstrate the process. These two third-party apps work even on Windows 10. So, you can use these apps to keep a Window always on top, even on Windows 10.
1) Using DeskPins
DeskPins is a third-party utility that allows users to pin specific Windows on top of other Windows. DeskPins is free to download & use, and it’s pretty lightweight. Here’s how to use DeskPins on Windows 11.
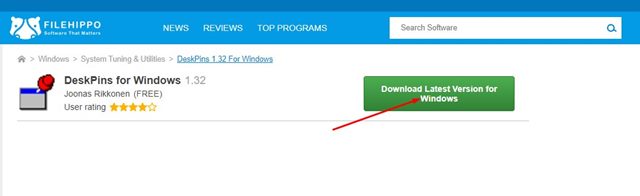
1. Visit this webpage and download DeskPins on your Windows 11 PC.
2. Once downloaded, install the program. The program icon will be added to the system tray. Click on the System Tray icon to launch the app.
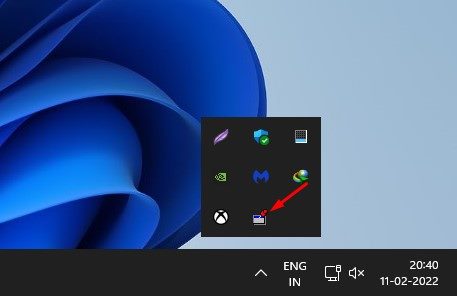
3. Upon clicking the DeskPins icon on the system tray, your mouse cursor will turn into a Pin.
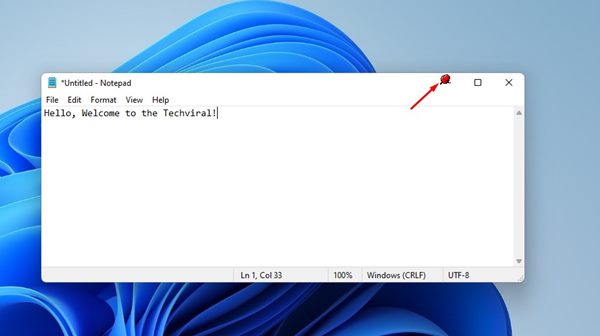
4. You must click on the window you want to pin to the top. This will pin the Window on top of every other Window.
5. To unpin the window, hover your mouse cursor over the pin and click on the cross button that appears.
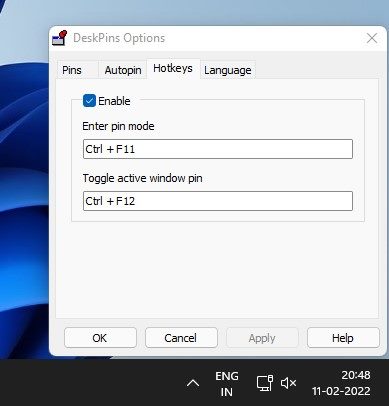
6. Alternatively, press the CTRL + F11 key to pin a Window on top. To remove the pin, press the CTRL + F12 key.
That’s it! You are done. This is how you can use DeskPins to keep a Window always on top in Windows 11.
2) Using PowerToys
PowerToys is a set of utilities designed for Windows power users. The utilities of PowerToys can be used to maximize productivity or add more customization options to the operating system. Here’s how to use PowerToys.
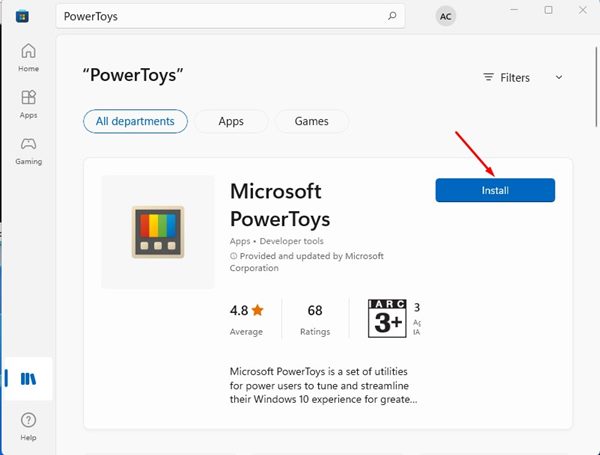
1. First of all, download & install PowerToys on your Windows 11 via Microsoft Store.
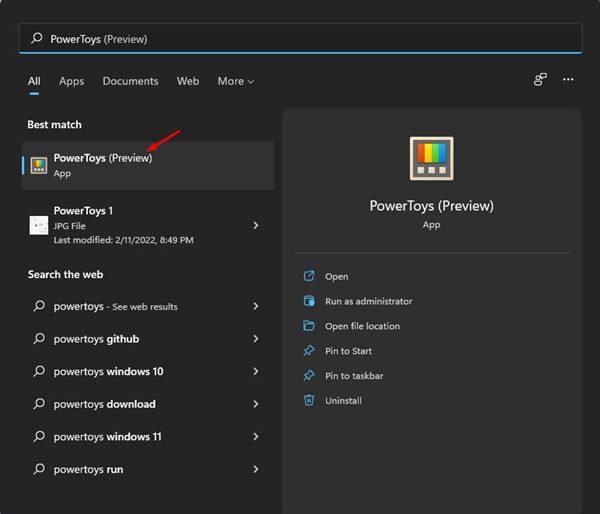
2. Once installed, open PowerToys from the Start Menu.
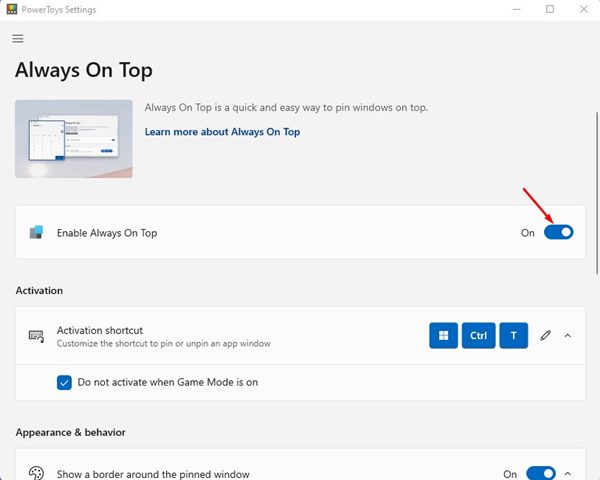
3. On the left pane, click on the Always On Top option as shown below.

4. Enable the toggle button for Enable Always on Top on the right pane.
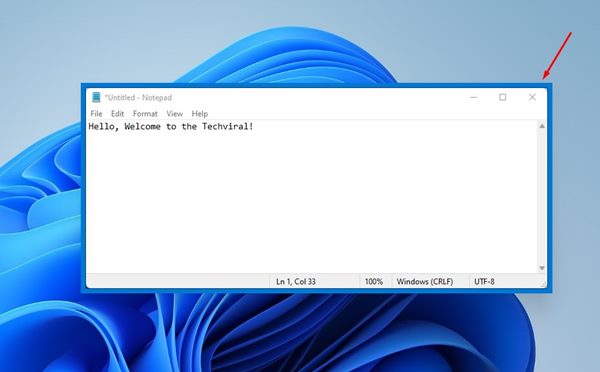
5. To use the Always On Top feature, open a Window and press the Windows + CTRL + T key. This will pin the Window on top.
6. To disable Always on Top for a Window, press the Windows + CTRL + T key again.
That’s it! You are done. You can use PowerToys to keep Windows always on top in Windows 11.
Always-on-Top is a great feature, but it’s missing even on Windows 11. You can rely on these two apps to get the same feature on your PC. I hope this article helped you! Please share it with your friends also.


