Users who have just installed the latest Windows 11 update were facing problems with the mouse. The mouse stutters and lags for no reason. What’s worse is that it’s not an app-specific problem; users have been experiencing mouse lagging problems everywhere. If you’re also facing the same problem, here’s what you should do.
1. Restart your PC

If you’ve just updated your Windows 11 version and are experiencing mouse lag, it’s time to restart your computer.
Restarting may terminate all conflicting apps and services. It will also remove the bugs and glitches that may be triggering the mouse problem.
Click the Windows 11 Start button and select the Power Menu. On the Power Menu, select Restart.
2. Reconnect the Mouse
If restarting Windows 11 didn’t help, you need to reconnect the mouse. This is a basic fix, but it’s very effective.
To turn off the Bluetooth mouse, you need to turn off the Bluetooth connectivity on your device. If you have a wired mouse, unplug it from the USB port and reconnect it.
3. Check the Mouse Speed & Sensitivity
Mouse speed and sensitivity are very important factors as they determine how the cursor moves across the screen with respect to the movement of the mouse. So, you should check it.
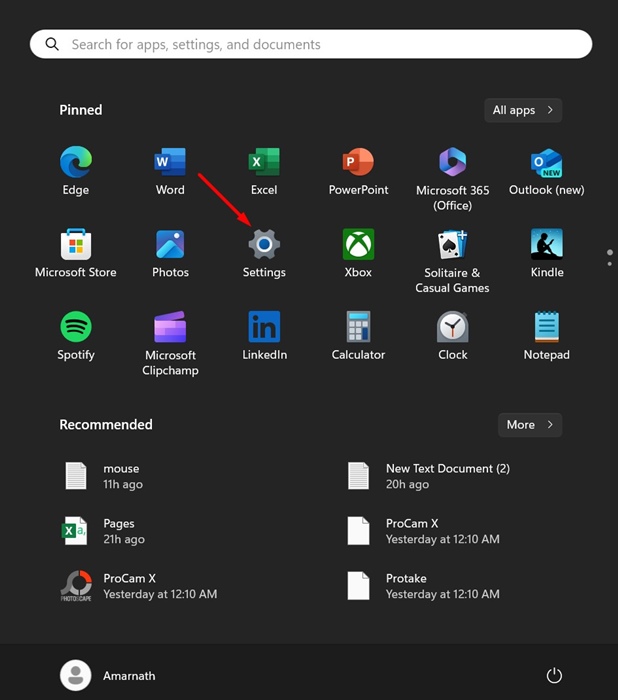
1. Launch Settings.
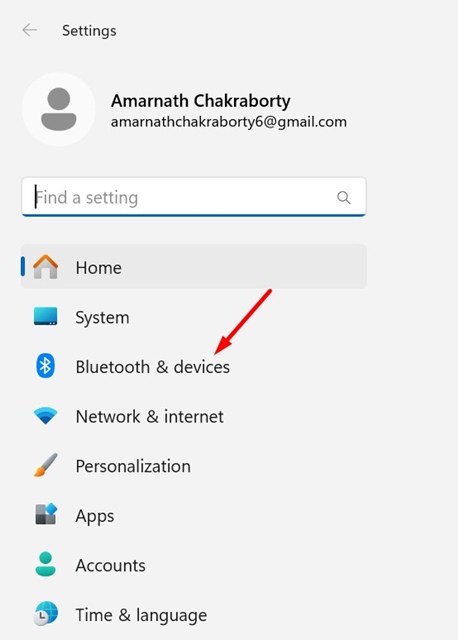
2. Click on Bluetooth & devices.
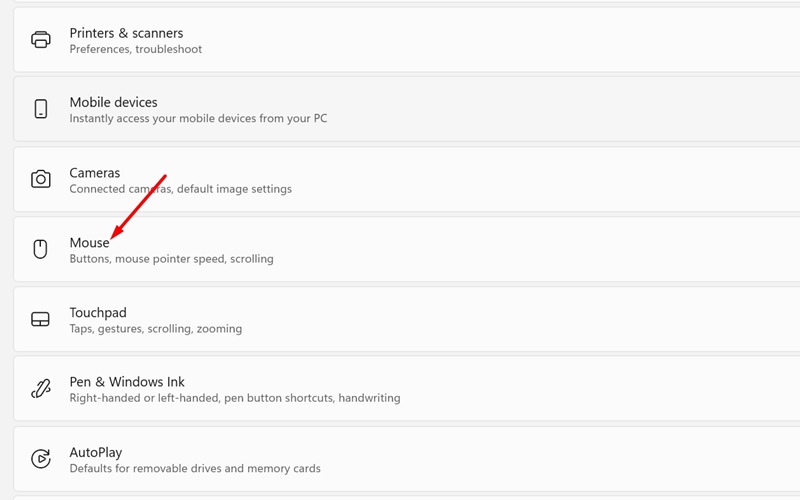
3. Click on Mouse.
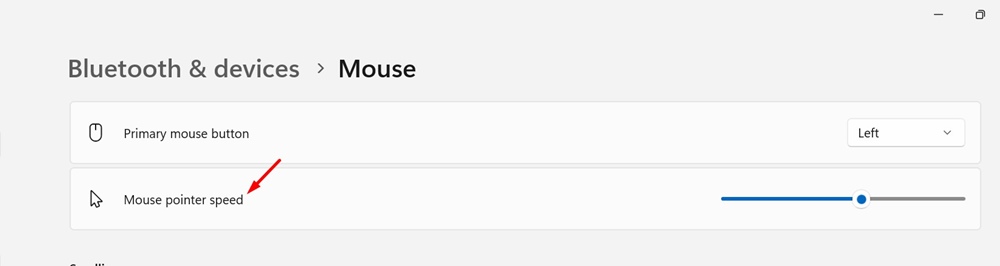
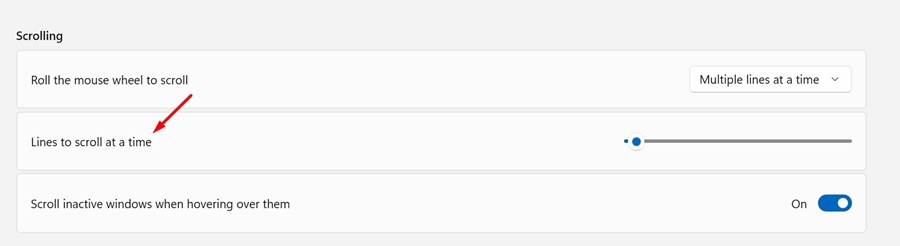
4. Use the slider beside the Mouse Pointer speed to adjust the speed of the pointer.
5. You must also do the same for Line to scroll at a time.
4. Disable the Mouse Acceleration
Mouse Acceleration, also known as Enhanced Pointer Precision, is a feature that monitors how fast you move your mouse and adjusts everything automatically. This feature can sometimes trigger mouse lag or stutter issues; hence, you should disable it.
1. Launch Settings.
2. Switch to Bluetooth & devices.
3. Click the Mouse.
4. Click on Additional Mouse Settings.

5. Uncheck the Enhance pointer precision.

5. Turn off the Scroll Active Window
Scroll Active Window is another Windows 11 feature known for triggering mouse lag. Here’s how to turn it off.
1. Launch the Settings app.
2. Switch to the Bluetooth & devices.
3. Click on Mouse.
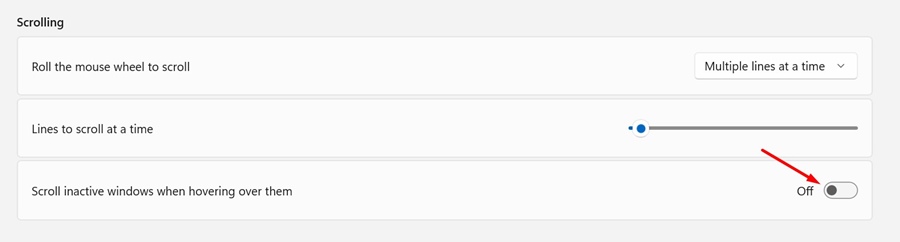
4. Move to the Scrolling section and turn off the toggle beside ‘Scroll inactive windows when hovering over them’.
6. Turn off Mouse Trails
Like the Scroll active window and Mouse acceleration, turning off the Mouse trails can also help.
1. Launch the Settings app.
2. Switch to the Bluetooth & devices.
3. Click on Mouse.
4. Click on Additional Mouse Settings.
5. Uncheck the Display Pointer trails.

6. Click on Apply, then OK.

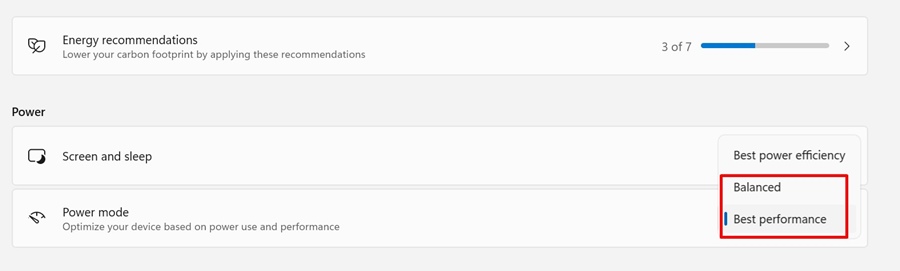
7. Disable the Power Saver Mode
Windows 11 automatically enables the Power Saver mode when your laptop’s battery reaches a certain level. When the Power Saver Mode is enabled, you may experience mouse lag. You can try turning it off and see if it helps.
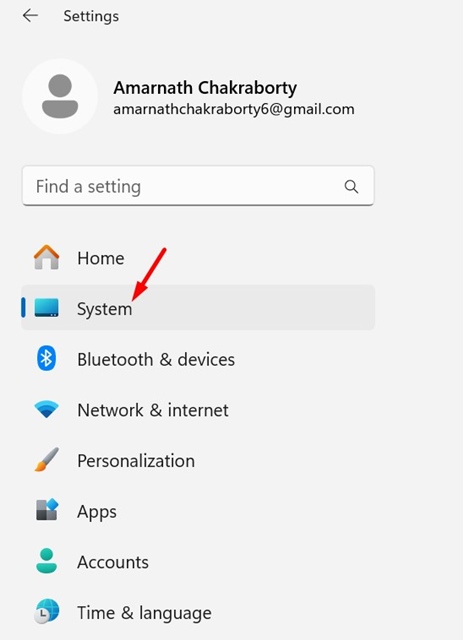
1. Launch the Settings app on Windows 11 and switch to System.
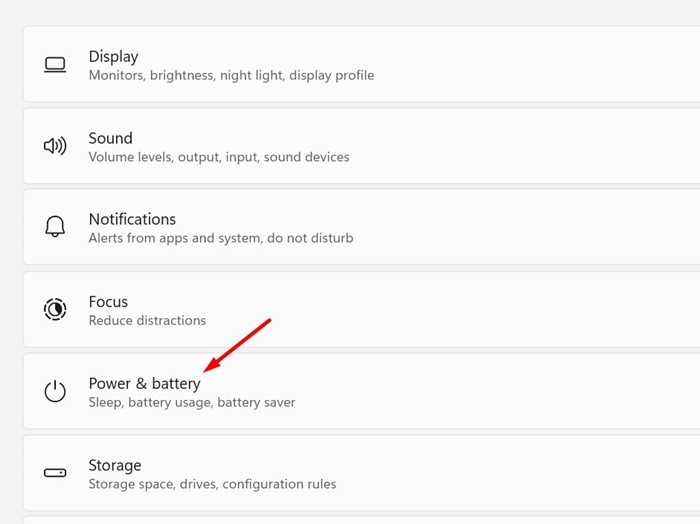
2. Click on Power & Battery.
3. Click on the drop-down next to Power mode and select Balanced or Best Performance.
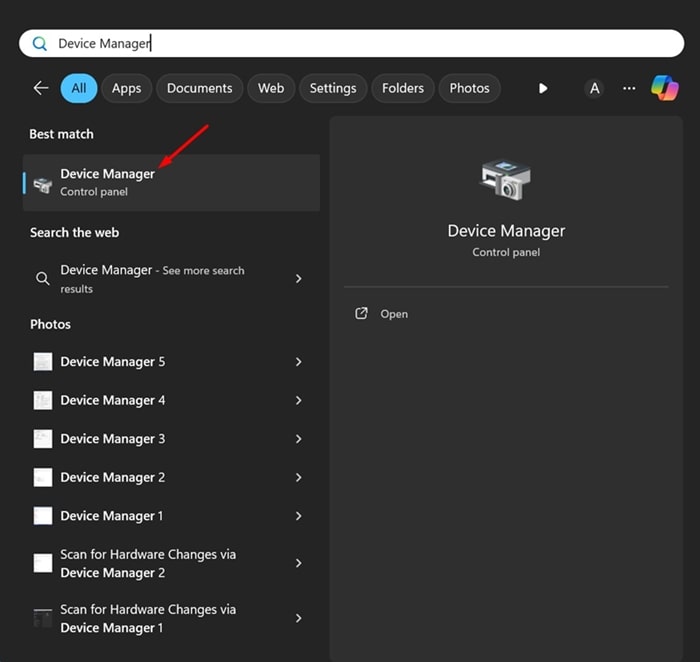
8. Update the Mouse Drivers
Outdated mouse drivers are often the prominent reason for Mouse lagging or stuttering. You can fix this by updating the Mouse drivers to the latest version.
1. Open Device Manager from the Windows Search.
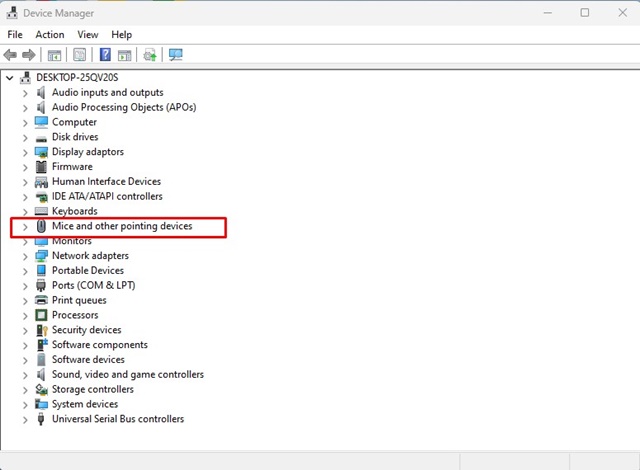
2. Expand the Mice and other pointing devices.
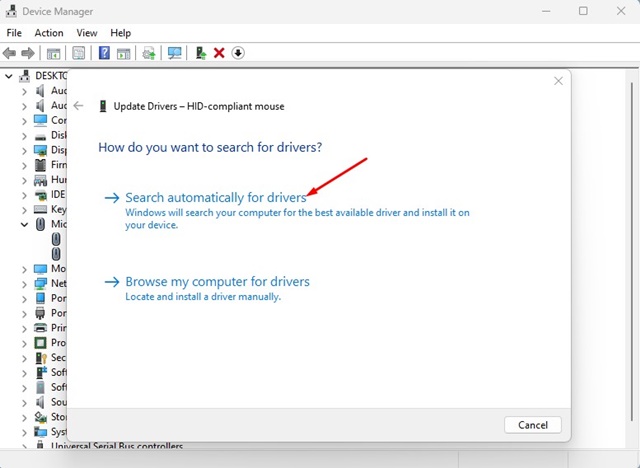
3. Right-click on the Mouse driver and select Update driver.
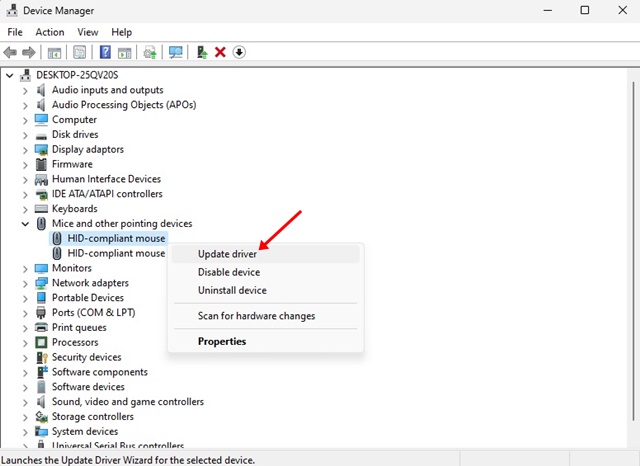
4. Select Search automatically for drivers.
9. Reinstall the Mouse
If updating the mouse drivers fails to fix the problem, you can try reinstalling the Mouse.
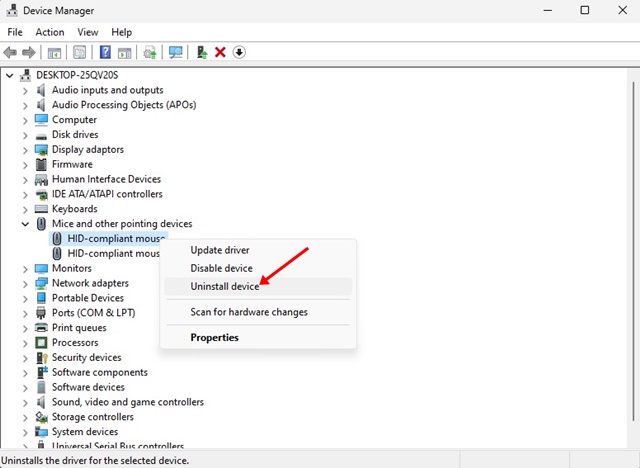
1. Launch Device Manager and expand the Mice and other pointing devices tree.
2. Right-click on the connected mouse and select Uninstall device.
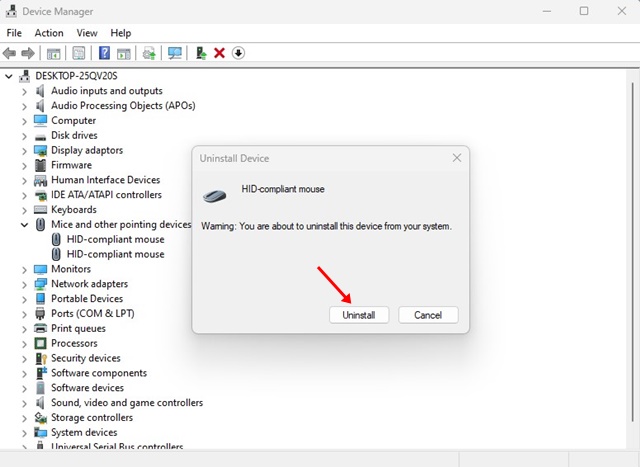
3. On the Uninstall device prompt, select Uninstall.
These are a few simple methods to fix the Mouse lagging issue on Windows 11. We are sure that these methods would have fixed the problem you’re facing. However, if you need more help, let us know in the comments.


