You can lock your entire phone with a password/pin/fingerprint, but you can’t lock individual apps. This is where the app lockers come in; they lock your apps with a password/pattern lock to avoid misuse.
Lock Apps on an Android Device
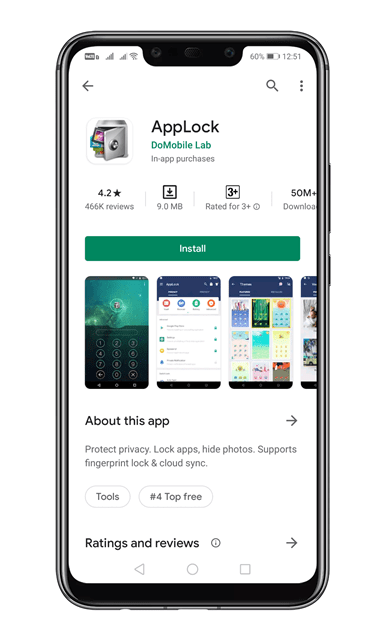
If you plan to lock your private apps with a password, you need to use the App Lock app available on the Play Store.
1. Download and install App Lock on your phone.
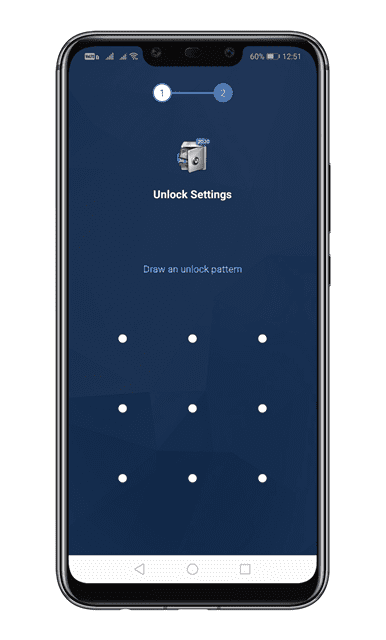
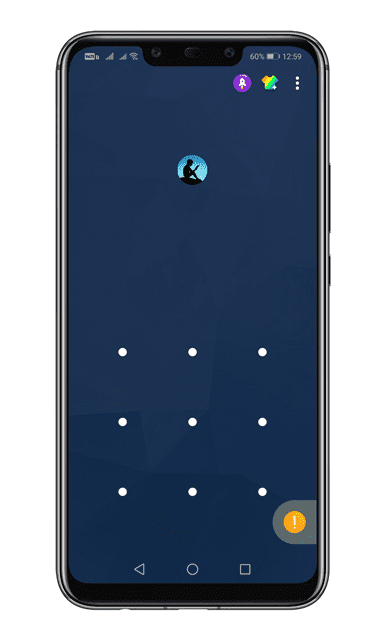
2. Open the app and draw an unlock pattern.
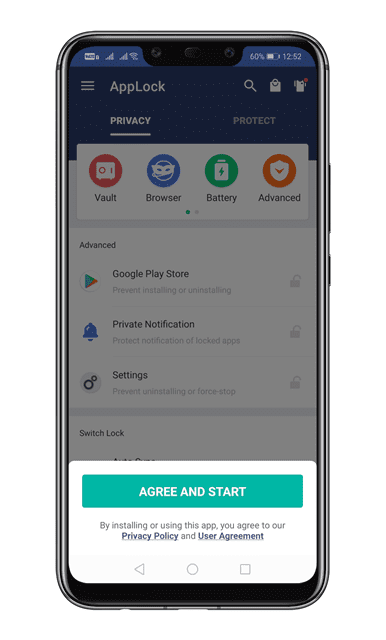
3. Tap Agree and Start.
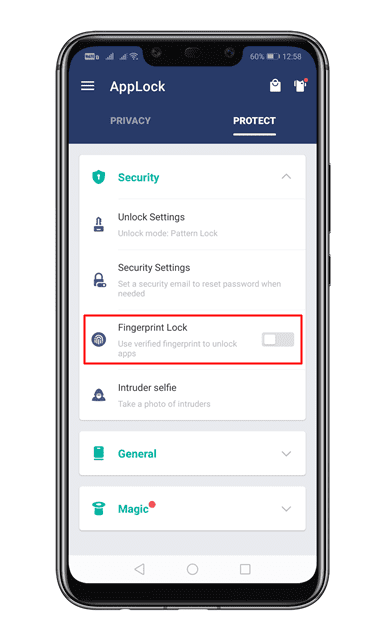
4. Open the Protect tab.
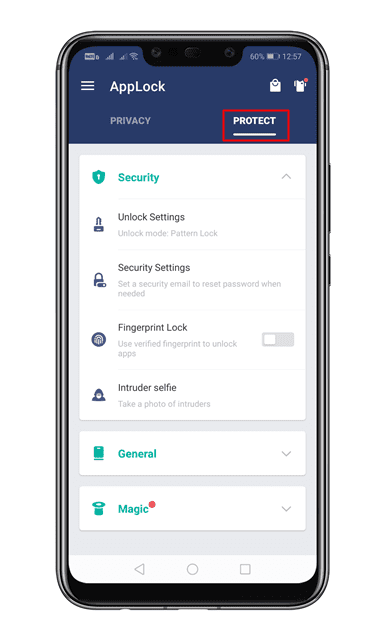
5. Enable the Fingerprint Lock option.
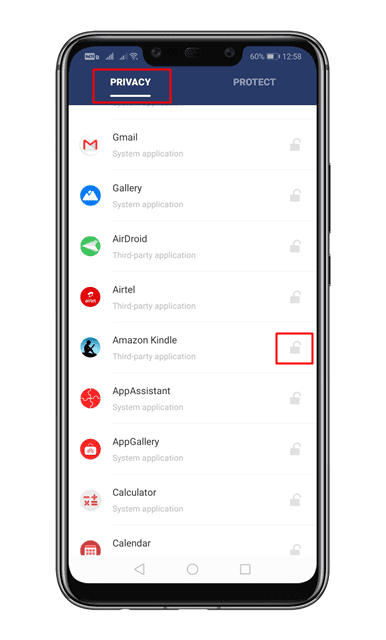
6. Select the Privacy tab and scroll down. You will see the list of the apps installed on your device.
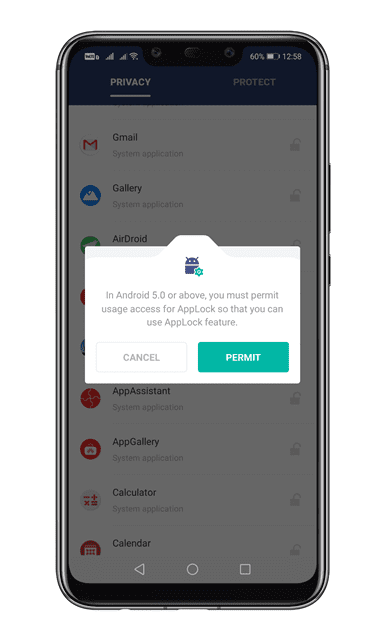
7. Tap the lock button behind the app to lock it. You will now be asked to grant permission. Make sure to grant permission to close the app.
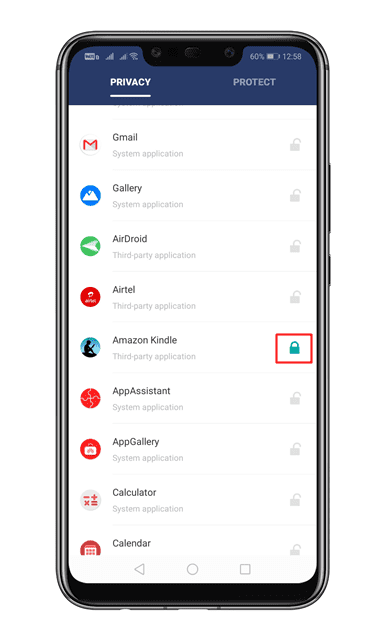
8. The app will be locked.
9. Now open the locked app, and you will be asked to draw the unlock pattern.
Other App Lockers for Android
Like the one we have used, you have plenty of other options for password-protecting your important apps.
We have already shared a list of the best App Locker apps for Android. To find the best options, you should check out that article.
This article explains how to lock individual apps on Android. If you need more help on this topic, let us know in the comments.


