You can find ‘Devices and Printers’ in the Control Panel, but opening it will take you to the Bluetooth settings page. You can still access the old Devices and Printers in Windows 11, but you must go through some additional steps.
1. Open Devices and Printers from the RUN dialog box
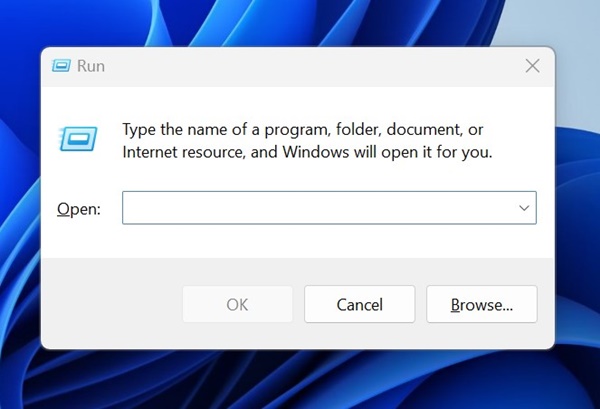
The RUN dialog box is the easiest and quickest way to open Devices and Printers on Windows 11.
1. Press the Windows Key + R button on your keyboard. This will open the RUN dialog box.
2. Paste the following code and press Enter.
shell:::{A8A91A66-3A7D-4424-8D24-04E180695C7A}
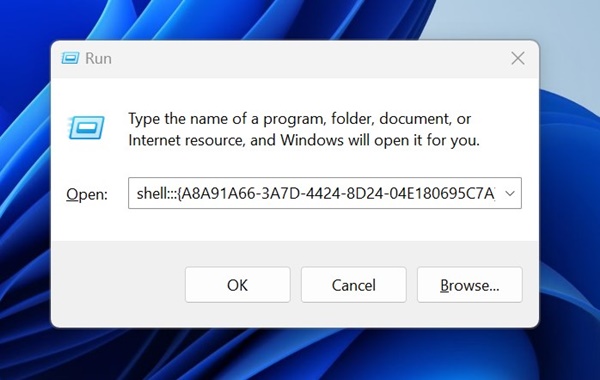
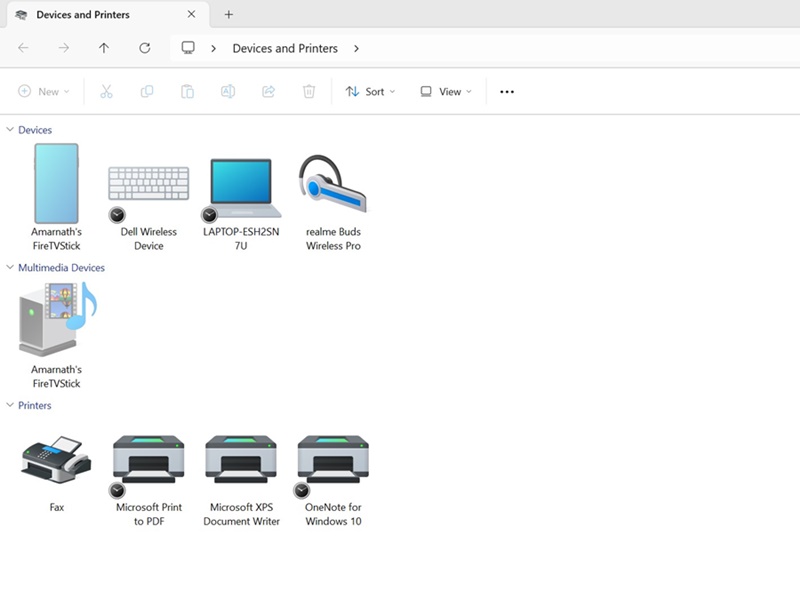
3. Executing the command through the RUN dialog box will instantly open the Devices and Printers page.
2. Open Classic Devices and Printers from the Settings
The Devices and Printers page is hidden deep under the settings. You can also utilize the Settings app to open the hidden Device and Printers page.
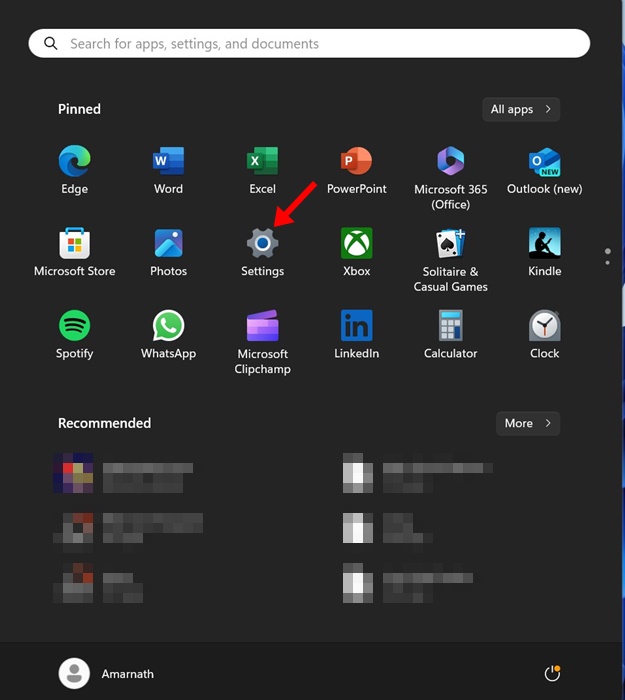
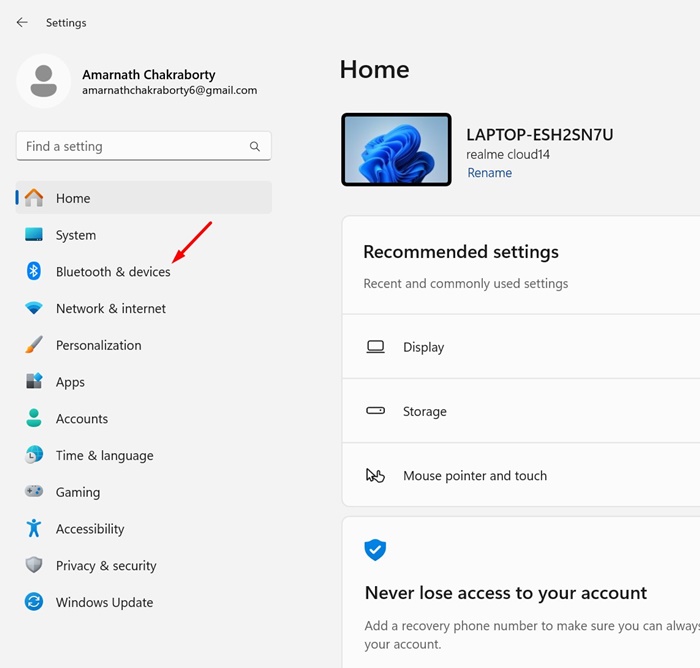
1. Click on the Windows 11 Start button and select Settings.
2. Switch to Bluetooth & devices.
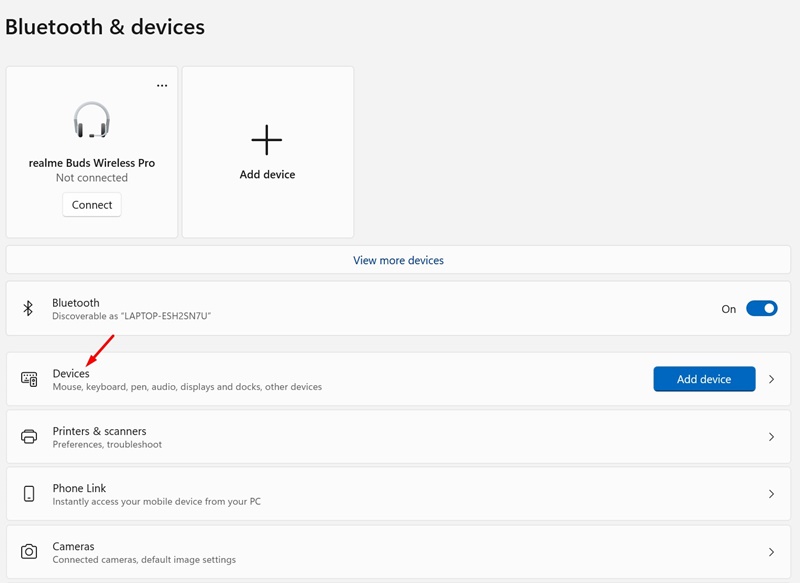
3. Click on Devices.
4. Scroll down to the Related Settings section. Next, click on the More Devices and Printer settings.
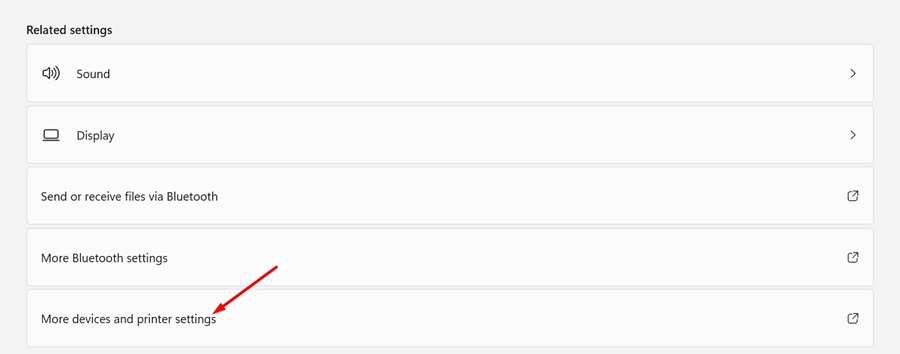
5. This will open the classic Devices and Printers screen.
3. Create a Shortcut to open Classic Devices and Printers
This nifty trick will let you access the old Devices and Printers screen from your desktop.
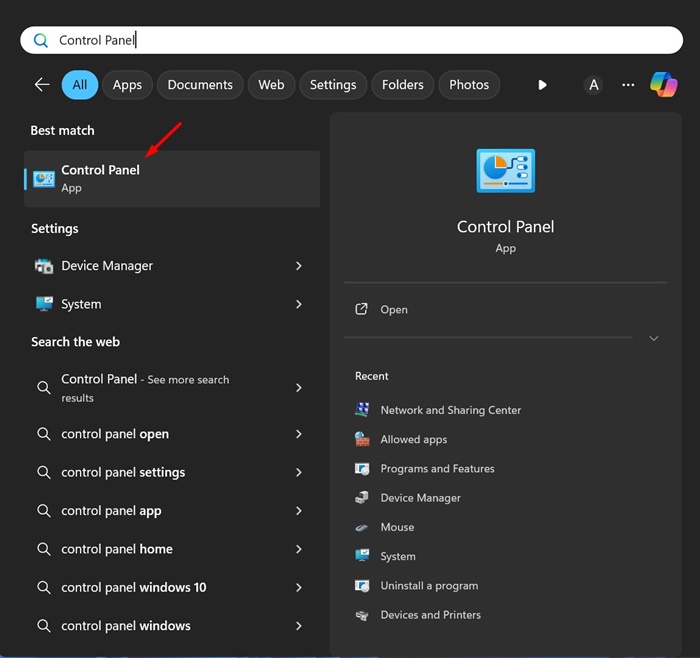
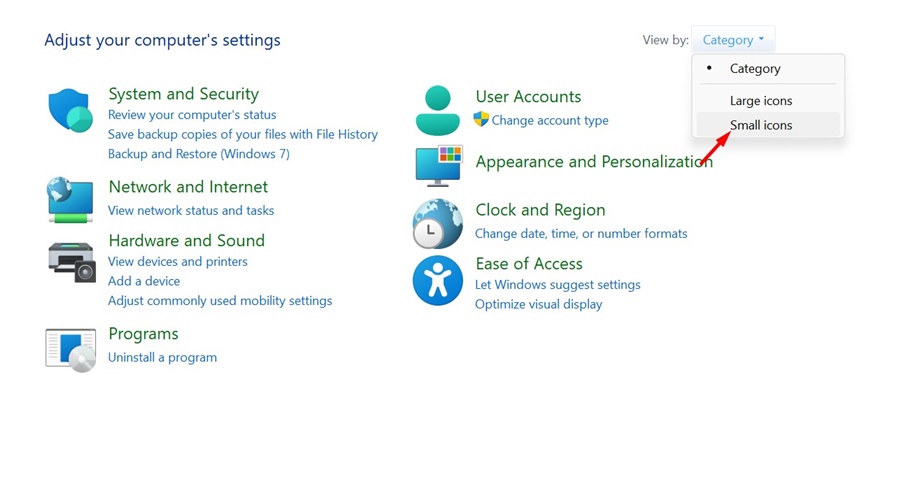
1. Open Control Panel from the Windows Search.
2. Click on the View by drop-down and select Small or Large icons.
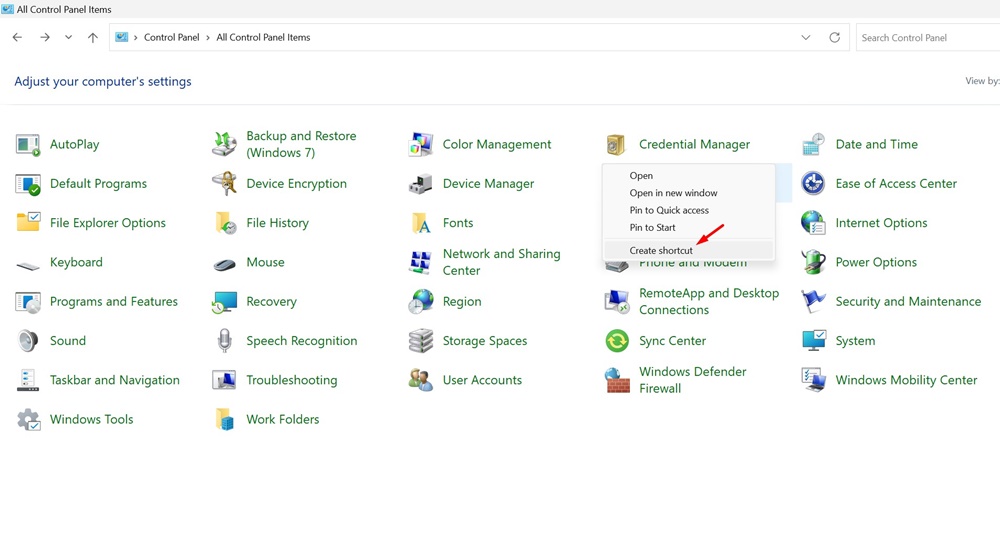
3. Right-click on the Devices and Printers and select Create Shortcut.
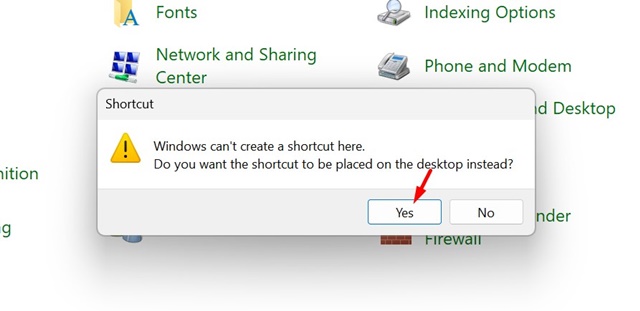
4. On the desktop shortcut confirmation prompt, click Yes.
4. Add Devices and Printers to the Navigation Pane of File Explorer
You can download the registry file to add the Devices and Printer shortcut to either the top or bottom section of the navigation pane in the File Explorer.
1. Download the Registry file depending on where you want the Devices & Printers to appear.
- Top: Download Registry File
- Bottom: Download Registry File
2. After downloading the registry file, close the File Explorer.
3. Double-click on the Registry file you’ve downloaded. A UAC prompt will appear; click on Yes.
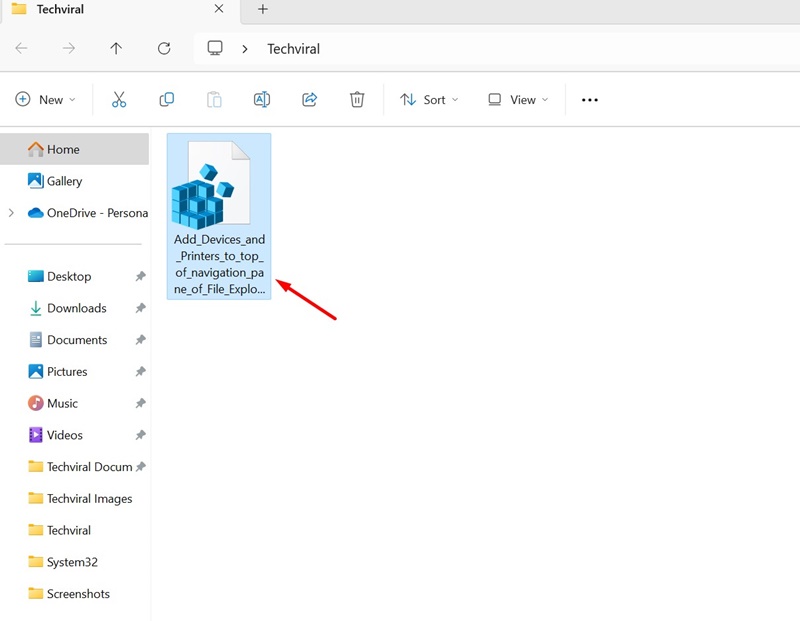
4. The Devices and Printers shortcut will be added to the Windows 11 File Explorer.
5. If you want to remove the shortcut from the file explorer, download and run this Registry file.
This method may be useful if you feel comfortable using the old Devices and Printers page on Windows 11. Let us know if you need more help accessing it.


