Let’s admit it, we all store hundreds of important & sensitive files & documents on our computer. From banking information to taxable documents, we all keep some sensitive things on our desktops.
If you are following the best security practices to secure your computer from security threats & threat actors, you don’t need to worry about compromising any files. However, if you aren’t using any security tool for Windows, you at least need to password protect your important folders.
On Windows 11, you get a password protection feature called BitLocker. BitLocker is a great security feature, but it can only password protect drives, not the files or folders. Hence, if you want to password protect your folders on Windows, you need to create a batch file or utilize third-party software.
Also read: How to Hide Files, Folders & Drives in Windows 11
Best Ways to Password Protect Folders in Windows 11
So, in this article, we will list down some of the best ways to password protect folders on Windows 11. The methods will be straightforward; just follow them as mentioned. Let’s get started.
1) Create a Text based locker
On Windows 11, you can create a text-based folder lock to password protect folders. Here’s how you can password protect folders on Windows 11 computer.
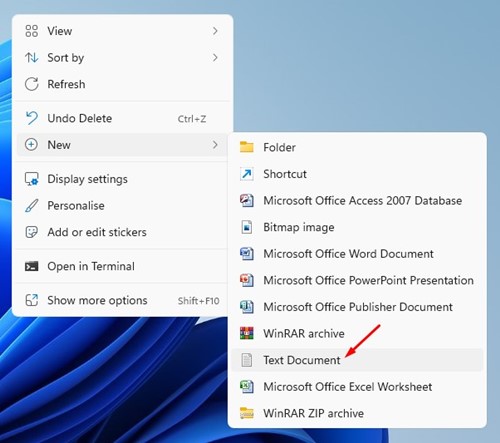
1. First, open any folder, right-click on a blank space and select New > Text Document.
2. On the text document, enter the following script:
@ECHO OFFif EXIST "Control Panel.{21EC2020-3AEA-1069-A2DD-08002B30309D}" goto UNLOCKif NOT EXIST Private goto MDPrivate:CONFIRMecho Are you sure to lock this folder? (Y/N)set/p "cho=>"if %cho%==Y goto LOCKif %cho%==y goto LOCKif %cho%==n goto ENDif %cho%==N goto ENDecho Invalid choice.goto CONFIRM:LOCKren Private "Control Panel.{21EC2020-3AEA-1069-A2DD-08002B30309D}"attrib +h +s "Control Panel.{21EC2020-3AEA-1069-A2DD-08002B30309D}"echo Folder lockedgoto End:UNLOCKecho Enter password to Unlock Your Secure Folderset/p "pass=>"if NOT %pass%==your_password goto FAILattrib -h -s "Control Panel.{21EC2020-3AEA-1069-A2DD-08002B30309D}"ren "Control Panel.{21EC2020-3AEA-1069-A2DD-08002B30309D}" Privateecho Folder Unlocked successfullygoto End:FAILecho Invalid passwordgoto end:MDPrivatemd Privateecho Private created successfullygoto End:End
Important: Replace the your_password in the line “if NOT %pass%==your_password goto FAIL” with the password you want to set.
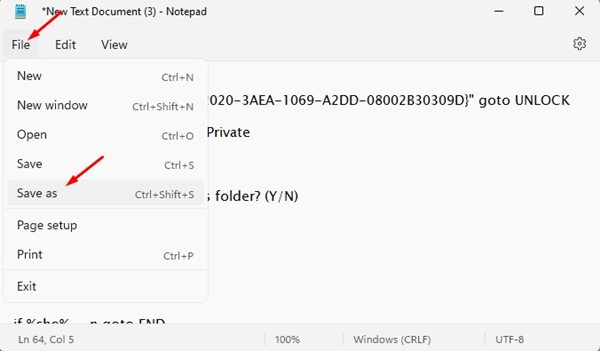
3. Once done, click on the File button and select ‘Save As’
4. On the Save as type, select ‘All files’. On the File name, type in whatever you want. Here we have named our file TechviralLocker.bat.
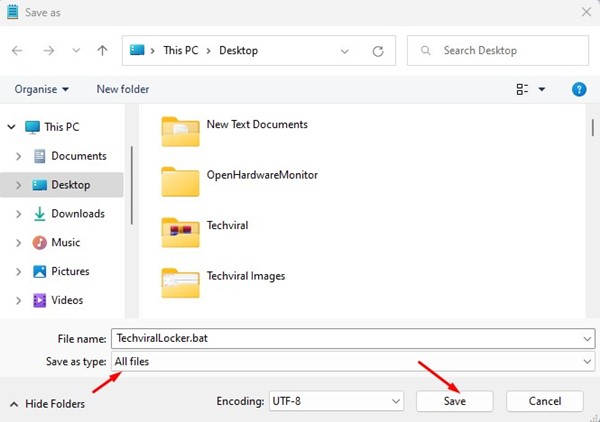
Important: You can name the file whatever you want, but include the .bat extension at the end.
5. Now, you will find the new BAT file. Double click on the BAT file you have created to create a folder locker. Now you will find a folder named TechviralLocker.

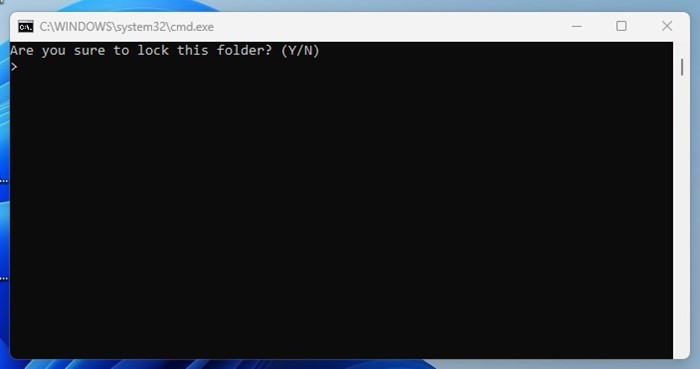
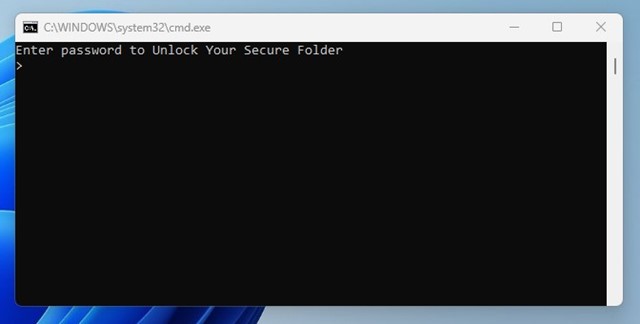
6. You can place your important files in this folder. Once done, double-click on the BAT file again. The Command Prompt will ask whether you want to lock your folder. Type Y and press the Enter button.
7. The folder where you have stored your important file will disappear. To bring back the folder, double-click on the BAT file and enter your password. This will bring back the folder again.
That’s it! This is how you can create a text-based folder locker on Windows 11.
2) Password Protect Folders using WinRAR
You can even use the popular file compressor tool WinRAR to password protect your folders. Here’s how to password protect folders using WinRAR on a PC.
1. First of all, download & install WinRAR on your Windows 11 computer.
2. Now navigate to the folder which you want to lock. Right-click on the folder and select Show More Options > Add to Archive

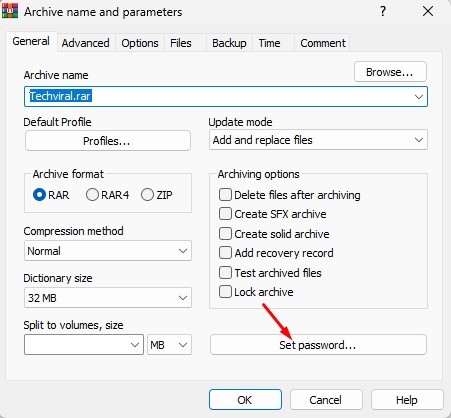
3. On the Archive window, click on the Set password button.
4. You need to enter and re-enter the password you want to use. Once done, click on the Ok button.
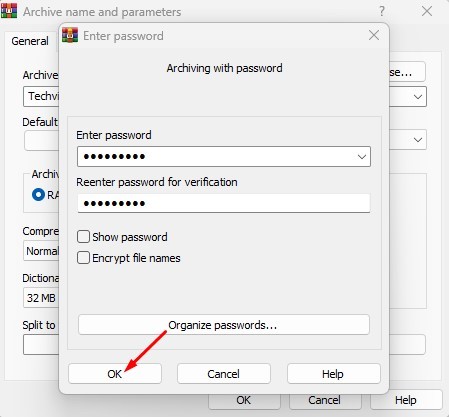
5. On the main window, click on the Ok button.
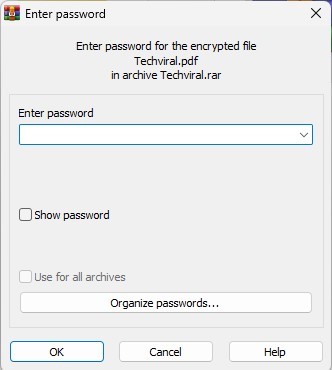
6. Now, you will find a RAR file named the same as your original folder. After having the RAR file, you need to delete your original folder. Now whenever anyone tries to extract the RAR file, they would need to enter the password.
That’s it! This is how you can password protect folders in Windows 11 via WinRAR.
3) Hide Files, Folders & Drives in Windows 11
Well, Windows 11 even allows you to hide files, folders & drives in easy steps. Hiding is very different from locking. Hiding prevents your folders from appearing in a location where it’s saved.
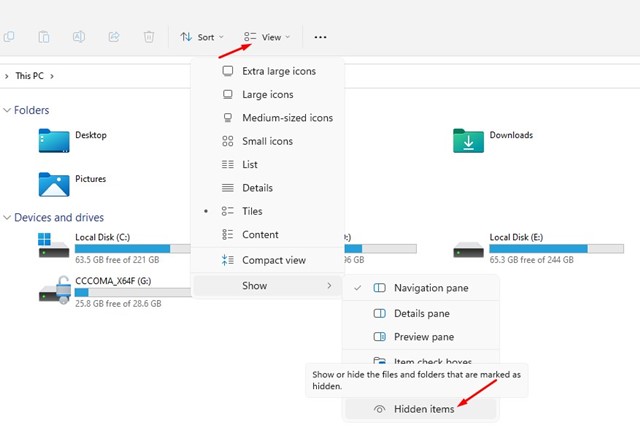
However, hiding could be the best option if you don’t want to rely on third-party tools or scripts to lock your folders. We have shared a detailed guide on hiding files, folders & drives in Windows 11. Make sure to go through that guide to explore the steps.
4) Use Third-Party Folder locker for Windows
There are many free and paid folder lockers available for Windows operating system. Most folder locker tools are compatible with the new Windows 11 and can help you password protect any folder.
You can use them to password protect any files or folders stored on your HDD/SSD. However, the problem with third-party folder lockers is that they often try to install adware on your system. So, make sure to grab folder lockers for Windows from trustable sources.
So, these are the few best ways to password protect folders in the latest Windows 11 operating system. If you know any other ways to password protect folders, let us know in the comments below.


