Do you know, you can use PowerShell to scan Windows for viruses & malware and remove them? So, if for any reason, you aren’t able to open the Windows Security, here’s what you should do.
How to Launch PowerShell in Windows?
Launching PowerShell on Windows is easy. Here’s how to launch it with admin rights.
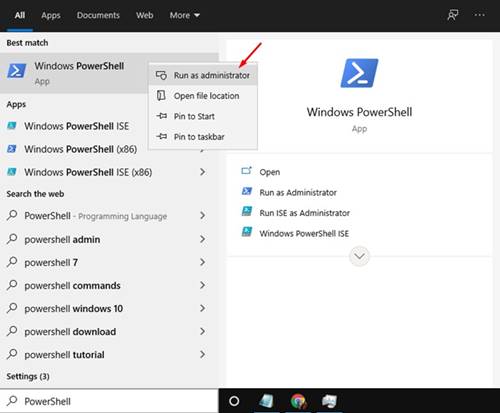
- Search for PowerShell on Windows Search.
- Right-click on PowerShell and select Run as administrator.
1. Check Windows Security Status
You need to ensure that the security app is running on your device. This method won’t work if you are using any other security program.
In the PowerShell window, execute the command given below.
Get-MpComputerStatus
The above command will list every detail of Windows Security. If the security tool is running on your system, it will show True in the AntivirusEnable field.
2. Update Windows Security
If you don’t install the Windows 11 updates, you will have to update the Windows Security app manually.
Update-MpSignature
3. Running a Full Virus Scan
If you haven’t scanned your computer for a while, it’s best to run a full antivirus scan. You can rely on PowerShell to run a full Antivirus scan on your PC. The full scan checks every file on your Windows PC; hence, it takes time to complete the full scan. To perform a full antivirus scan, execute the command-
Start-MpScan -ScanType FullScan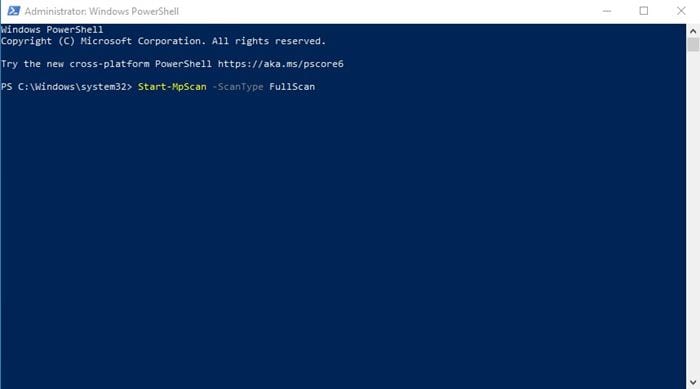
Since the full scan takes time to complete, you can force Windows Security to perform the scan in the background. To do that, execute the command.
Start-MpScan -ScanType FullScan -AsJob
4. Run a Quick Scan using PowerShell
Since the Full Scan takes time to complete and slows down your device, you can use Windows Security’s Quick Scan feature. To run a Quick Antivirus scan using PowerShell, execute this command:
Start-MpScan -ScanType QuickScan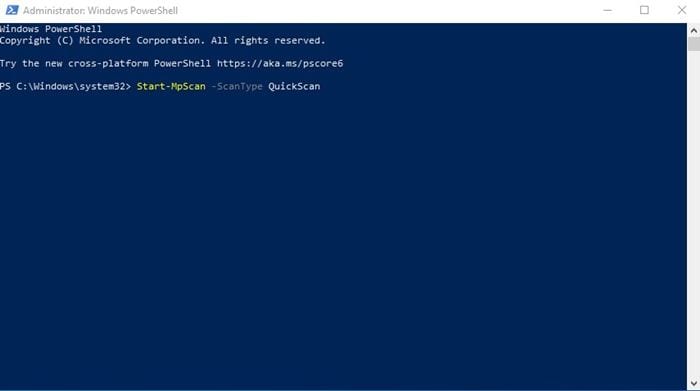
5. Run Windows Security Offline Scan
The offline scan functionality removes malware that is difficult to detect, but it runs from a trusted environment. That means you might lose your current work.
Before running the offline scan, make sure to save all of your open files. To run an Offline Scan via PowerShell, execute the command –
Start-MpWDOScan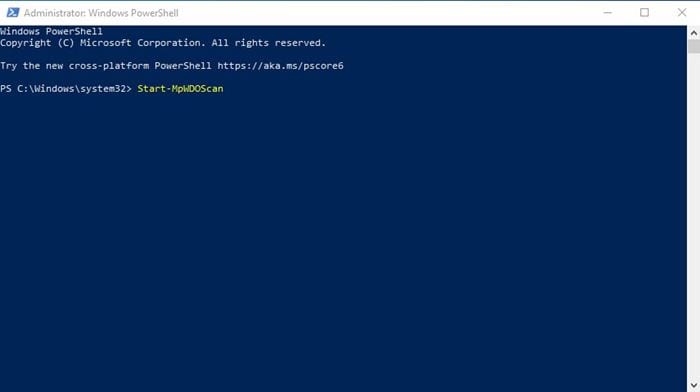
This guide explains how to use PowerShell to scan Windows for malware. If you have any doubts about this, let us know in the comment box below.


