Now that everyone has a personal computer and an Android smartphone, sometimes it becomes difficult to manage both devices. Let’s admit; there are times when we all have wanted to receive and make Android calls right from the Windows PC.
You can make and receive Android calls from Windows computers. There are plenty of third-party software available for the Windows computer that allows users to link an Android device. Once linked, you can manage both incoming and outgoing calls.
Receive And Make Android Call On Windows PC
So, in this article, we will share some of the best methods to receive and make Android calls from Windows computers. So, let’s check out how to receive and make Android calls from Windows PC.
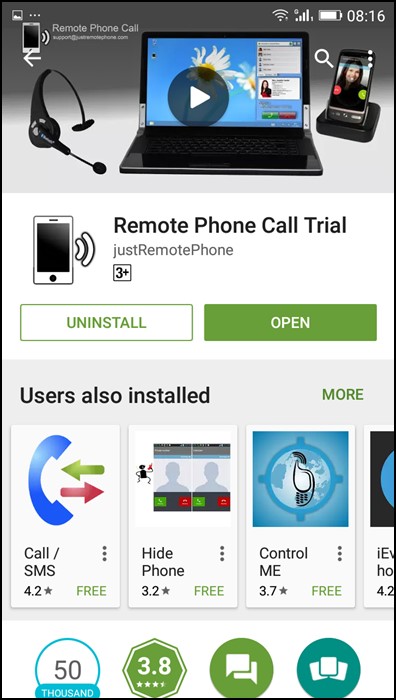
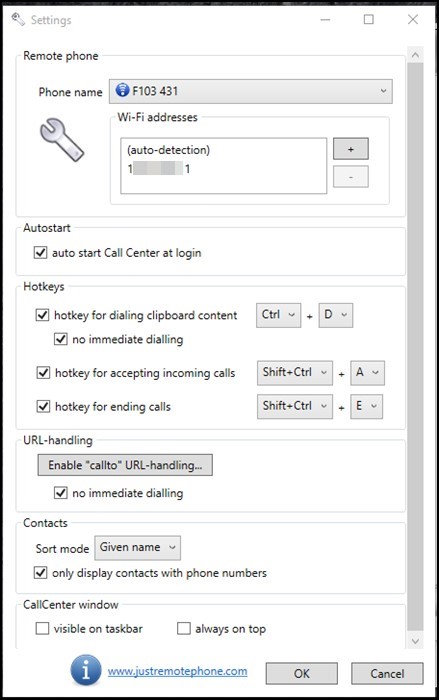
1. First, on your Android device, you need to download and install the cool app, Remote Phone Call. The trial is valid for 15 days, and if you like this, you can also use its paid version for your Android.
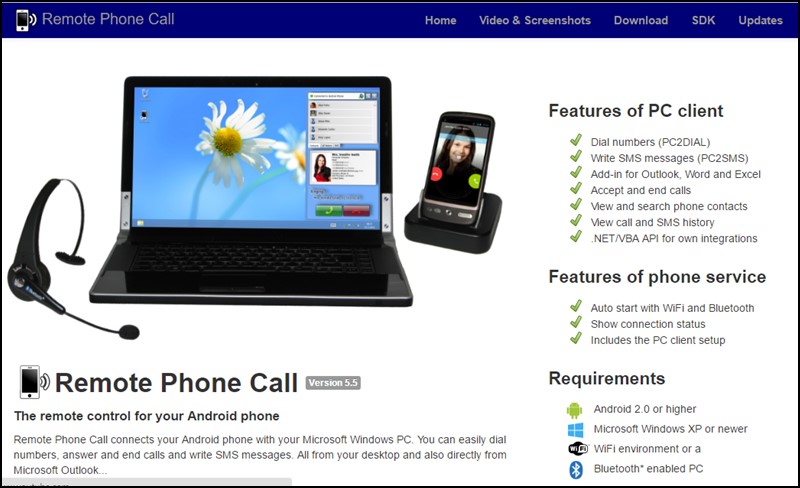
2. Now, on your PC, you need to download and install the tool that is CallCentre, the app that will allow you to receive and make your Android call on your PC.
3. Launch the app on your device and on your Windows PC.
4. Now, in your mobile app, you will see the device IP and password to control it remotely; just note it down. Click on add WiFi device in the PC app and enter that IP address there.
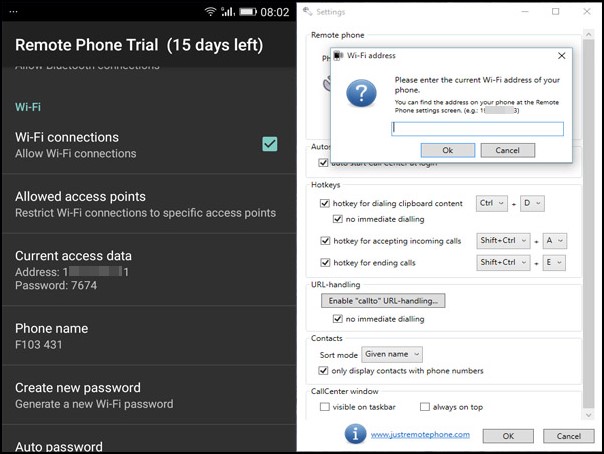
5. Now, you need to enter the network’s password that you will get from the popup that appears on your Android.
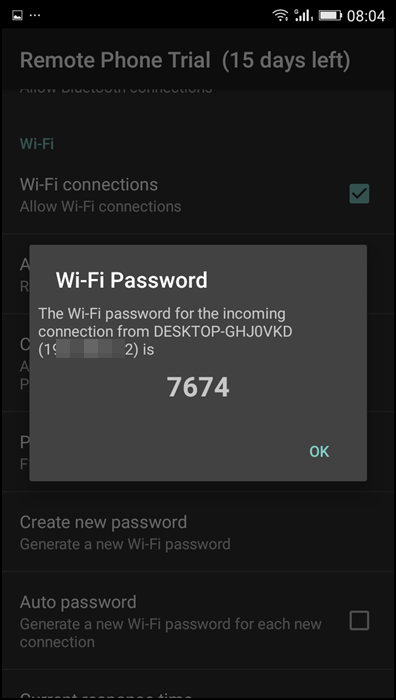
6. Now, fill in that password in the Windows tool, and your device will connect to your PC.
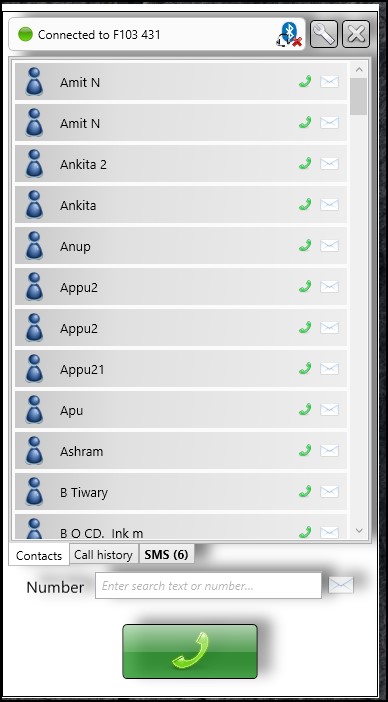
That’s it! You are done; now you can make and receive all your Android calls directly from your Windows PC.
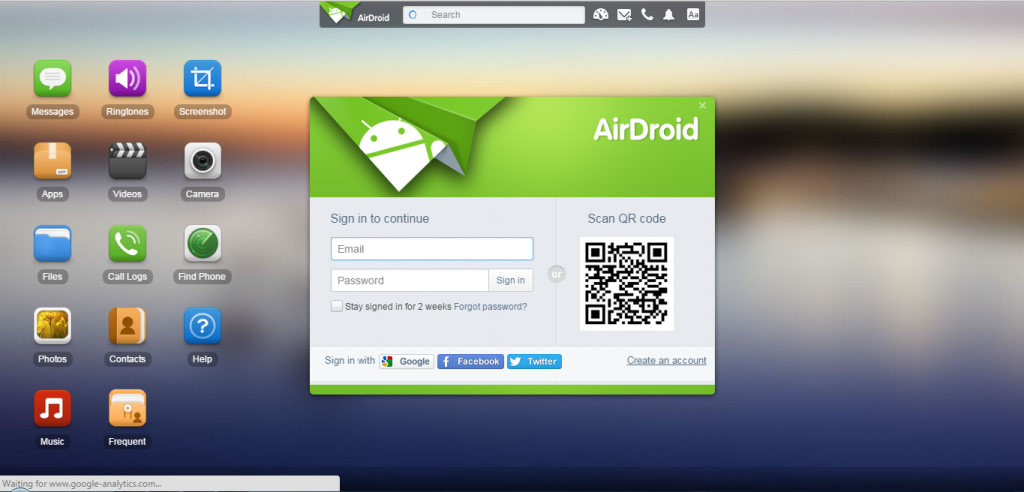
Using Airdroid
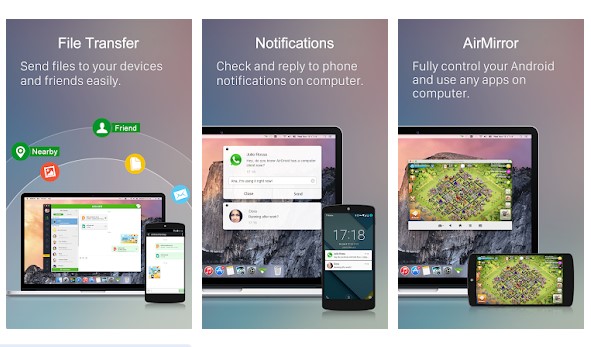
Well, Airdroid is a popular Android app that lets you transfer your files between your devices. You can use this app to receive and make calls from your PC. This is an easy process and efficient too! Let’s know how to use AirDroid to make and receive calls on your PC.
1. First, you need to ensure a working Wi-Fi connection between your Android device and computer. Ensure your Android is connected to your computer’s wifi network. Then go to web.airdroid.com.
2. You need to download and install an AirDroid app on your Android device and launch the app.
3. Now, you will be given the option to Sign in or Sign Up. Simply tap on Sign-in Later to continue.

4. Now, you need to click on the QR Code scanner option. It will open the QR code scanner.
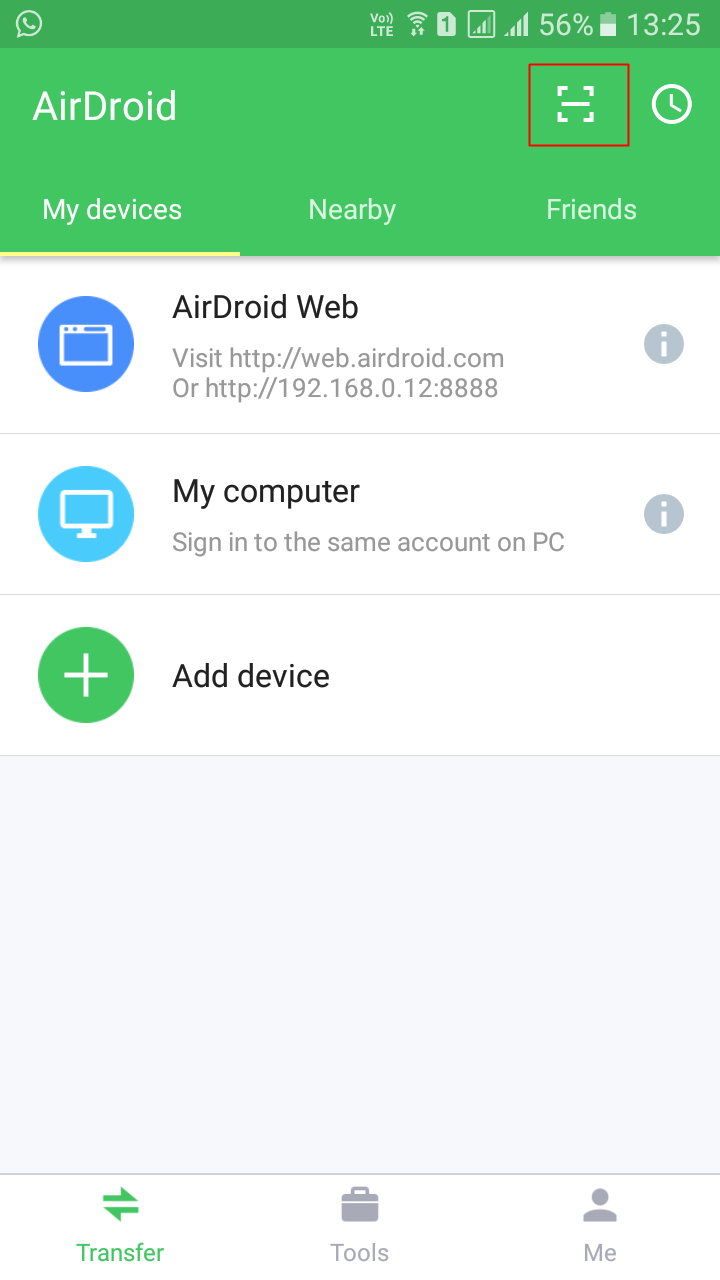
5. Now, you need to scan the QR code on your computer at web.airdroid.com from the mobile app to connect with your computer.
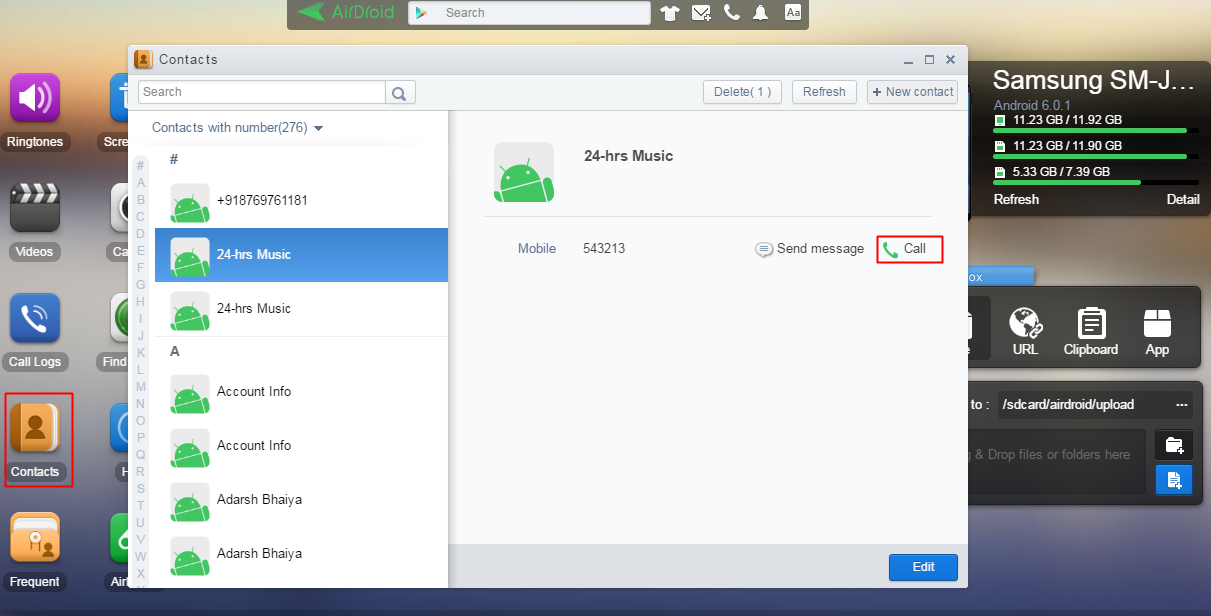
6. Once connected, you need to find the option “Contacts” from there, you can make calls directly from your PC. You can even send messages and can receive calls.
That’s it! You are done. This is the easiest way to make and receive calls on your Windows computer.
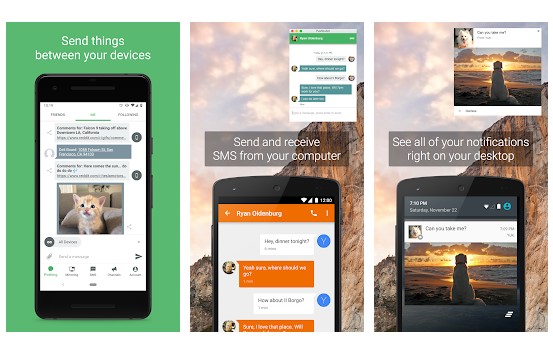
Using Pushbullet
Pushbullet is an app meant for receiving SMS alerts on a computer. However, the app also allows users to make and receive Android calls on the computer. Let’s know how to receive and make calls using Pushbullet.
1. First, you must download and install Pushbullet on your Android smartphone.
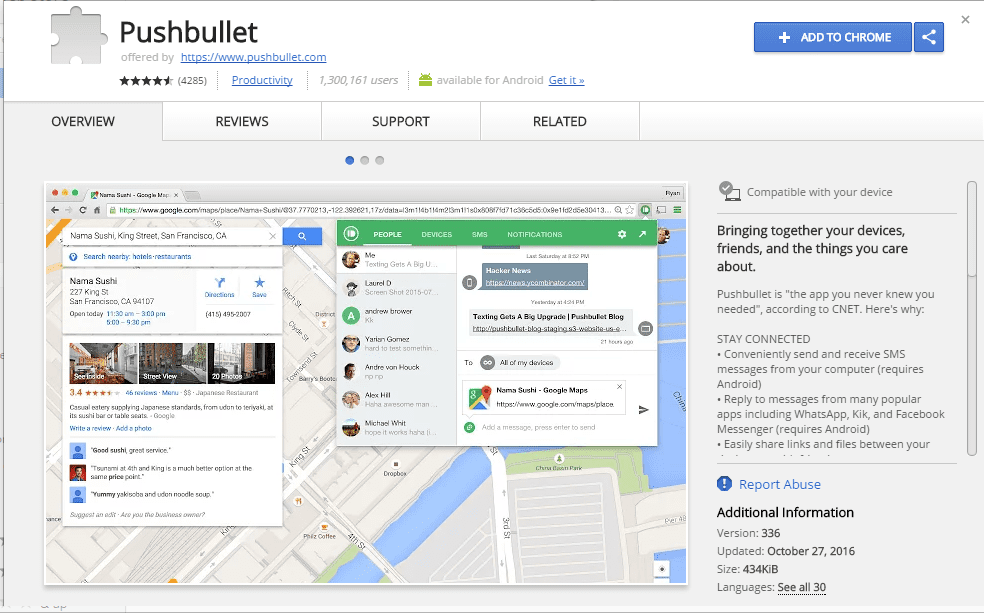
2. You need to install Pushbullet Extension on your Google Chrome browser. You can get the extension from here.
3. Now open the app on your Android device and sign in with your Google Account.

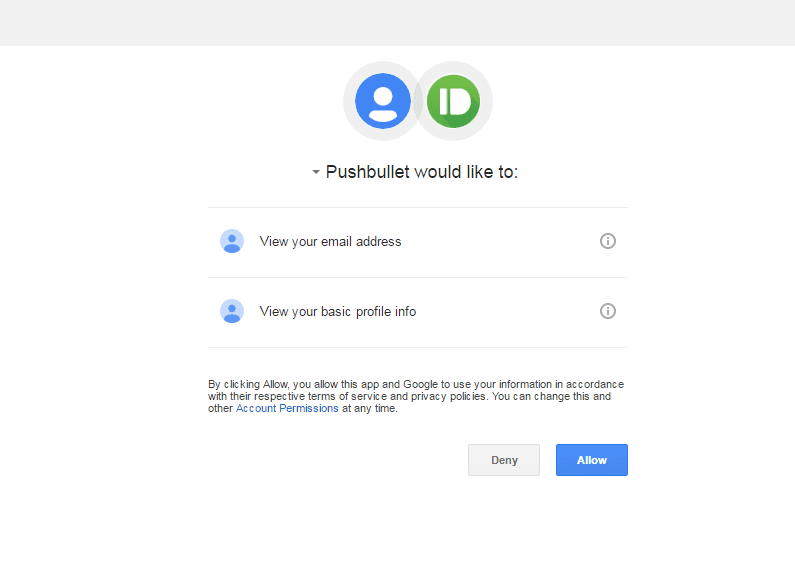
4. In the next step, you must grant all the necessary permissions. Simply tap on the ‘Allow’ button to continue.

5. Now, on your computer browser, sign up with the same Google account you used on your Android. Grant all the needed permissions.
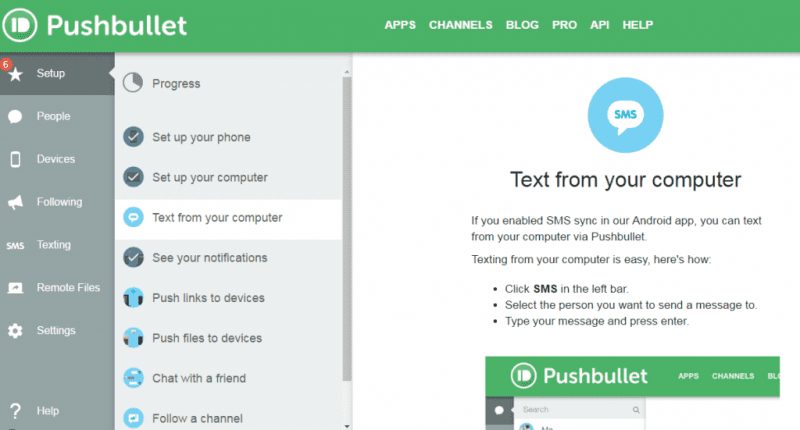
6. Once done, you will now see the screen like below. It will list out all the options that the app offers.
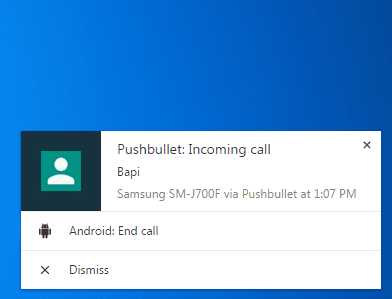
7. Now, whenever you receive a call, you will get a notification on the computer. You can answer the call directly from there. Similarly, you can also make calls using Pushbullet.
Using ApowerMirror
ApowerMirror is another best tool that you can use to mirror your Android screen on the computer. Again, ApowerMirror requires two pieces of software to make the mirroring possible. Users need to install the desktop client on the computer and the Android app to mirror the Android screen on a computer. After mirroring, users can send text messages and receive calls from the computer.
1. First, download ApowerMirror from the Google Play Store on your Android device. You can get the download link from here.
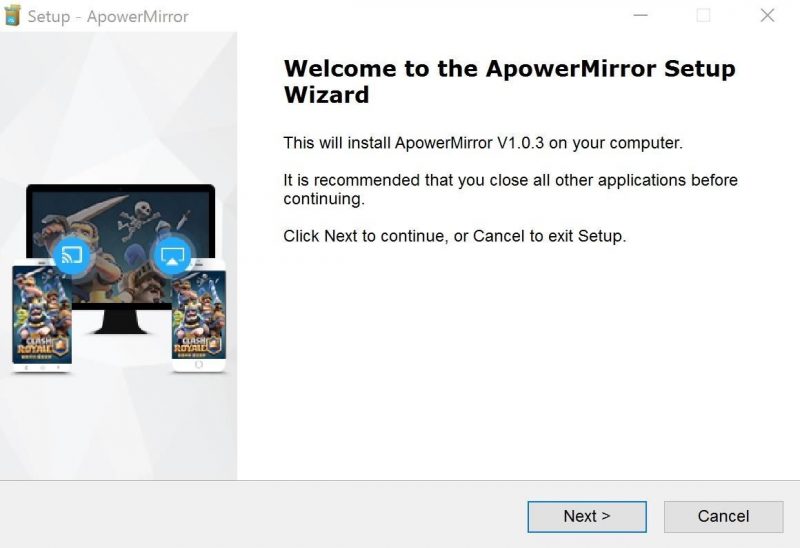
2. In the next step, download and install the ApowerMirror client on your Windows computer. Just install the file given below and follow the on-screen instructions.
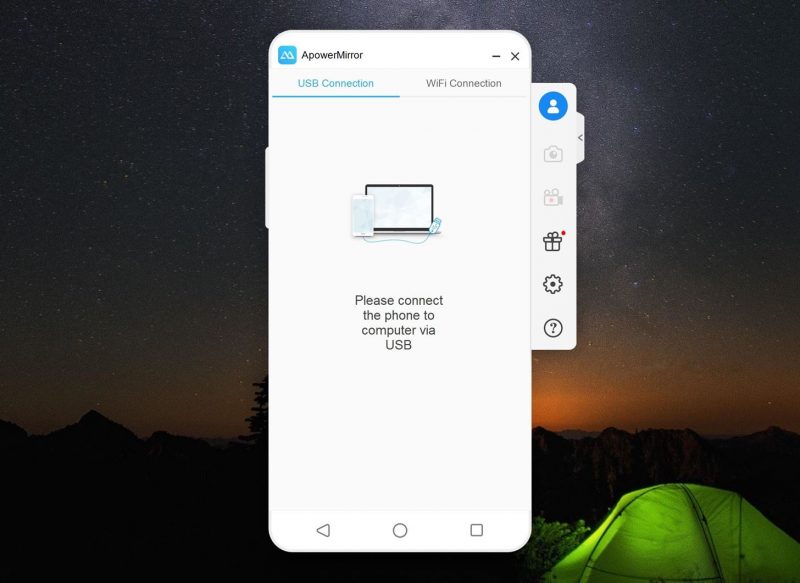
3. Now, head to the Developer Options on your Android device and turn on the USB Debugging Mode.

4. You need to connect your Android device to the computer via a USB Cable. Make sure to turn on the USB Debugging mode before connecting with the computer.
5. Once done, open the Android app again, and you will see the notification pop-up. Simply tap the Start Now button to mirror your Android screen to the PC.
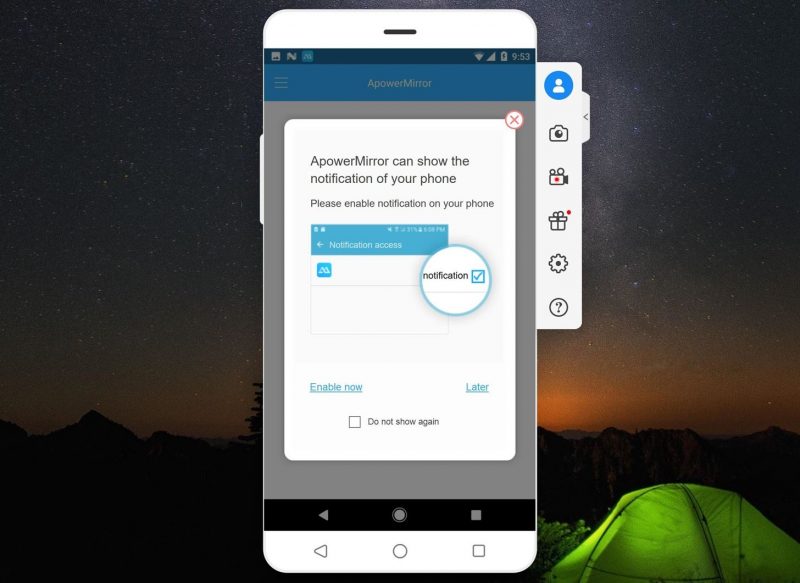
6. Now, you will see the Android screen on your computer. You will be asked to grant the ‘Notification Mirroring’. Tap on Enable Now to continue.
That’s it; you are done! Now you will see the entire Android screen on the computer. You can now make calls or send text directly from the computer itself.
With this, you can easily get all your Android calls directly to your Windows PC. I hope this article helped you! Share it with your friends also.


