You can record your screen using built-in tools or third-party software. Here are the five different ways to record the screen on Windows 11.
1. Record Screen Using Xbox Game Bar
We will use the Xbox Game Bar app to record the screen on Windows 11.
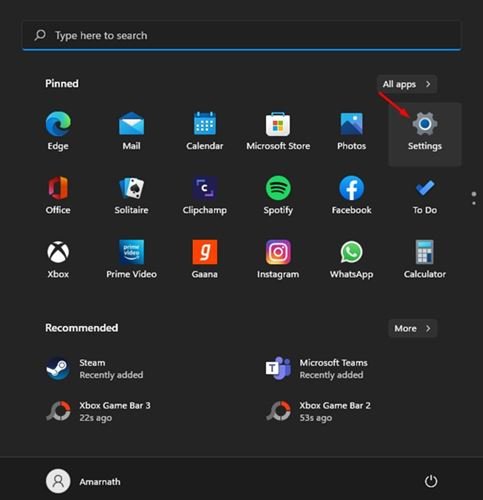
1. Open the Windows 11 Start button and select Settings.
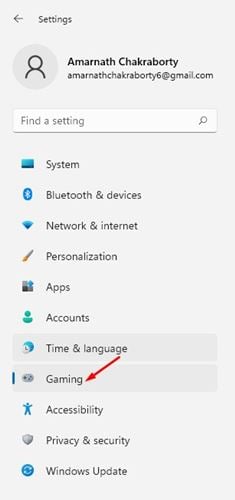
2. Click on Gaming.
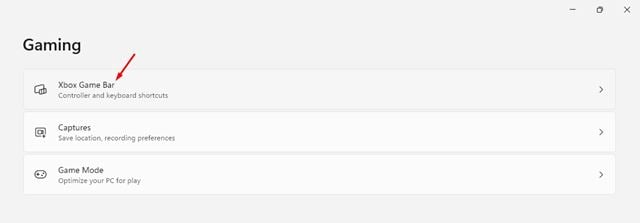
3. Click on the Xbox Game Bar.
4. On the Xbox Game Bar screen, turn on the toggle next to the Open Xbox Game Bar using this button on a controller.

5. Press the Windows Key + G button. This will open the Xbox Game Bar.

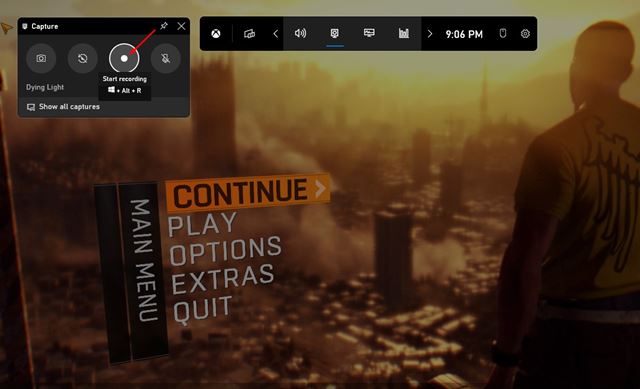
6. On the Capture pane, click on Start Recording.
7. This will start the screen recording. To stop the recording, click on the Stop button.
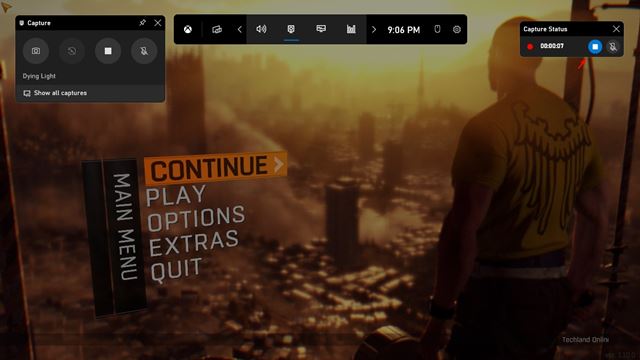
The recordings will be saved to the This PC > Videos > Captures folder. You can view or delete your recordings from that folder.
2. Record Windows 11 Screen via PowerPoint
If you have the Microsoft Office suite installed, you can use PowerPoint to record screen as well.
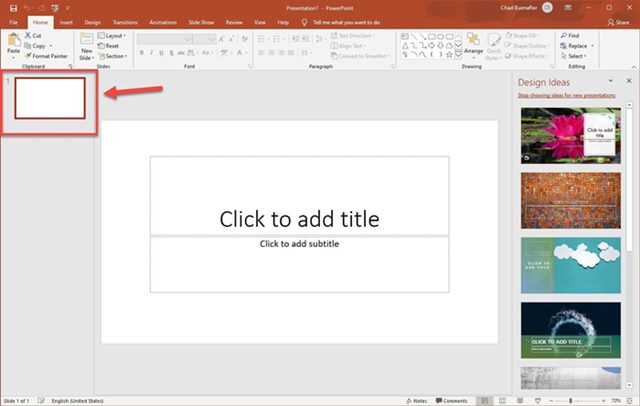
1. Launch Microsoft PowerPoint and create a blank presentation.
2. Select a slide from the left pane as shown below.
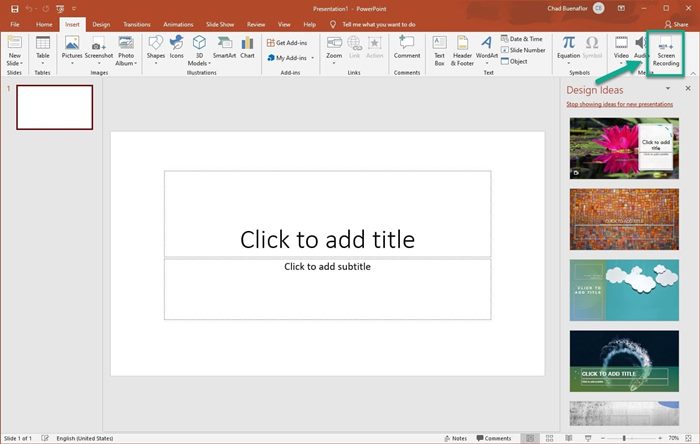
3. Switch to the Insert Tab and select the Screen Recording option.
4. You will now see the screen recording pane. Click on the Select Area button and select the screen area you want to record.
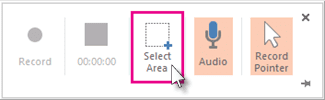
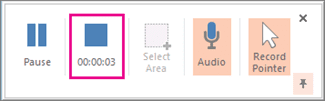
5. Once you’ve done this, click the Record button. To stop the screen recording, click the Stop button, as shown below.
6. The screen recording will be presented in the new slide you created. Right-click on the recording and select Save Media As option to save the clip on your computer.

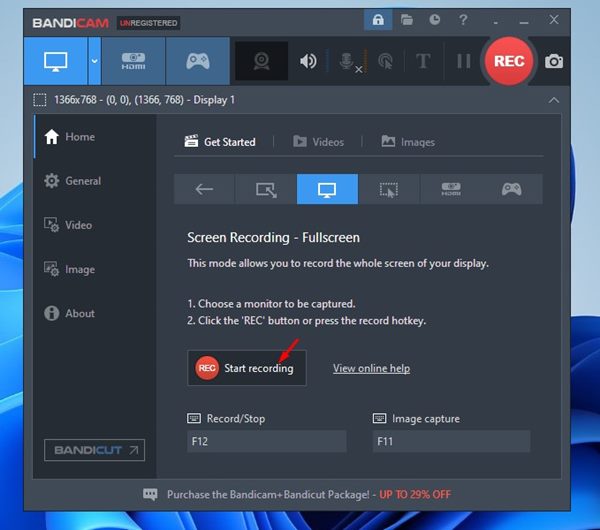
3. Record the screen using Bandicam Screen Recorder
Bandicam screen recorder is a free and easy-to-use screen recorder fully compatible with Windows 11. Here’s how to use it.
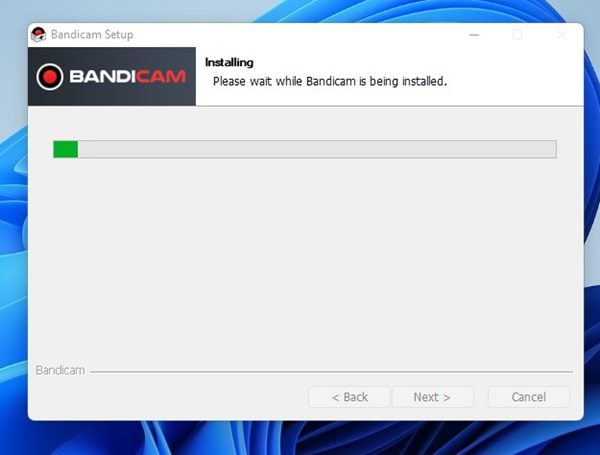
1. Download & install the Bandicam screen recorder on your Windows 11 computer.
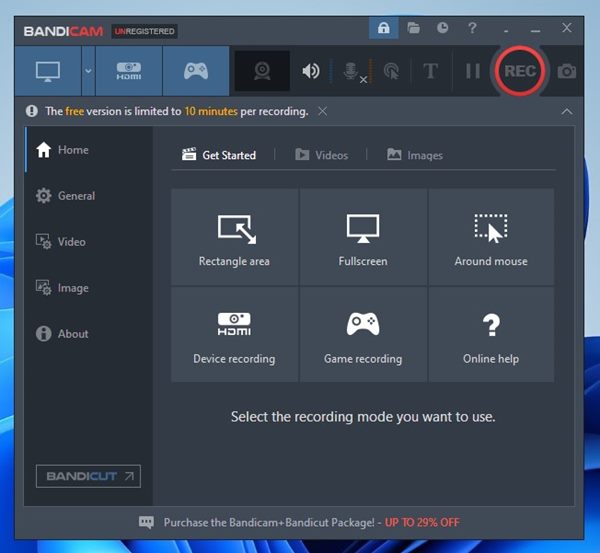
2. Select the screen recording mode.
3. If you want to record the full screen, select the Fullscreen option.
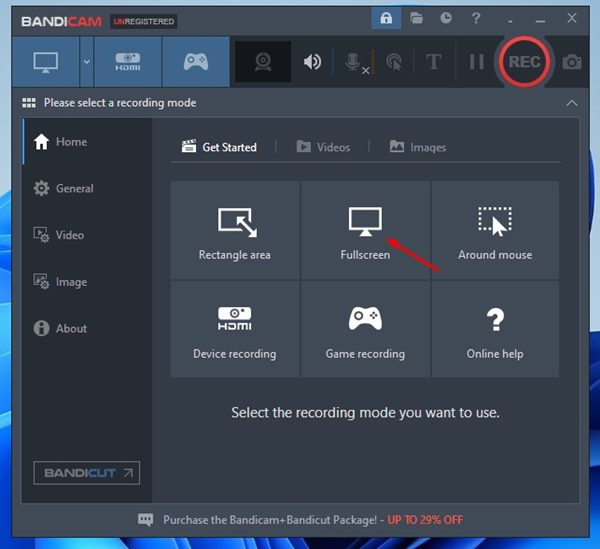
4. Click on Start recording.
5. To stop the screen recording, click the Stop.
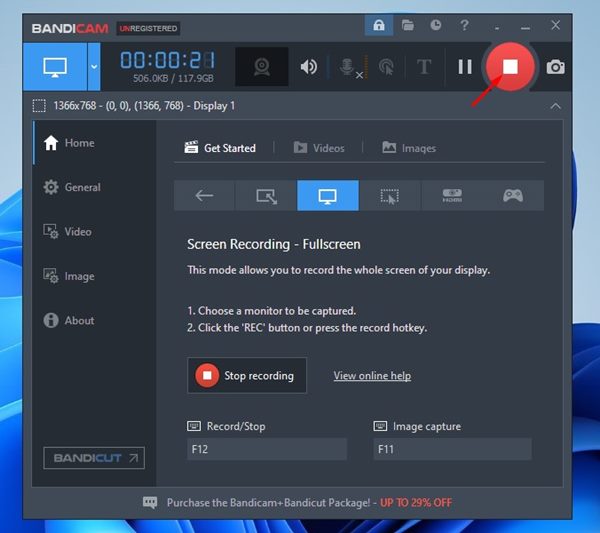
6. The screen recording will be saved in the Documents folder of your system installation drive.
4. Record Windows 11 Screen with Snipping Tool
Snipping tool is a free utility previously used to capture the screen, but it can also record the screen.
We have already shared a detailed guide on how to record Windows 11 Screen using the Snipping tool.
Go through that article to know all the details of the latest Snipping tool for Windows 11.
5. Screen recorder Windows 11
Many free screen recorders on the web work with Windows 11 to record the screen; you can use any of them to record your screen and webcam feed. Here are some of them.
1. ScreenRec Screen Recorder
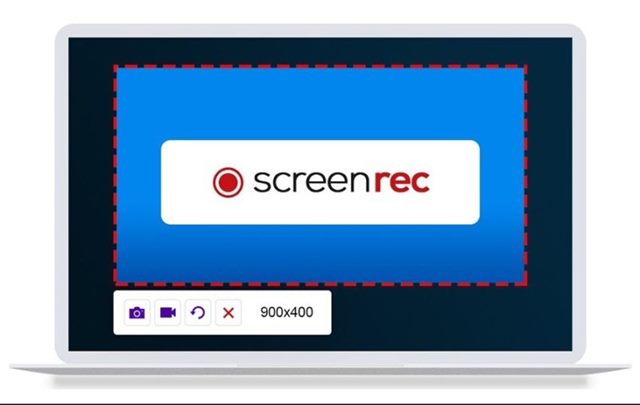
ScreenRec Screen Recorder should be your top choice for recording Windows 11 screen without any time limit and for free. It’s a free screen recorder tool for Windows that has no time limit.
You can use this screen recorder to record your screen, computer audio, voice, webcam feed, and more. The app doesn’t add a watermark or any time limits.
2. Icecream Screen Recorder
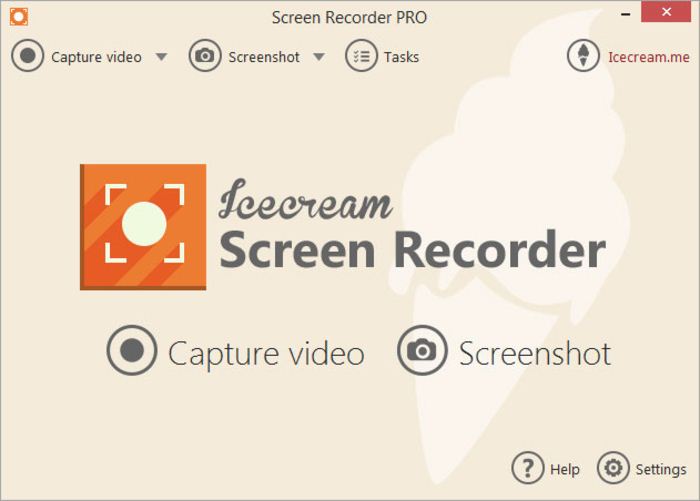
Icecream Screen Recorder is available in two variants – Free and Pro. The free version has some limitations and selected features, but you can unlock all of them by purchasing the Icecream Screen Recorder Pro.
3. ScreenPal Screen Recorder
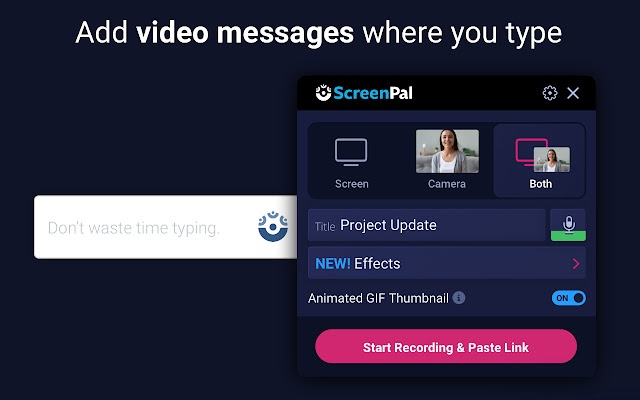
Like any other screen recorder for PC, ScreenPal Screen Recorder allows you to capture any area of your screen. What’s more useful is that ScreenPal Screen Recorder can easily record your microphone audio and capture feeds from your webcam.
It’s pretty easy to record a screen on Windows 11, and you don’t need to use any premium tool. If you have any doubts, let us know in the comment box below.


