Removing Bluetooth devices on Windows 11 is pretty easy, but the operating system can sometimes suffer a glitch and refuse to remove a Bluetooth device. If you can’t remove a Bluetooth device from your PC, here’s what you should do.
1. Remove Bluetooth Devices from Settings
The easiest way to remove Bluetooth devices on Windows 11 is via the Settings app.
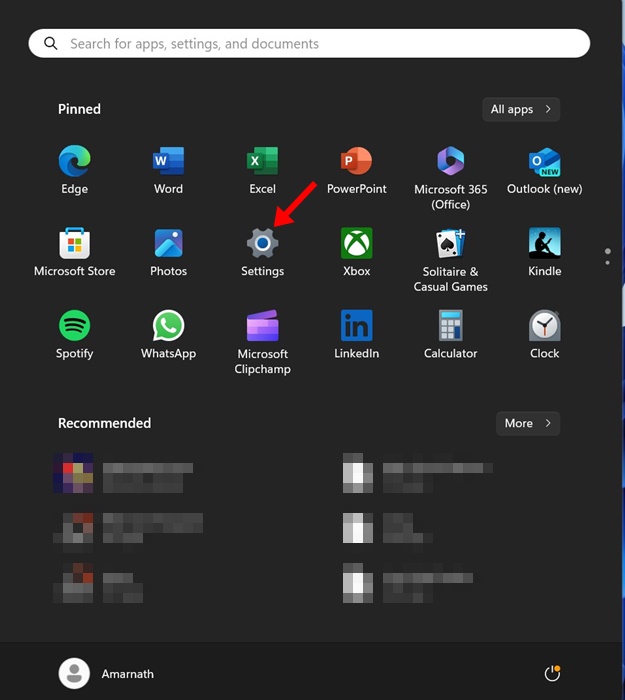
1. Click on the Windows 11 Start button and select Settings.
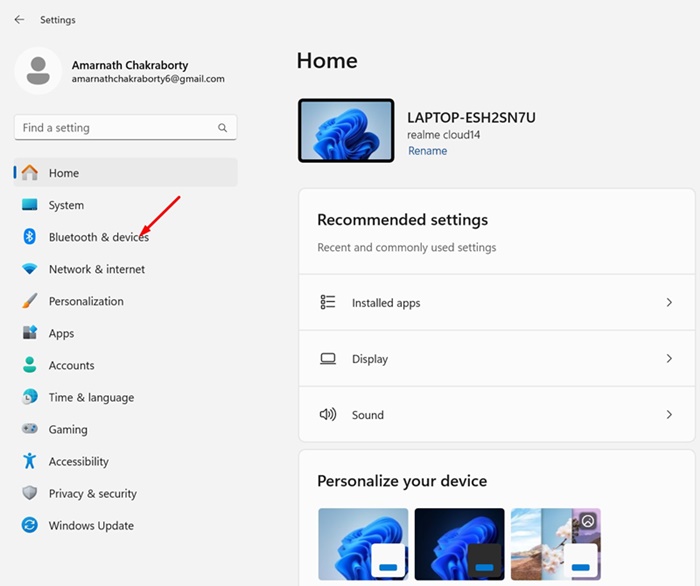
2. Switch to Bluetooth & devices.
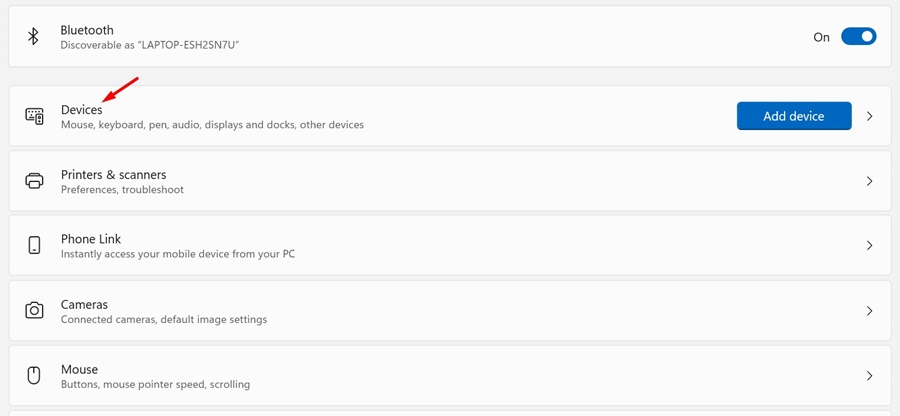
3. Click Devices.
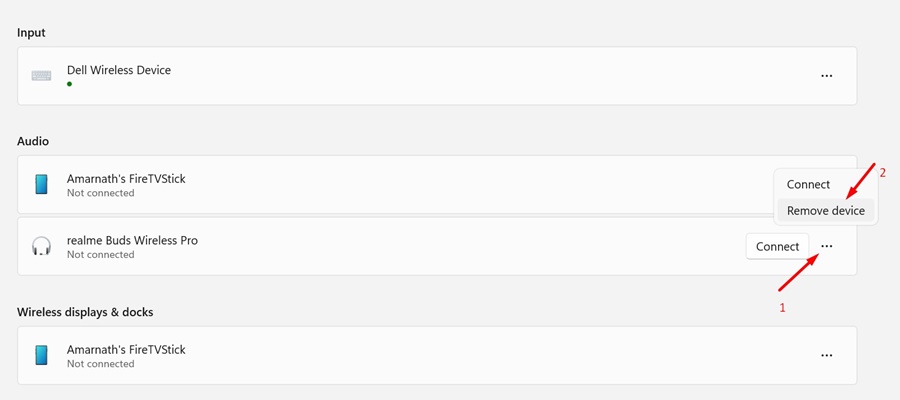
4. You will be able to see all paired devices.
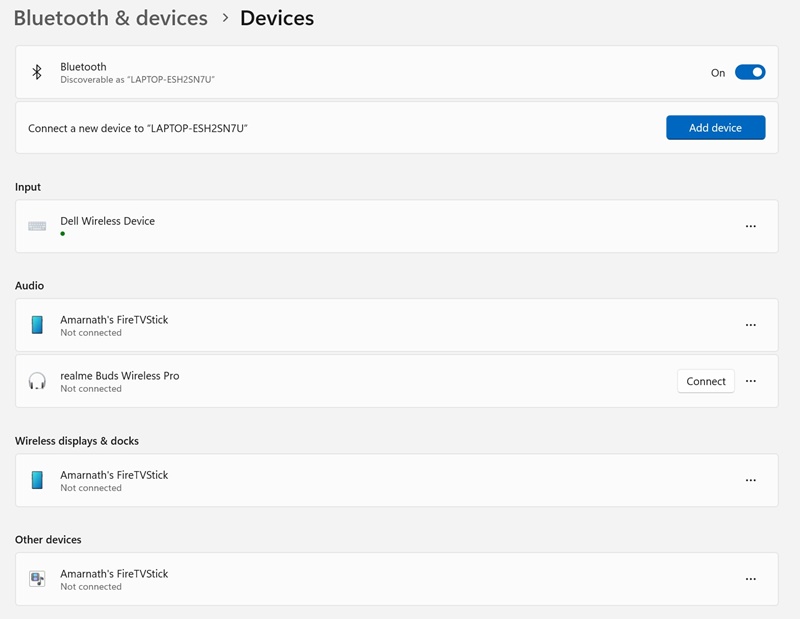
5. Click the three dots next to the Bluetooth device name you want to remove and select Remove device.
2. Remove Bluetooth Devices with the Device Manager
If, for some reason, you are unable to remove Bluetooth devices from the Settings app, you can choose to remove them from the Device Manager.
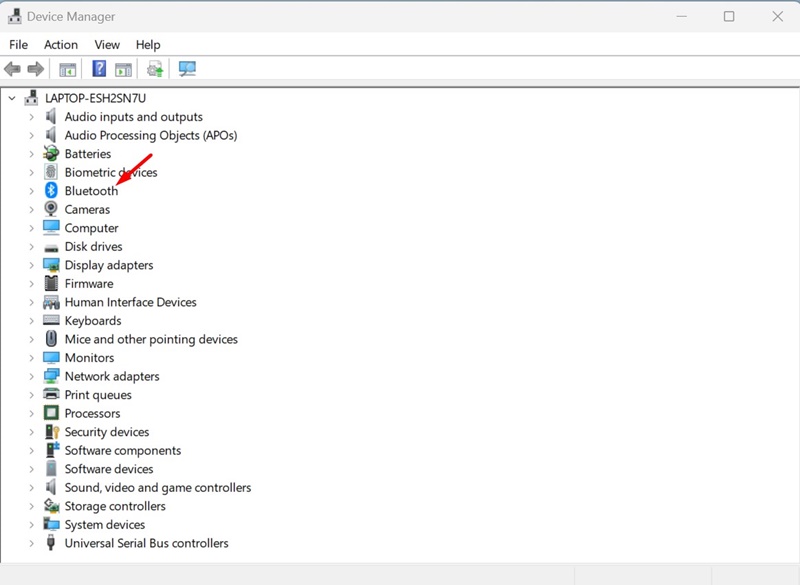
1. Open the Device Manager app from Windows Search.

2. Expand Bluetooth.
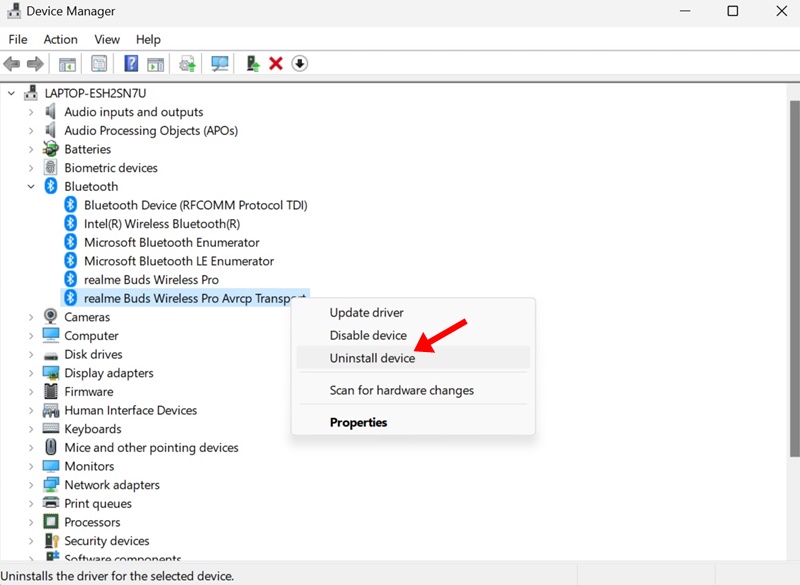
3. Right-click on the Bluetooth device you want to remove and select Uninstall Device.
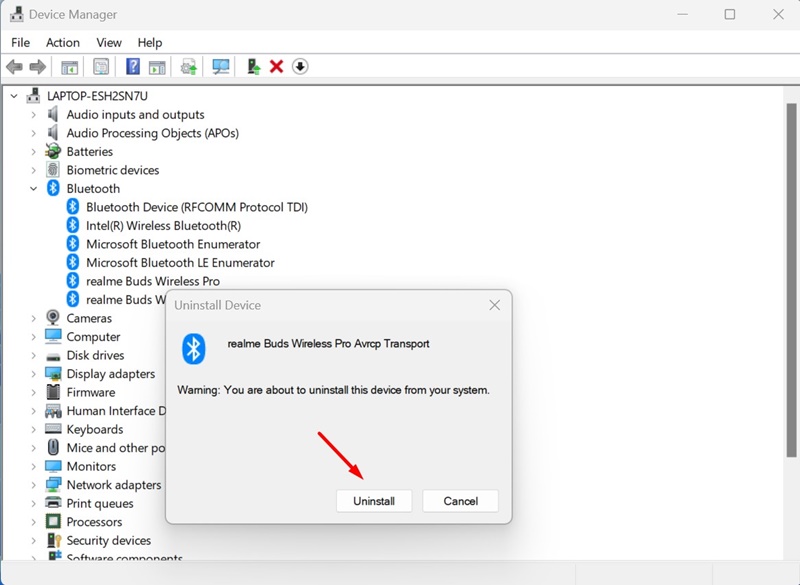
4. On the Uninstall Device confirmation prompt, click Uninstall.
3. Remove Bluetooth Device using the Command Prompt
If you feel comfortable with the Command Prompt, you can follow this method to remove a Bluetooth device.
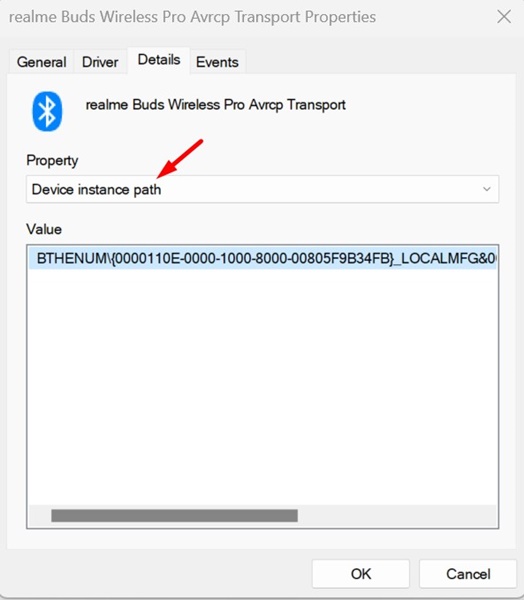
1. Open the Device Manager. Right-click on the Bluetooth device you want to remove and select Properties.

2. Switch to the Details tab and select Device Instance Path on the Property drop-down.
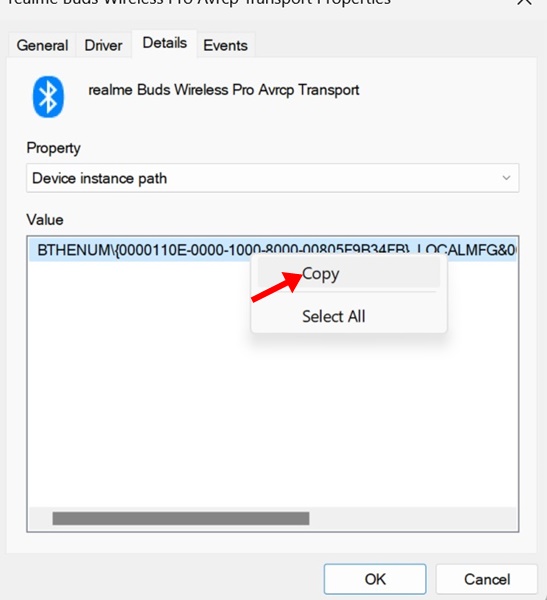
3. Right-click on the Value and select Copy.
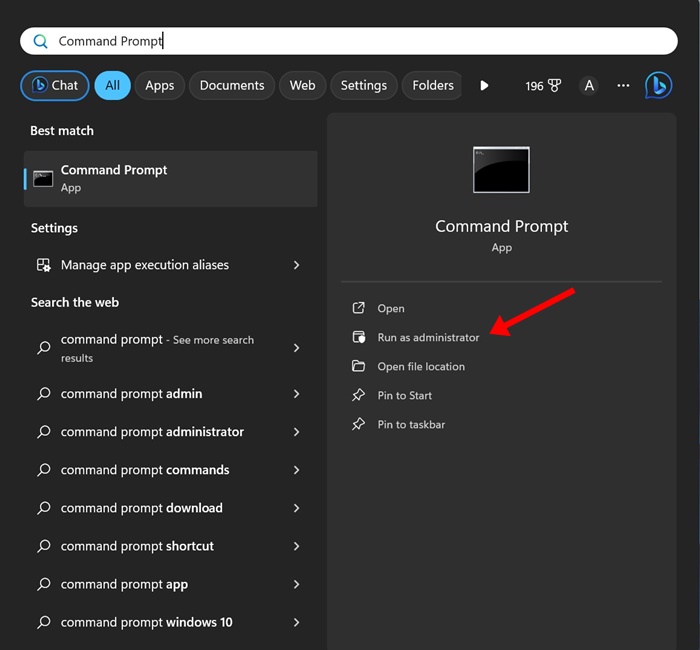
4. Open the Command Prompt with admin rights.
5. Execute the command given below by replacing the ‘DEVICE_ID’ with the value you’ve copied before.
pnputil /remove-device “DEVICE_ID”

6. Upon successful execution of the command, you will see the Device Removed Successfully message. This indicates that the Bluetooth device has been removed.

These are the three best ways to remove Bluetooth devices on Windows 11 computers. Let us know if you need more help removing Bluetooth devices in the comments below.


