Microsoft’s new desktop operating system, Windows 11, introduced many new features and options. Also, the operating system ships with a new design, a new start menu, new File explorer icons, rounded corners, and more.
If you have just switched to Windows 11, you might have noticed a new language switcher icon on the Taskbar. The language switcher on Windows 11 can be helpful for many, but it ruins the minimal look that the operating system offers.
If you don’t change the language of your Windows 11 system very often, you might want to remove the language switcher from the Windows 11 taskbar altogether. However, unlike Windows 10, there’s no direct option to remove the Language switcher icon in the toolbar on Windows 11.
Hence, users need to go through the Windows 11 Settings and manually turn off the language switcher for the operating system. So, if you are looking for ways to get rid of that annoying language switcher present in the Windows 11 taskbar, you have landed on the right page.
Steps to Remove the Language Switcher Icon from Windows 11 Taskbar
This article will share a step-by-step guide on removing the language switcher icon from the Windows 11 Taskbar. We have shared the two best methods; you can follow any of them. So, let’s get started.
1) Remove the Secondary Language on Windows 11
The language switcher will only appear if you have more than one language downloaded on your device. Hence, you need to ensure that you have only one Primary language on Windows 11. Here’s how to remove secondary language on Windows 11.
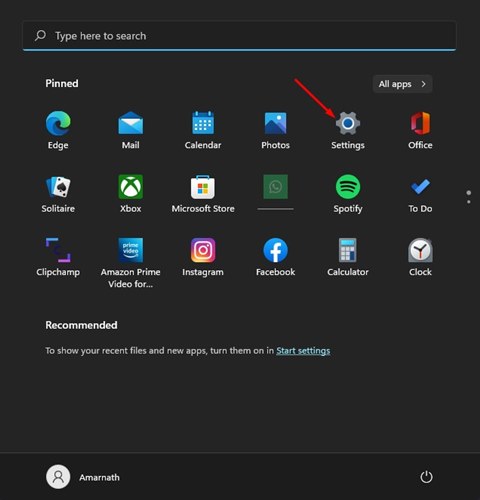
1. First of all, click on the Windows 11 Start button and select Settings.
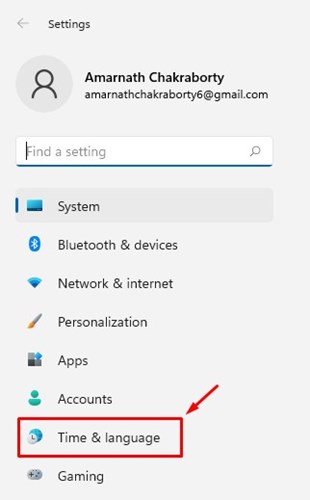
2. On the Settings app, click on the Time & language option below.
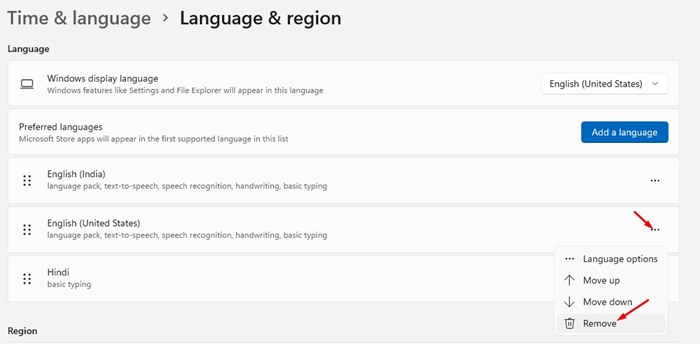
3. Click on the Language & Region option on the right pane, as shown in the screenshot below.

4. You need to find the language you don’t use on the next screen. Next, click on the three dots behind the language and select the Remove option.
That’s it! You are done. This will remove the other language installed on your Windows 11. Once done, restart your computer, and the language switcher will be gone.
2) Hide the Language Bar
If the language switcher still appears on the Windows 11 Taskbar, you must follow this method. Here we will change the Typing and language bar settings to remove the language switcher from Windows 11 taskbar.
1. First of all, click on the Windows 11 Start button and select Settings.
2. On the Settings app, click on the Time & language option.
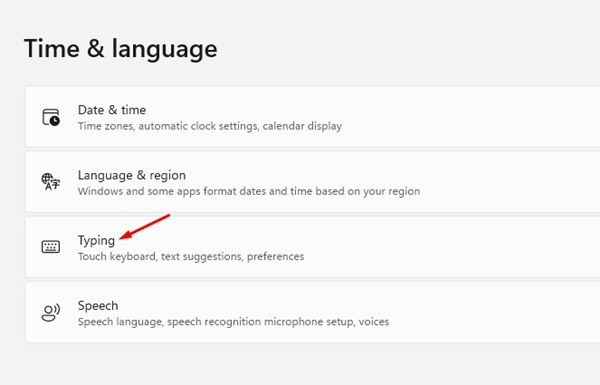
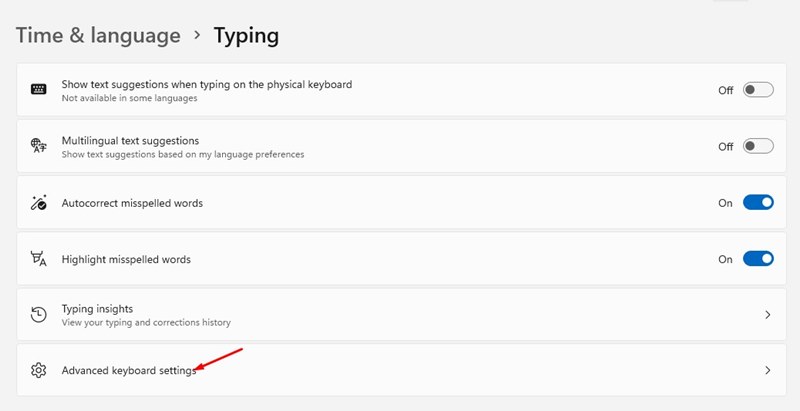
3. On the Right pane, click on the Typing option below.
4. Next, scroll down and click on the Advanced Keyboard settings option.
5. On the Advanced Keyboard Settings page, enable the option Use the desktop language bar when it is available.
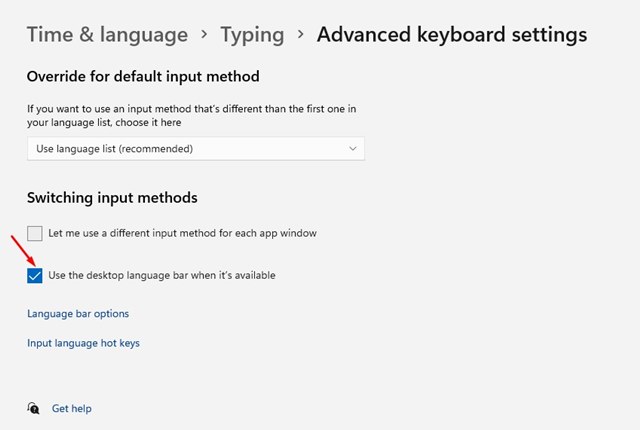
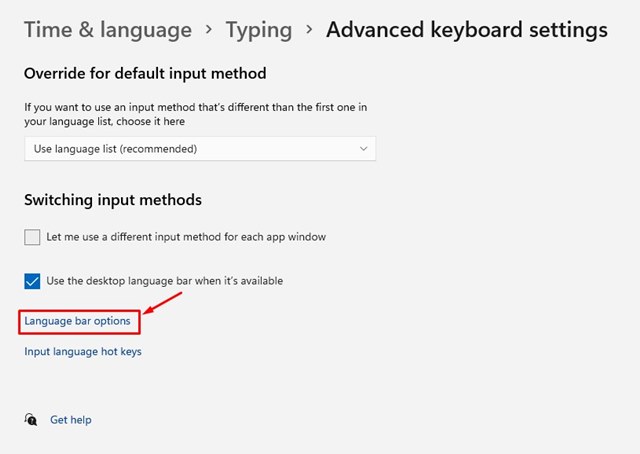
6. Next, click on the Language bar options as shown below.
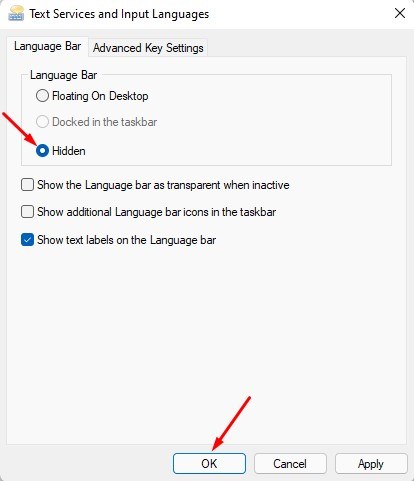
7. On the Text Services and Input Language Window, select ‘Hidden’ for the Language bar and click on the Ok button.
That’s it! You are done. This is how you can remove the language switcher from the Windows 11 Taskbar.
It’s easy to remove the language switcher from the Windows 11 Taskbar. I hope this article helped you! Please share it with your friends also. If you have any doubts about this, let us know in the comment box below.


