lsass.exe is a task that authenticates users and logs them in. The process also tracks all security policies and generates log alerts for security events as you use your PC or laptop, but it sometimes triggers high CPU usage.
Is lsass.exe a virus?
No, the original lsass.exe process is not a virus or malware; security threats can sometimes tamper with it. The original location for lsass.exe is C:\Windows\System32 (if C: is your system installation drive). If you find this file anywhere other than on the system partition, it will likely be malware or a virus.
It’s essential to check whether two or more lsass.exe processes are running in the Task Manager. If you find multiple variants, check their file path. Malware can trick you into thinking that fake lsass.exe is not a virus by renaming the file to something that looks very similar. The fake one is likely to have a spelling mistake.
We have shared some common misspellings that malware can use to trick you into letting the file stay on your computer for a long time.
- lsass .exe
- lsassa.exe
- lsasss.exe
- Isassa.exe
If the original LSASS.exe file uses your CPU resources, you must follow these steps to fix the problem.
1. Restart your PC

Bugs and glitches in the operating system may prevent lsass.exe from functioning properly. This can lead to high CPU usage problems. Restarting your Windows 11 PC is the best way to eliminate such bugs and glitches.
Restarting the computer at regular intervals is a good practice that you should make a habit of. It gives your machine time to cool down and releases memory. To do this, click the Windows 11 Power Menu and select Restart.
2. Run a full Antivirus Scan
Malware and viruses can disguise themselves on your machine as a real lsass.exe file. So, it’s important to ensure that raising CPU usage is legitimate and your PC doesn’t have any security threats.
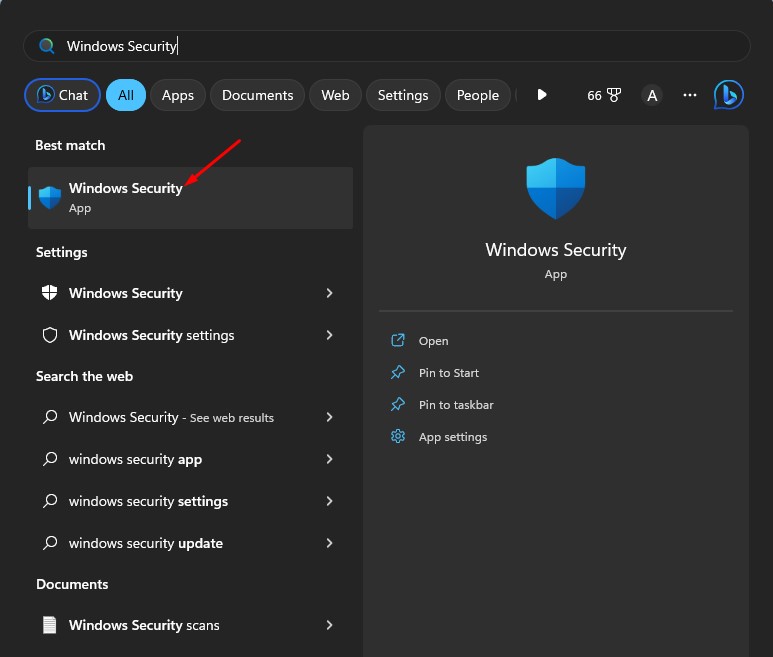
1. Open the Windows Security app from the Windows Search.
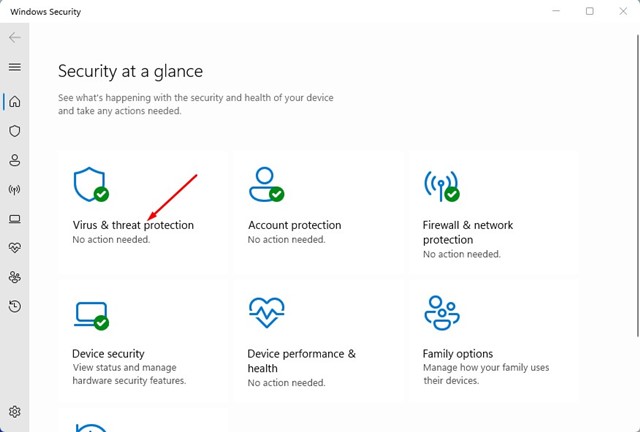
2. Switch to Virus & Threat Protection.
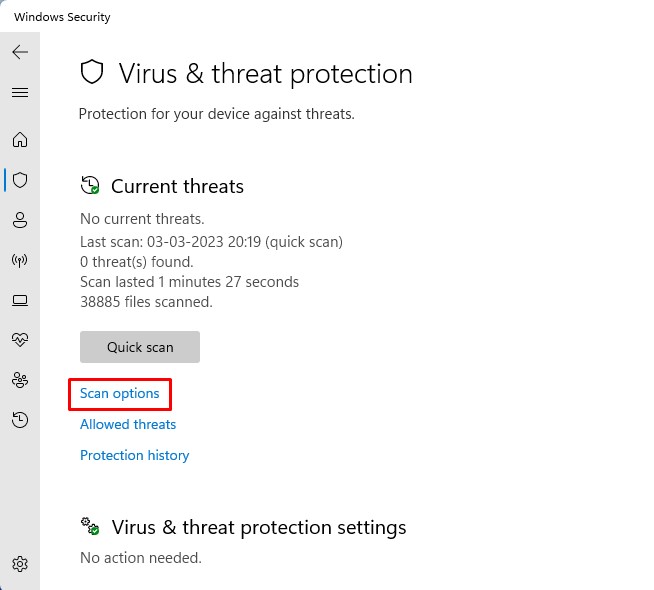
3. Click on the Scan options under Current Threats.
4. Select Full Scan and click Scan Now.
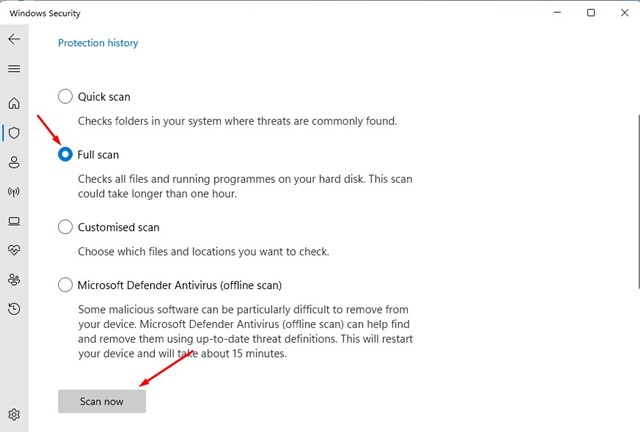
The Windows Security app will find and remove all hidden malware from your computer. This should remove all malicious lsass.exe files from your PC.
3. Run Rootkit Scan with Malwarebytes
Even though Windows Security is great for protecting your PC, some infected files can get through. To avoid the risk of rootkits, you need to run a root scan with Malwarebytes.
1. Download & Install Malwarebytes.

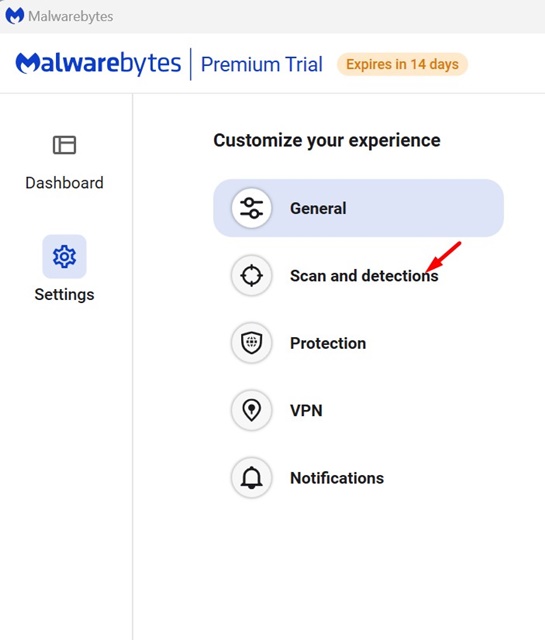
2. On the left sidebar, click Settings.

3. Switch to Scan and Detections.
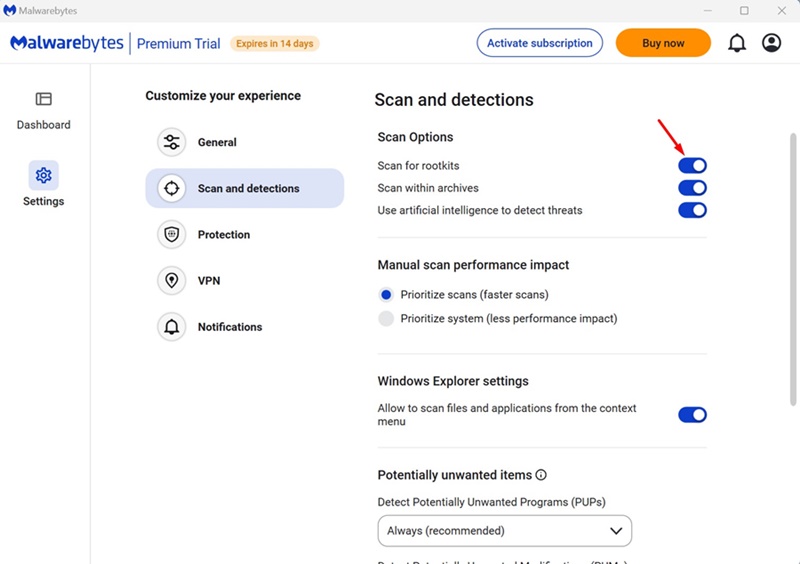
4. On the Scan Options, enable the toggle for ‘Scan for rootkits’.
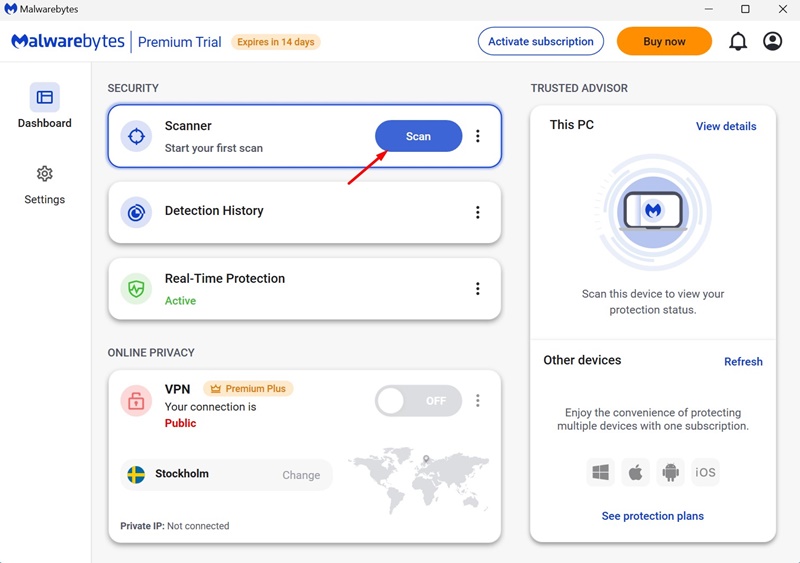
5. Move to the main screen and click Scan.
Malwarebytes will run a rootkit scan. Once the scan is complete, Malwarebytes will report any threats found and ask if you want to remove them. Remove the rootkits.
4. Run SFC/DISM Command
System file corruption is another prominent reason for lsass.exe high CPU usage. Hence, should run the SFC utility on your computer.
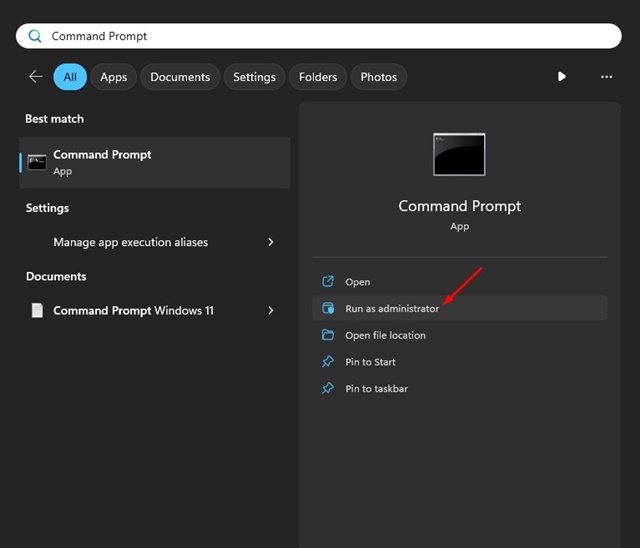
1. Type Command Prompt in the Windows 11 search. Right-click on the Command Prompt and select Run as administrator.
2. Execute this command:
sfc /scannnow

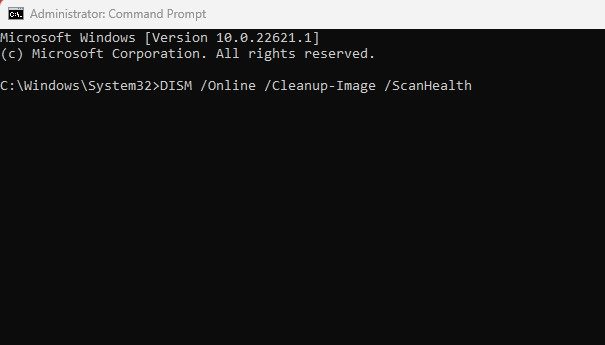
3. If the System File Checker utility returns an error, execute these three commands one by one.
DISM /Online /Cleanup-Image /CheckHealth
DISM /Online /Cleanup-Image /ScanHealth
DISM /Online /Cleanup-Image /RestoreHealth
After executing all these commands, restart your Windows 11 PC. This should fix the LSASS.EXE high CPU usage problem.
5. Update Windows 11

It’s a good security practice to keep Windows 11 up to date at all times. If the lsass.exe high CPU usage issue is still not resolved, there is a higher chance that your Windows version is faulty.
You should update your Windows 11 to fix the issue. Simply navigate to Settings > Windows Update > Check for Updates to download & install all pending updates.
6. Perform a System Restore
If nothing worked in your favor, the next best option is to perform a system restore. Follow this method only if you have already created a restore point.
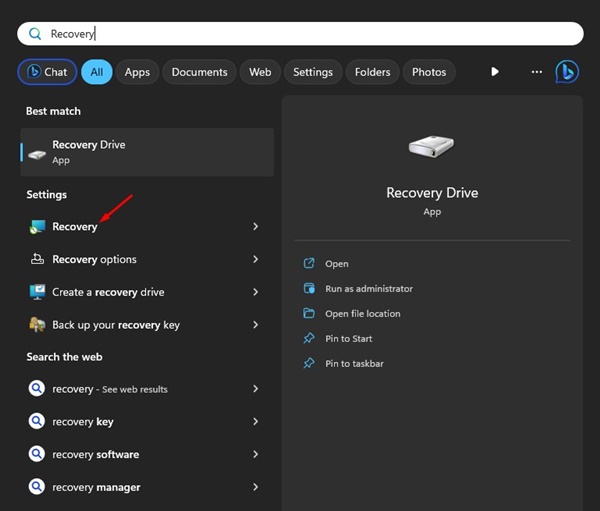
1. Open the Recovery app from the Windows Search.
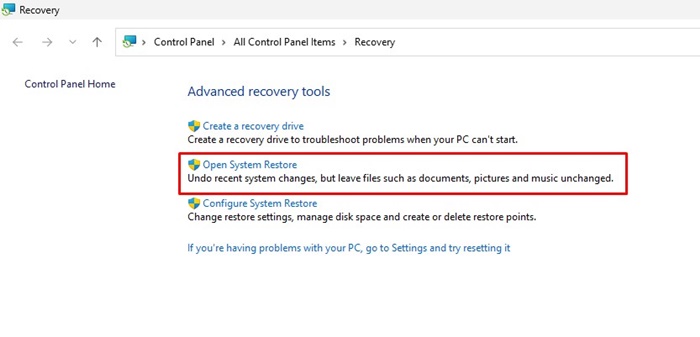
2. Click Open System Restore.
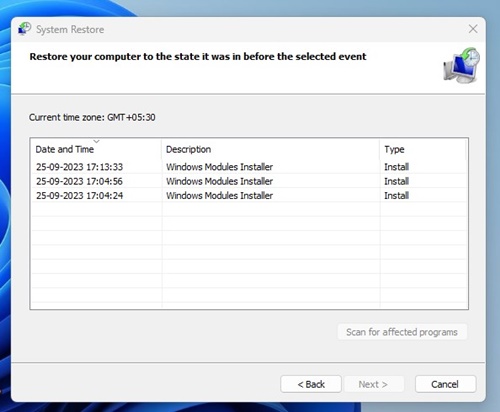
3. Select Choose a different Restore point on the System Restore dialog box.
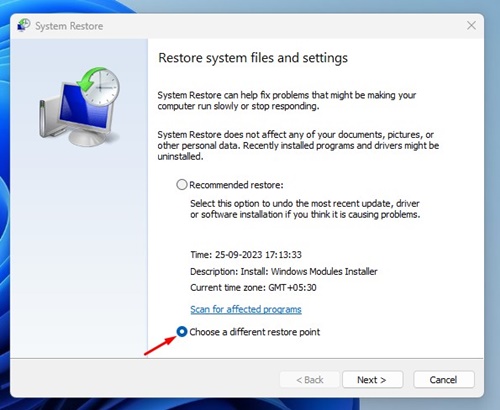
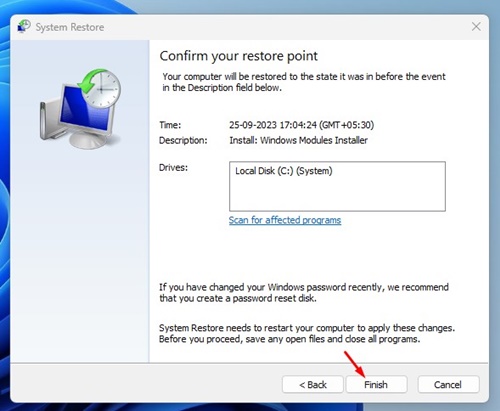
4. Select the restore point created before the problem appeared. Once selected, click Next.
5. Click Finish.
These are the best methods to fix the lsass.exe high CPU usage problem. If you have followed all methods carefully, chances are that the lsass.exe high CPU usage is already fixed. Let us know if you need more help understanding lsass.exe on Windows 11.

