You just connected hardware to your computer, but it’s not showing up? You need to manually scan for the hardware changes. Here are the best ways to scan hardware changes on Windows.
1. Scan for Hardware Changes via Device Manager
Device Manager seems to be the easiest way to scan for hardware changes.
1. Open Device Manager from the Windows Search.

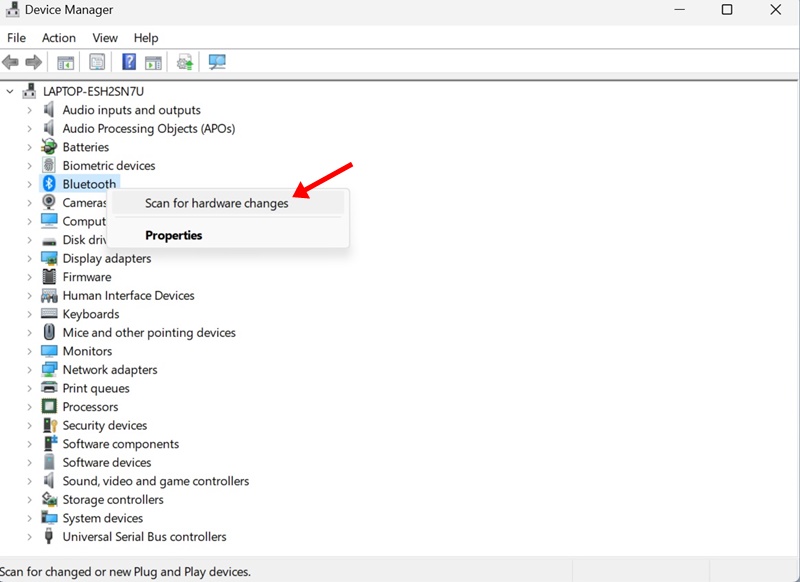
2. Right-click the Device Category and select Scan for hardware changes.
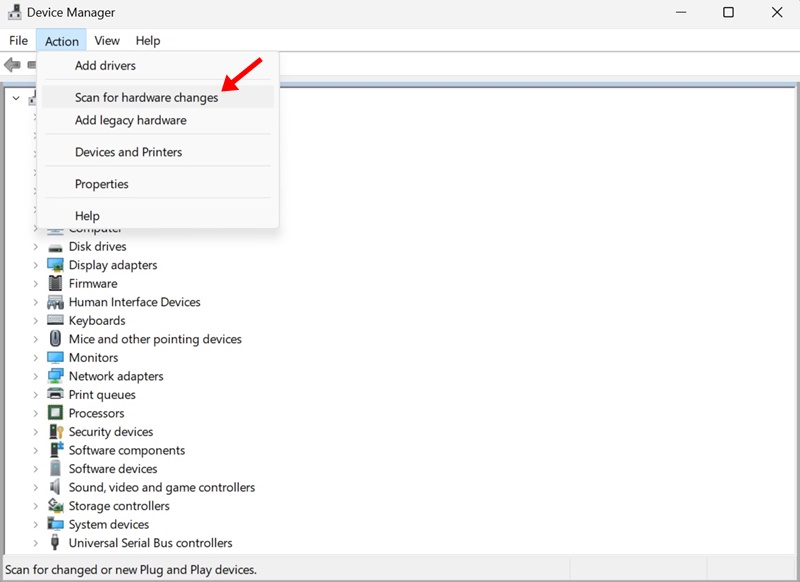
3. If you aren’t sure about the Device Category, click on the Action menu and select Scan for hardware changes.
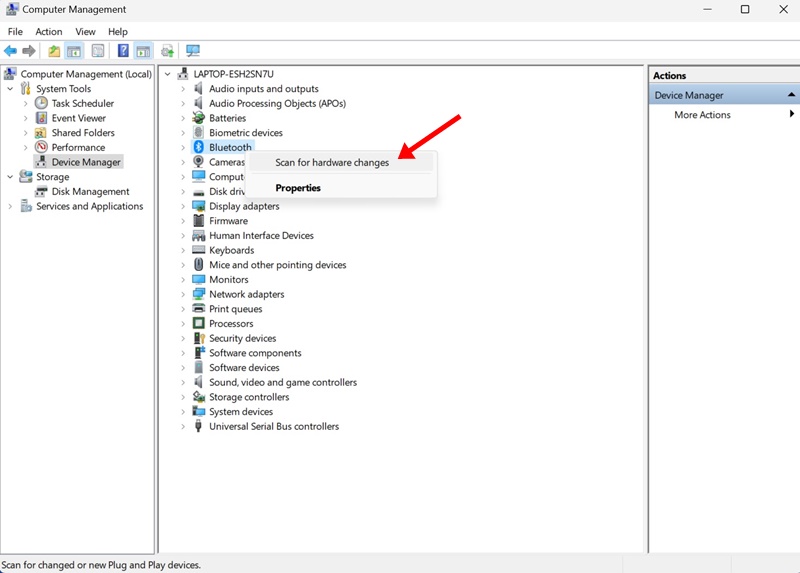
2. Scan for Hardware Changes from the Computer Management Tool
The Windows Computer Management utility has the Device Manager; hence, you can use the Computer Management tool as well to scan for hardware changes.
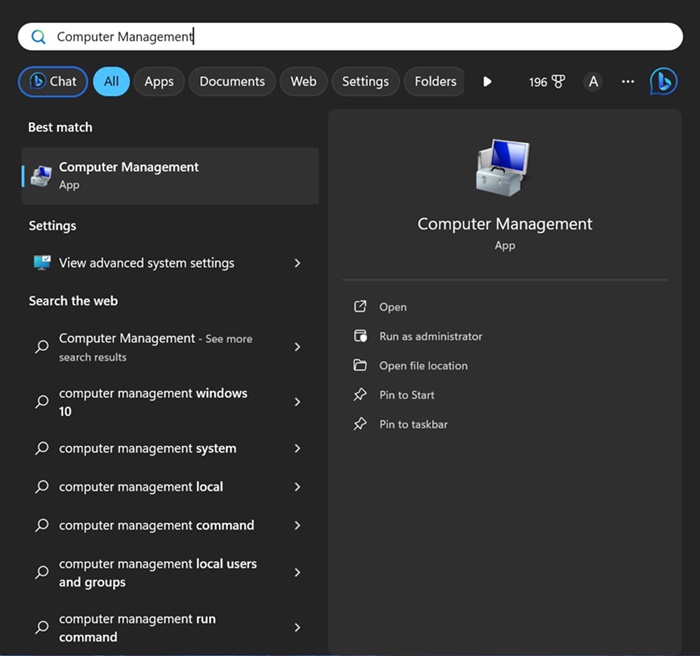
1. Open the Computer Management tool from the Windows Search.
2. Navigate to System Tools > Device Manager.
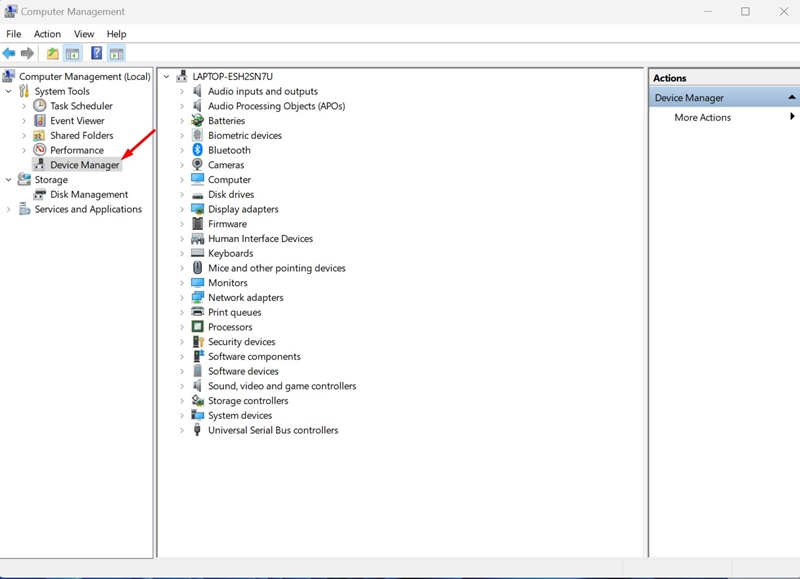
3. Now select the device category.
4. Click Action and select Scan for hardware changes.
3. Scan for Hardware Changes via Command Prompt
If you’re a pro user, you can use the command prompt utility to scan for hardware changes. Here’s what you need to do.
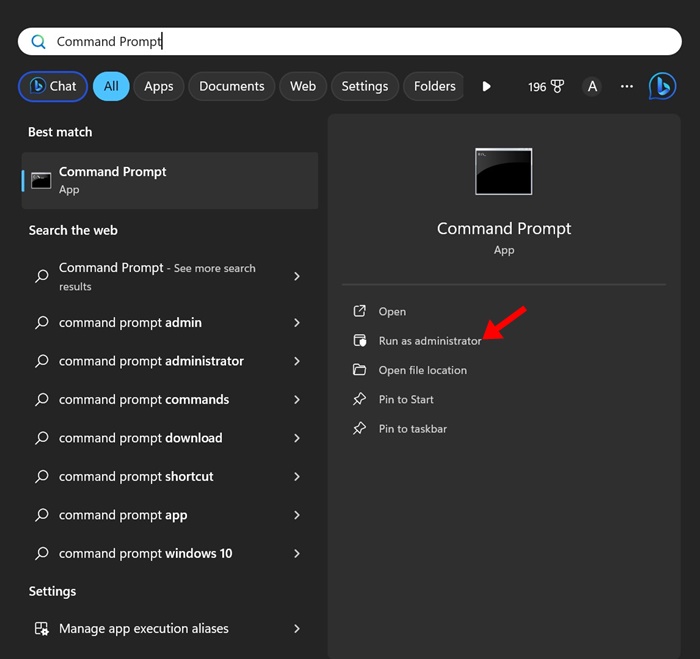
1. Type Command Prompt in the Windows 11 Search. Right-click on the Command Prompt and select Run as administrator.
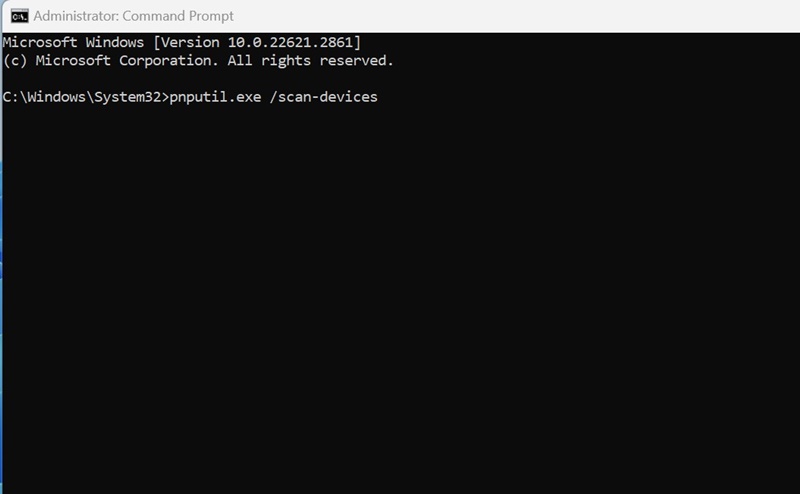
2. Execute this given command:
pnputil.exe /scan-devices
3. You will see the ‘Scanning for device hardware changes’ message once you execute the command. This confirms that Windows is scanning for hardware changes.
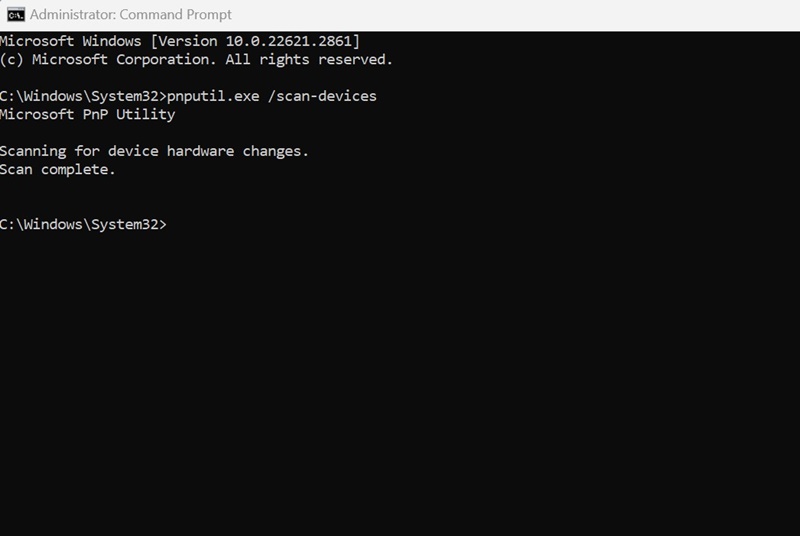
Once you see the Scan Complete message, close the Command Prompt.
4. Create a desktop shortcut to scan for hardware changes
Not everyone may be comfortable handling the Device Manager, Computer Management tool, or Command Prompt. For them, the best option is to have a desktop shortcut to scan for the hardware changes.
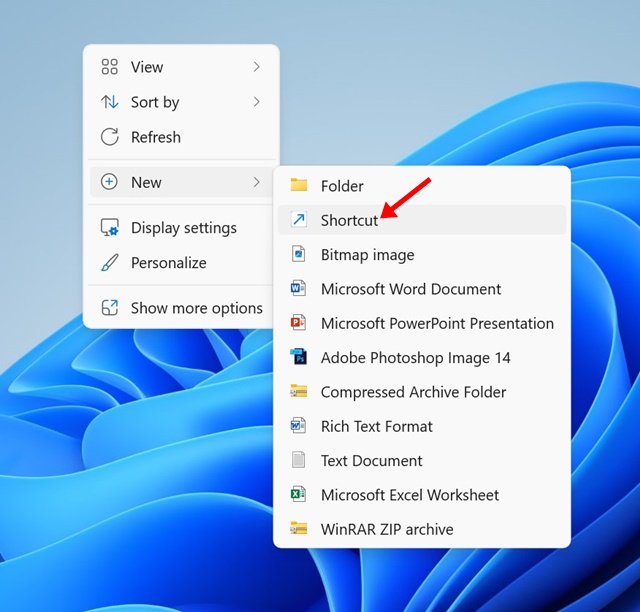
1. Right-click on an empty area on your desktop screen and select New > Shortcut.
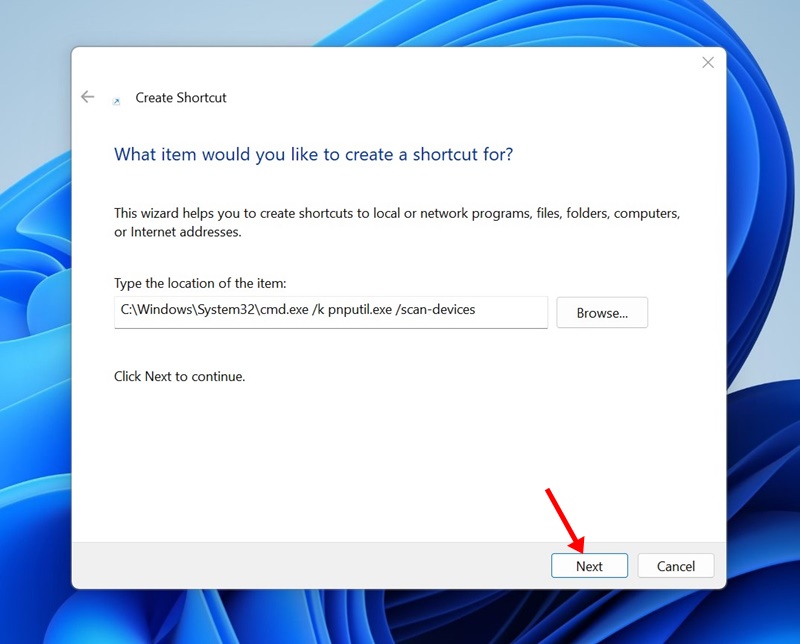
2. In the Type the location of the item field, paste the given location, and click Next.
C:\Windows\System32\cmd.exe /k pnputil.exe /scan-devices
3. On the name this shortcut Window, type Scan for Hardware Changes and click Finish.

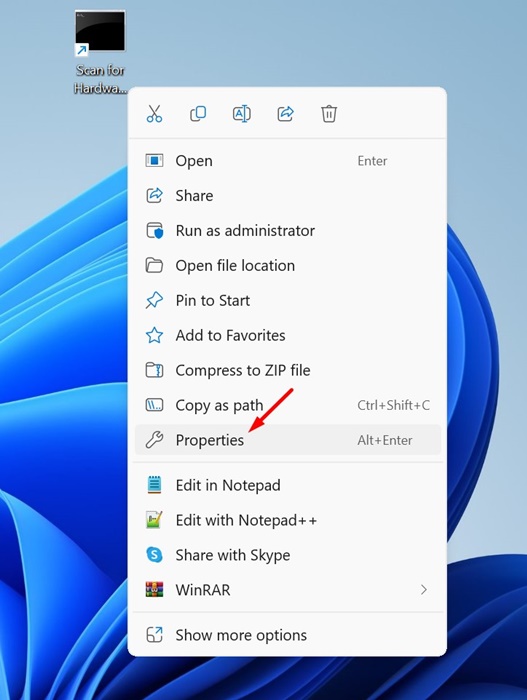
4. Right-click on the desktop shortcut and select Properties.
5. Switch to the Shortcut tab and click Advanced.
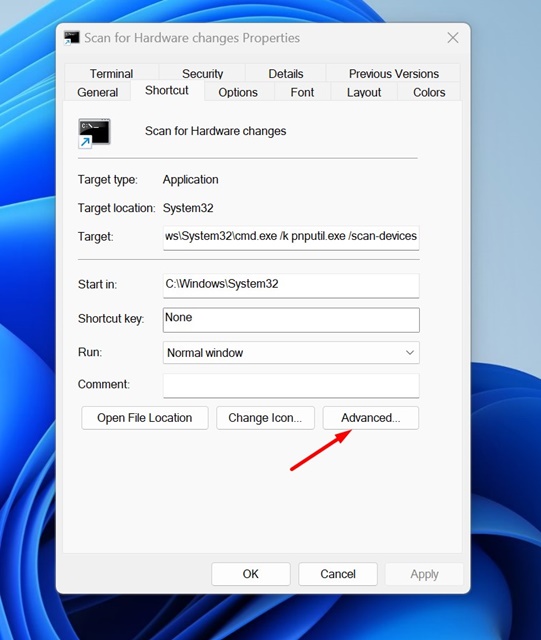
6. On the Advanced Properties, check the Run as administrator and click OK.
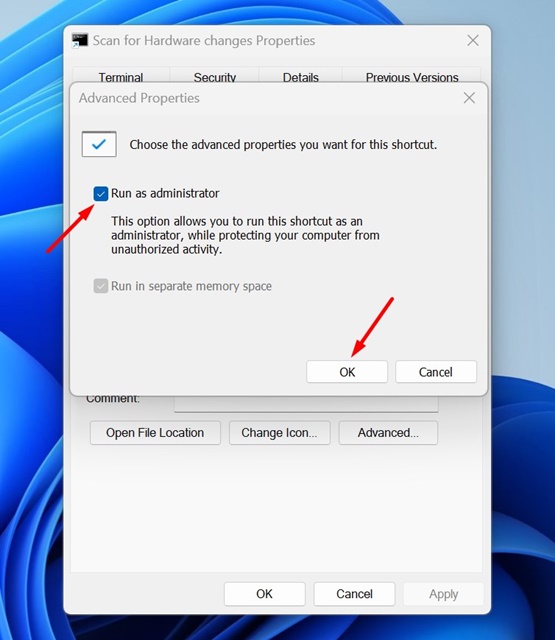
7. After making the changes, click Apply.
When you want to scan for hardware changes, double-click on the desktop shortcut you’ve created.
These are a few easy methods to run a scan to detect hardware changes on Windows 11. If you need more help in scanning for hardware changes, let us know in the comments.


