Let’s admit, while using our computer, we often forget doing our the most important things. We often forget to attend important events, miss out on TV shows, etc., at regular intervals. To deal with such things, Windows 10 offers you an Alarm and Clock App.
You no longer need to depend on any mobile app or third-party desktop software to set alarms. Windows 10 has a built-in alarm and clock app that operates like any other alarm-clock app that you might have used on mobile devices. The app is completely free and very easy to use.
Also Read: How to Uninstall a Program using CMD in Windows 10
Steps to Set Alarms & Timers in Windows 10 PC
In this article, we have decided to share a detailed guide on how to set alarms and timers in Windows 10. Not only that, but we will also show you steps to disable those alarms when you don’t intend to use them anymore. Let’s check out.
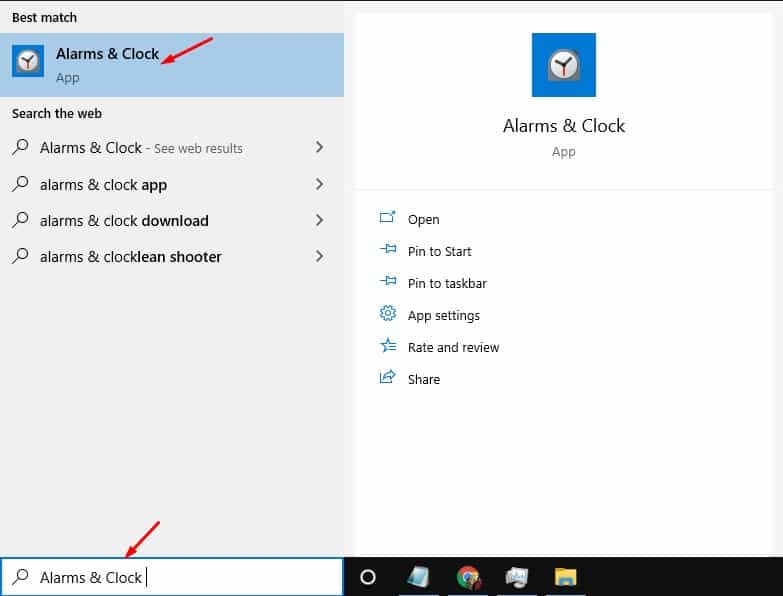
Step 1. First of all, click on the Windows search and type in ‘Alarms & Clock.’ Open the Alarms and clock app from the list.
Step 2. Now you will see an interface like below.
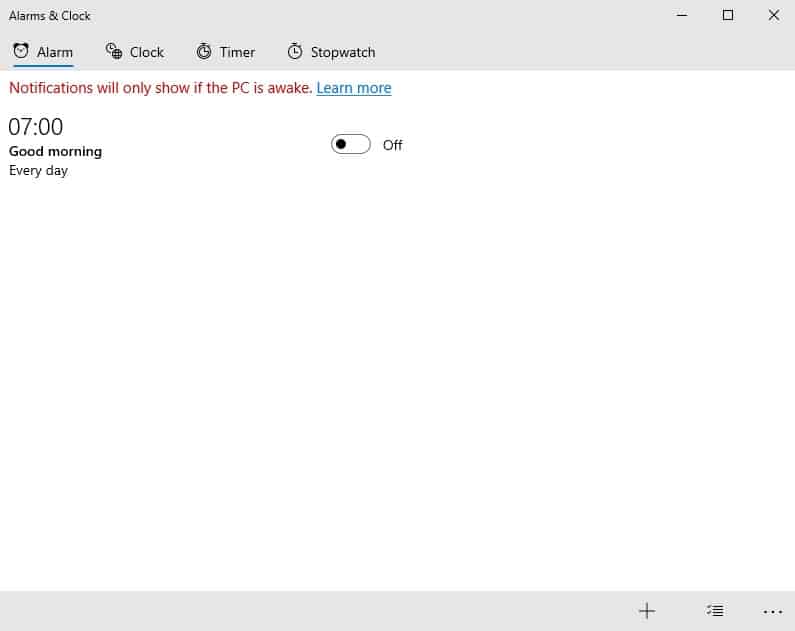
Step 3. If you want to set the alarm, then select the ‘Alarm’ tab and click on the (+) button as shown below.

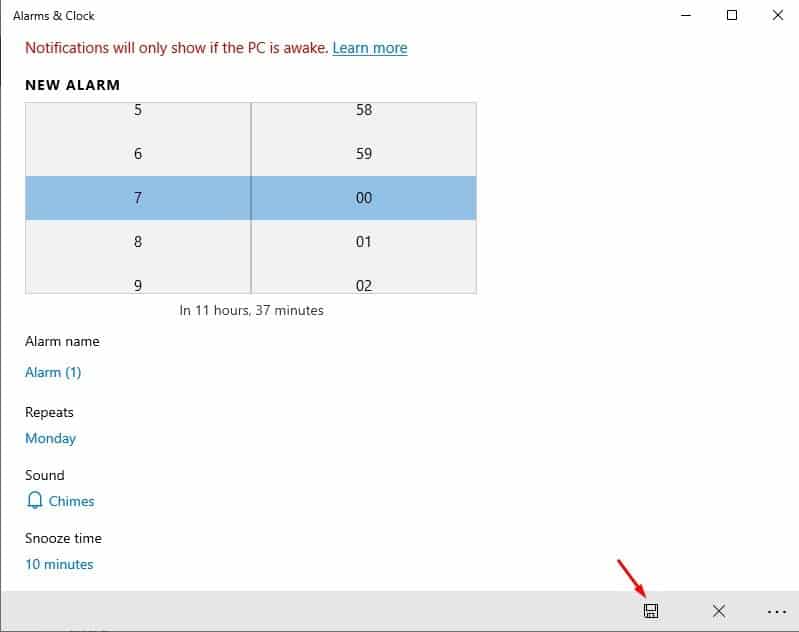
Step 3. On the next page, enter the Alarm details. Set the time, name, and repeats. Also, you can set the Alarm sounds and snooze time as well.

Step 4. Once done, click on the Save button, as shown below.
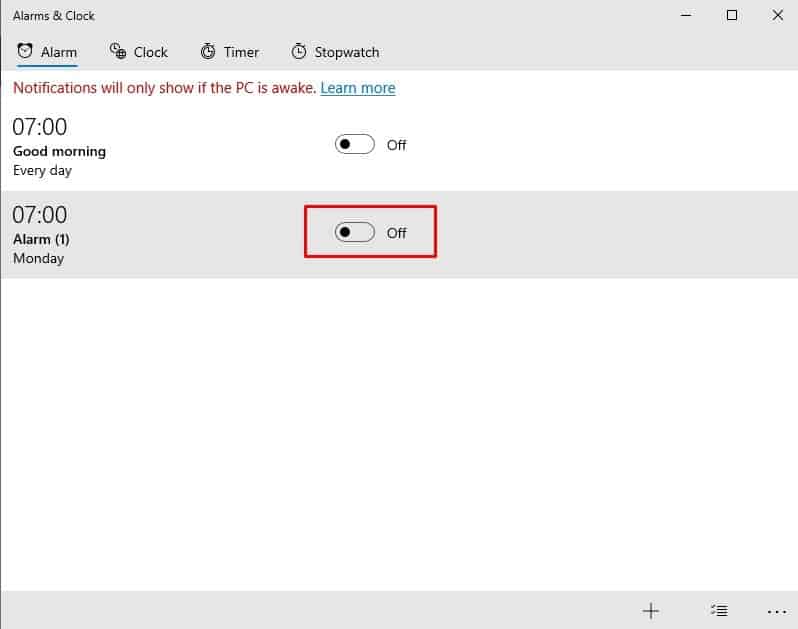
Step 5. To disable the alarm, just set the toggle button to off.
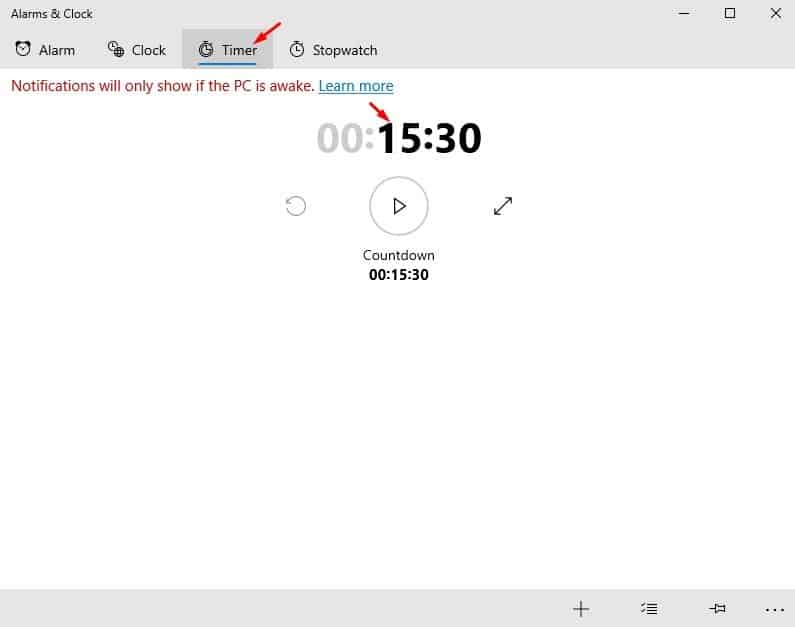
Step 6. To start a timer, click on the ‘Timer‘ tab and set the countdown.
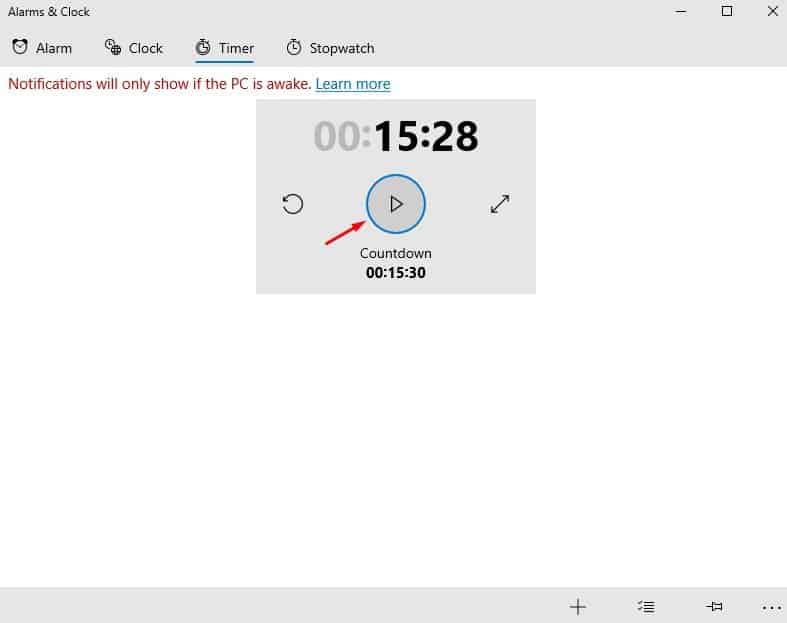
Step 7. Now click on the Play button to start the timer. To stop the timer, click on the ‘Pause’ button.
That’s it! You are done. This is how you can set alarms and timers in Windows 10. It’s pretty easy to set alarms & times in Windows 10 without using any third-party app.
So, this article is all about how to set alarms and timers on Windows 10 computer. I hope this article helped you! Please share it with your friends also. If you have any doubts related to this, let us know in the comment box below.


