You might have several different audio output devices, such as speakers, headsets, headphones, and more, on your PC. If you want to play audio from a specific device, you must set it as the default. Here are the various ways to set default audio devices on Windows 11.
Set Default Audio Device on Windows 11 Using Settings
You can directly set the default audio device on Windows 11 using Settings. Here’s what you need to do.
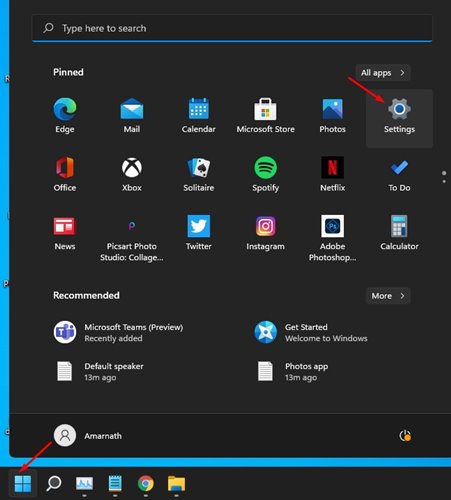
1. Click the Windows 11 start button and select Settings.
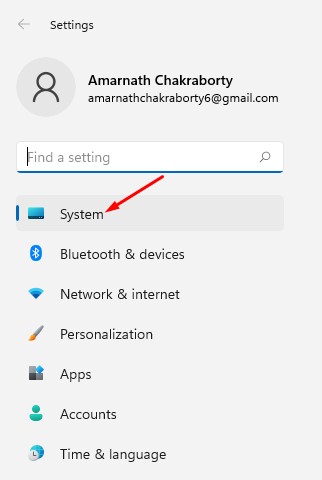
2. Click System.
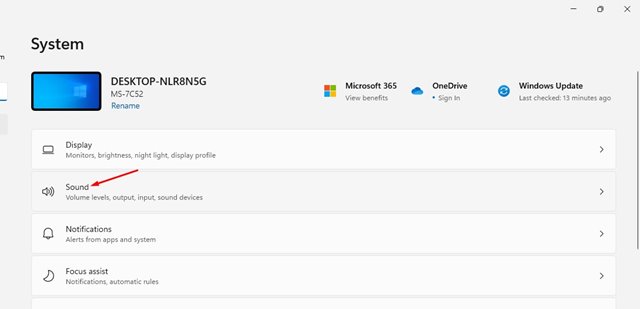
3. Click on Sound.
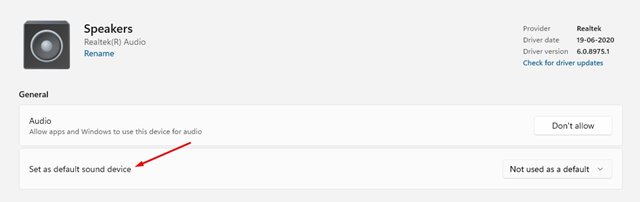
4. The sound page will list all connected audio devices. Click on the arrow beside the audio output device you’d like to set as default.
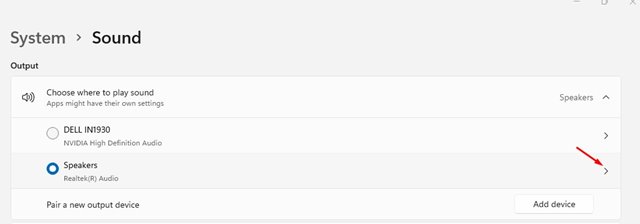
5. Find the Set as default sound device.
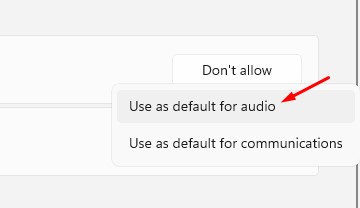
6. Click on the drop-down menu labeled Not used as a default and selthe Use as default for audio.
Set Default Audio Device Using the Advanced Sound Settings
Another way to set the default audio device on Windows 11 is to make changes to the Advanced Sound Settings.
1. Press the Windows Key + R button to open the RUN dialog box.
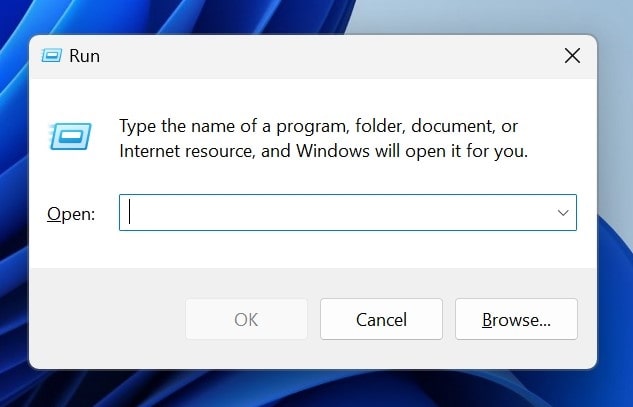
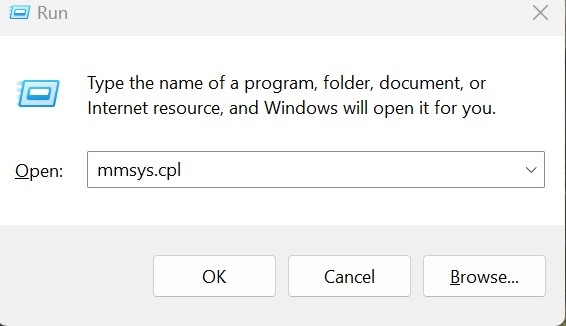
2. When the RUN dialog box opens, paste the following text and press Enter.
mmsys.cpl
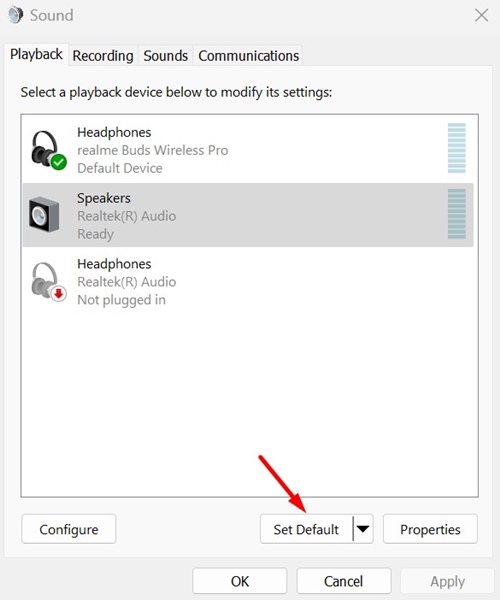
3. Select the Sound device that you want to set as the default.
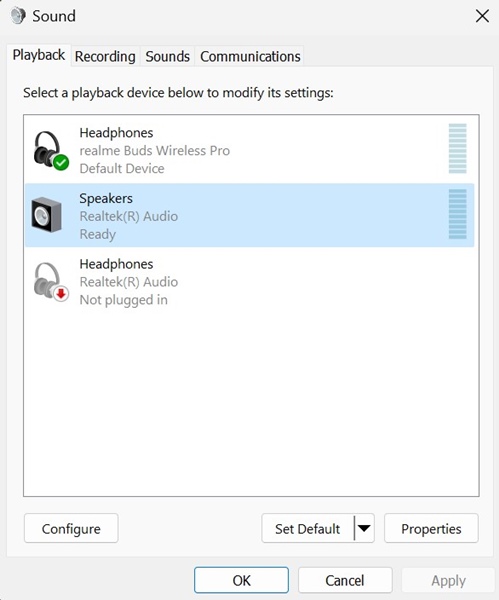
4. Once selected, click Set Default. After making the change, click OK.
This guide explains how to select default speakers on Windows 11. If you need more help in setting default audio device on your PC, let us know in the comments.


Unfortunately these settings are not saved I have to reinstall bluetooth headphones every tine
I have the same issue as Peter. I need to reselect my headset each time I start my PC. Is there a way to make the default headset the default headset – Period?