Let’s admit it, in our busy schedules; we often forget to shut down our computers. Leaving the computer turned on overnight doesn’t do much harm, but it slowly reduces the life span of your device.
So, if you often forget to shut down your computer or laptop, you may like to set a shutdown timer. On Windows 11, you can automatically set a shutdown timer to shut down your computer at a specific time.
Set a Shutdown Timer On Windows
Hence, if you want to create and use a shutdown timer on Windows, you may find this guide helpful. Below, we have shared a few best methods to shut down the computer at a specified time automatically. Let’s get started.
1. First, click on start, type Notepad, and press enter. On the Notepad, copy the below code and paste it into your notepad.
shutdown -s -t 60
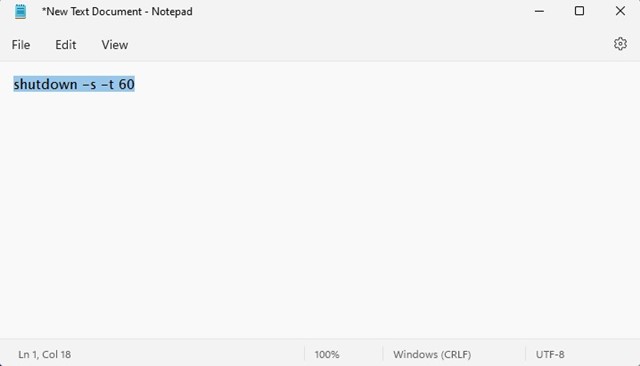
2. In the above code, 60 represents the time in seconds after which the PC will shut down. You can change this as per your requirement. Specifying 60 will shut down the computer after 60 seconds, which is 1 minute, and if you want to shut down after 2 hours, you will write shutdown -s -t 7200.
3. Now save this file on the desktop as Techviral shutdown.bat. You can give any name to the file, but it should end with a .bat file extension.
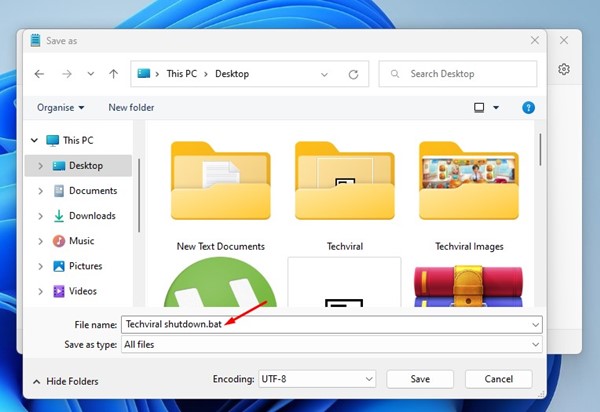
4. Now, you will see a batch file on your desktop; when you click on the file, your computer will shut down after a specified time.
Using Switch Off
Switch Off is a lightweight, easy-to-use tray-based system utility that could automatically shut down, suspend or hibernate your system. This could cut your electricity bills and save the Environment by lowering your PC power consumption. It could also disconnect dial-up and VPN connections to cut your internet service bills.
1. First, you must download and install Switch off on your Windows computer and run the application.
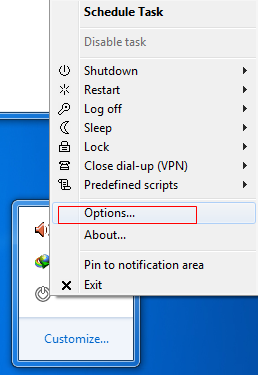
2. Click on the system’s notification tray on the taskbar. Next, right-click on the Switch off the application and choose “Option“. There, set everything according to your wish.
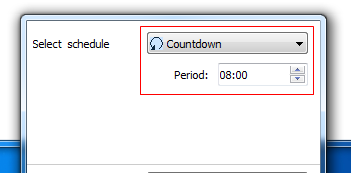
3. Now, you need to double-click on the Switch off application. Under “Select Schedule” you need to choose the option “Countdown” and enter the time.
4. Now, under the option “Select Task” you need to choose “Shutdown“. You can choose any other option according to your wish.
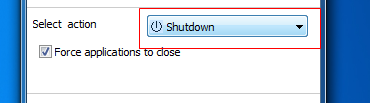
5. After you have done setting up the task, you need to click on “Enable task“
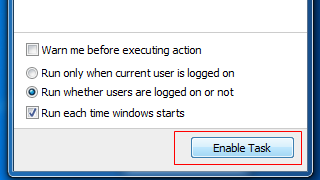
That’s it! Now you will see that your computer will begin the countdown and shut down at any time.
Using Task Scheduler
You can also use Task Scheduler to shut down your computer at a specified time automatically. However, you need to follow the steps carefully to avoid any errors. So, here’s how you can use Windows Task Scheduler to shut down Windows 10 computers Automatically.
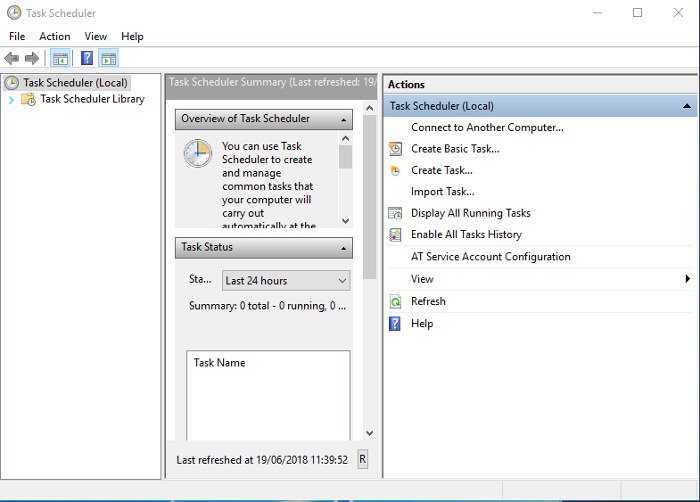
1. First, search for ‘Task Scheduler‘ on your Windows Search menu and open it. Now on the Task Scheduler, click on ‘Create Basic Task‘
2. Name the new task as ‘Shut Down‘ and then click on the ‘Next‘ button.

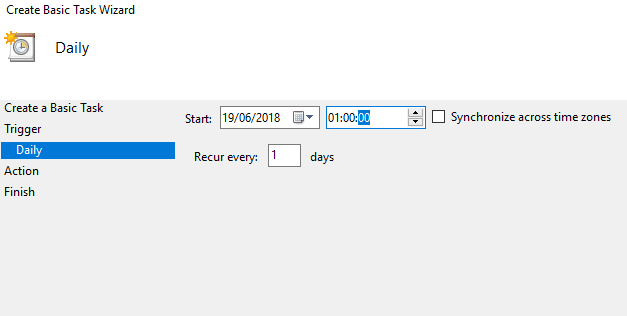
3. Head to the ‘Trigger‘ tab and select the option ‘Daily‘. Now enter the time and date you want your PC to shut down.
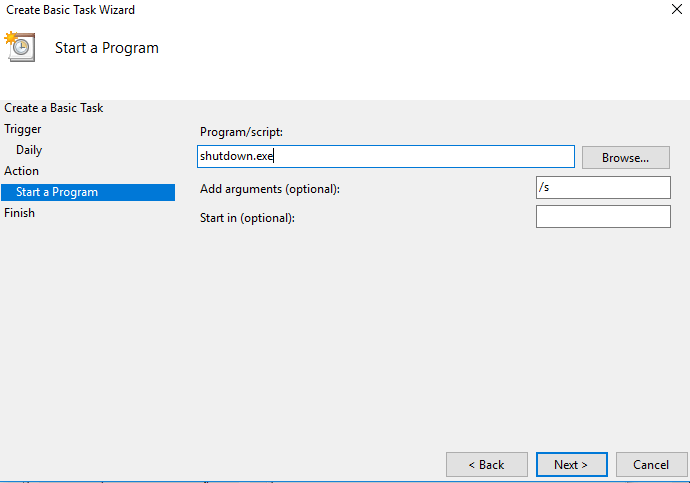
4. Now, head to Action > Start a Program. Under Program/Script, type shutdown.exe and enter /s under the Add arguments.
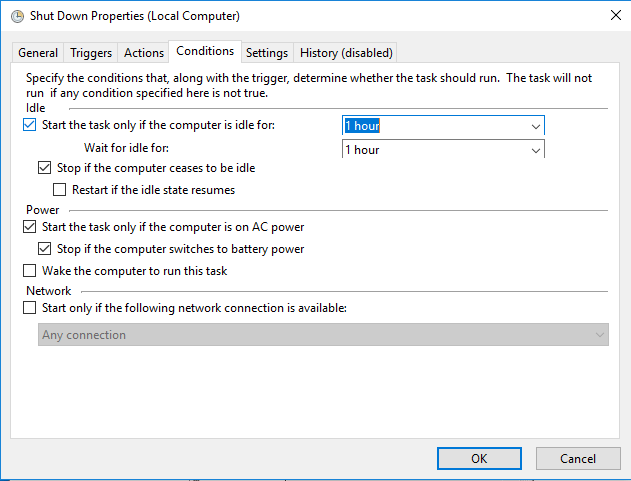
5. Now, head to the ‘Condition; tab and then tick on the ‘Start the task only if the computer is idle for‘ and select the idle time for your computer.
6. Finally, click on ‘Ok’ and exit the Task Scheduler.
So, these are the few best methods to shut down Windows computers automatically. If you have doubts about shutting down the PC automatically, let us know in the comment box below.


